ON THIS PAGE:
![]()
P2 Explorer 4.3.1 continues to evolve the user interface to introduce a striking new navigation system which makes use of the now-familiar ribbon paradigm.
Trend functionality has been consolidated with the introduction of a dedicated tag selector, and more page objects have been added to Studio.
Explorer 4.3.1 can also handle duplicate entity names in a hierarchy.
Release 4.3.1 of P2 Explorer introduces the now-ubiquitous ribbon navigation system, resulting in a cleaner, more usable interface.
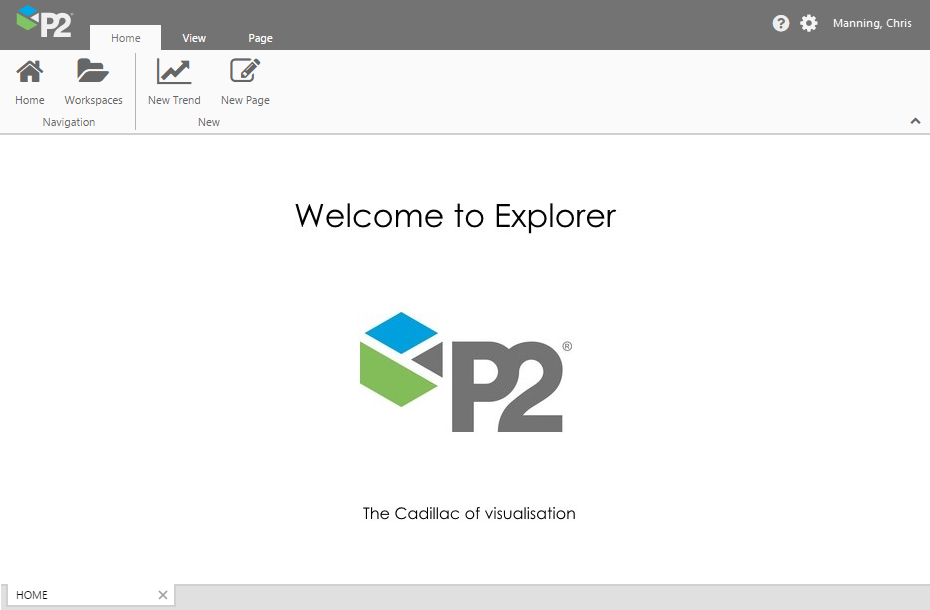
- The Home tab provides the basic functionality for creating new pages and trends, and navigating to the home page or other pages and trends in workspaces. When you first open Explorer, this is the active tab, allowing you to quickly create a new page or trend, and providing access to existing displays.
- The View tab is the heart of the asset model in P2 Explorer, providing access to the global hierarchy and list of tags. When you open a trend, this is the first place you’ll go to add attributes or tags to the trend.
- The Page tab provides access to all functions previously available on the page toolbar.
- The Trend tab, similar to the Page tab, provides access to all functions previously available on the trend toolbar.
Collapsing the Ribbon
You’ll notice a little arrow in the lower right corner of the ribbon. This allows users to collapse the ribbon so that only the tabs are visible. To expand the ribbon, you simply click one of the tabs.
Customisation
The ribbon can also be customised, enabling advanced users to add their own tabs and buttons.
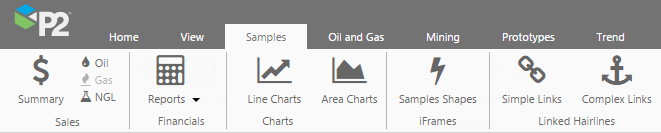
Note that the default tabs (Home, View, Page, Trend) cannot be customised.
Drop-downs for Events and Datasets
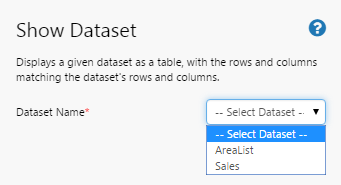
In previous versions of P2 Explorer Studio, when you added a component, you would have to type in the name of a source dataset or an event. This version of Explorer adds the ability to choose datasets and events, that have already been added to the canvas, from a drop-down list. This means you no longer have to type in potentially long names and can more easily avoid typos, eliminating the potential for trivial errors.
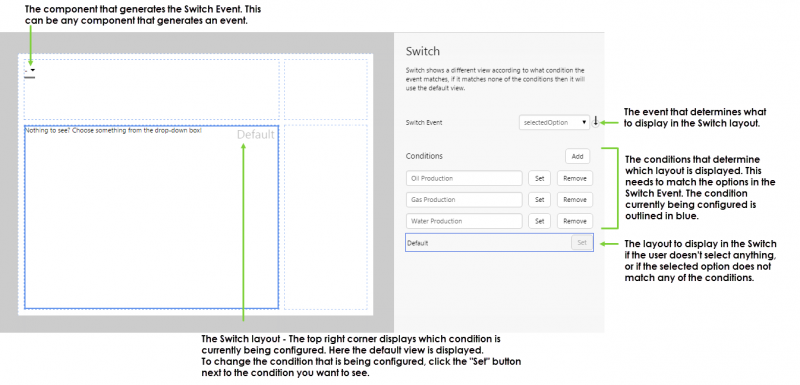
Switch Layout
The Switch Layout is a powerful component that can change the components that are displayed on a page depending on what the user selects on that page. It’s typically used in conjunction with a grid layout. To configure the Switch, you need to specify an event and conditions for when the displayed component will change to a different component.
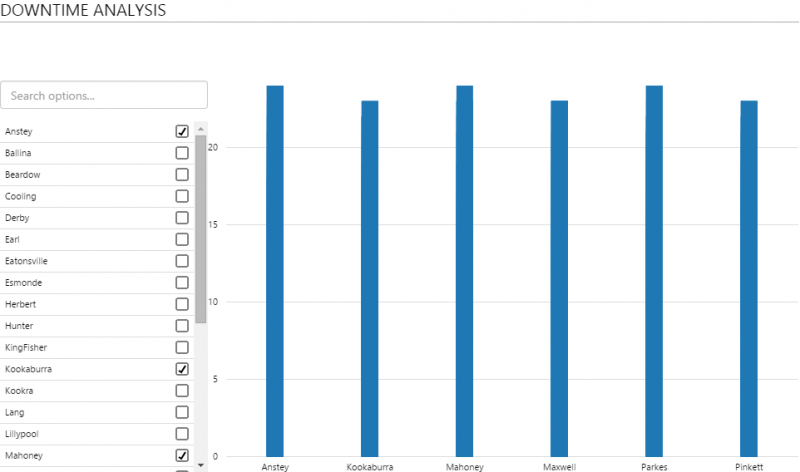
Multi Select List
The Multi Select List is a new component that allows a user to select multiple items from a defined list. If there are more list items than will fit on the page, the Multi Select List displays a scrollbar that provides “infinite scrolling”, and also allows users to filter the list options.
Configuring a Multi Select List is very similar to configuring a Combo Box or Option Links.

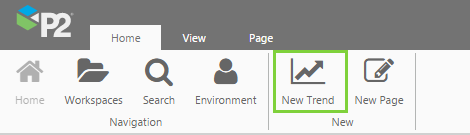
Quick Launch Diagnostic Trend
The advent of the toolbar means that you can now open a blank trend outside of a workspace. To do this, simply click ‘New Trend’ on the Home tab.
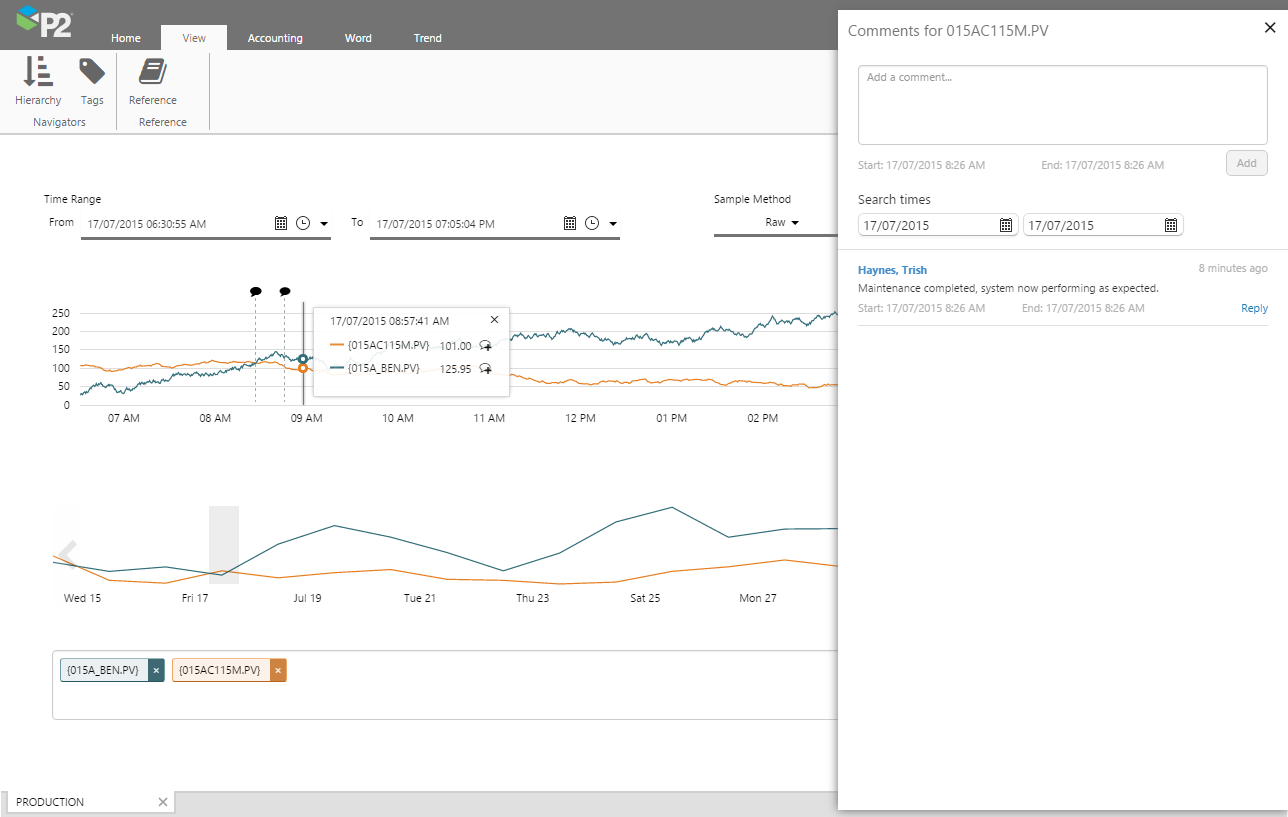
Trend Comments
Explorer 4.3.1 harnesses the power of P2 Server’s comments functionality to bring you threaded comments within the trend. When comments have been added to a trend, a black comments ![]() icon appears for the point in time that the trend was added. You can click this icon to read the comments added at this point in time, or to add new comments for that time.
icon appears for the point in time that the trend was added. You can click this icon to read the comments added at this point in time, or to add new comments for that time.
To add a new comment, you simply click the spot on the trend for when you want to add a comment. In the hairline box, click the Add Comment ![]() button. If comments for an entity have been added elsewhere, they will also be visible in the trend if they fall within the displayed time range.
button. If comments for an entity have been added elsewhere, they will also be visible in the trend if they fall within the displayed time range.
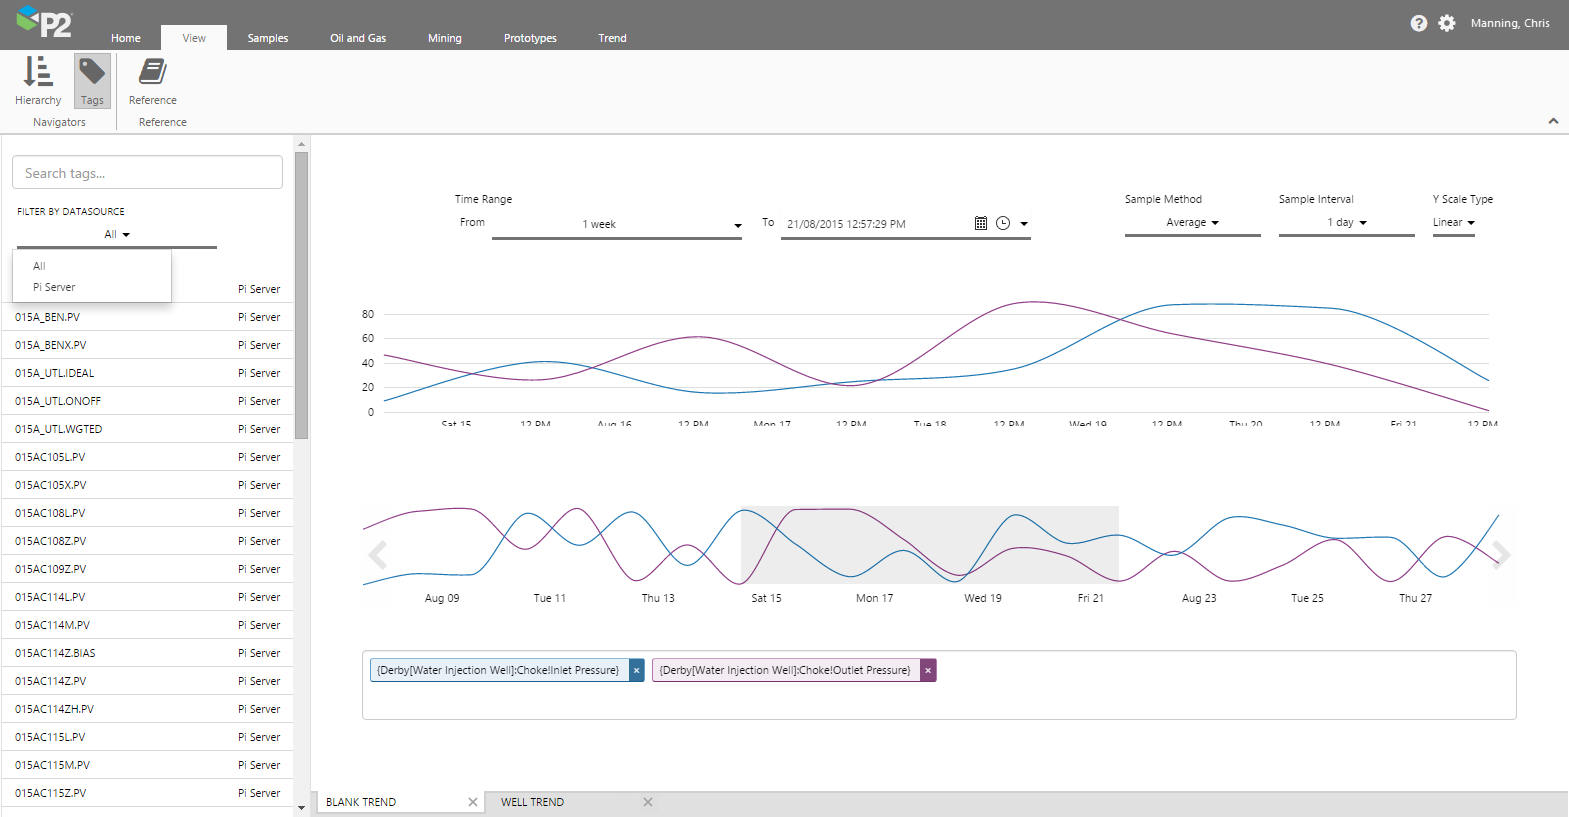
Tag Picker
You can now add time series tags to the trend. To do this, click the View tab, then click the Tags ![]() button. The Tag Picker opens in a panel on the left. You can search for the tag by name, or scroll through a list filtered by datasource. When you locate the tag you’re after, simply drag and drop it onto the trend.
button. The Tag Picker opens in a panel on the left. You can search for the tag by name, or scroll through a list filtered by datasource. When you locate the tag you’re after, simply drag and drop it onto the trend.
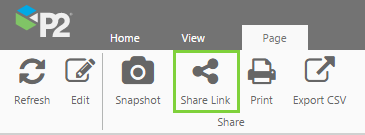
Direct Linking via URL
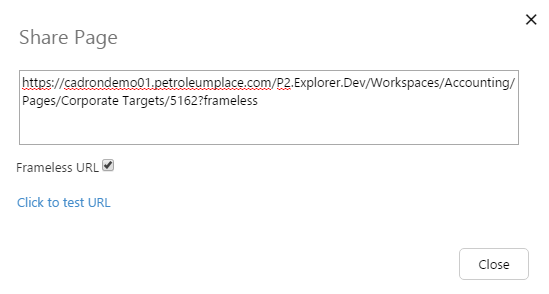
P2 Explorer now allows users to link directly to a page or trend from a URL. The easiest way to do this is by clicking the ‘Share Link’ button on the Page or Trend tab.
You also have the option of linking to a frameless display — that is, a display that shows the content of the display without the grey Explorer header.
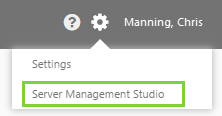
Launching Server Management Studio
The Settings button in the Explorer header now provides direct access to an improved P2 Server Management Studio. This allows you to configure datasources, entities, templates, and provides a host of other configuration options for P2 Server.