ON THIS PAGE:
P2 Explorer allows you to link to a trend via a URL. There are 2 ways of doing this:
- Sharing a link to a trend through the P2 Explorer framework. You can link to a saved trend or a blank trend.
- Creating a dynamic trend by manually entering a URL, and adding parameters to the URL.
Security considerations
- When you share a saved trend, it will only be visible to people who have permission to view the workspace in which it is saved. The exception here is your Private Workspace; users can view a trend shared from your private workspace, while not having access to the workspace itself.
- People who do not have permission to view the included tags or attributes will not be able to view data for those tags or attributes.
Option 1. Sharing a link through Explorer
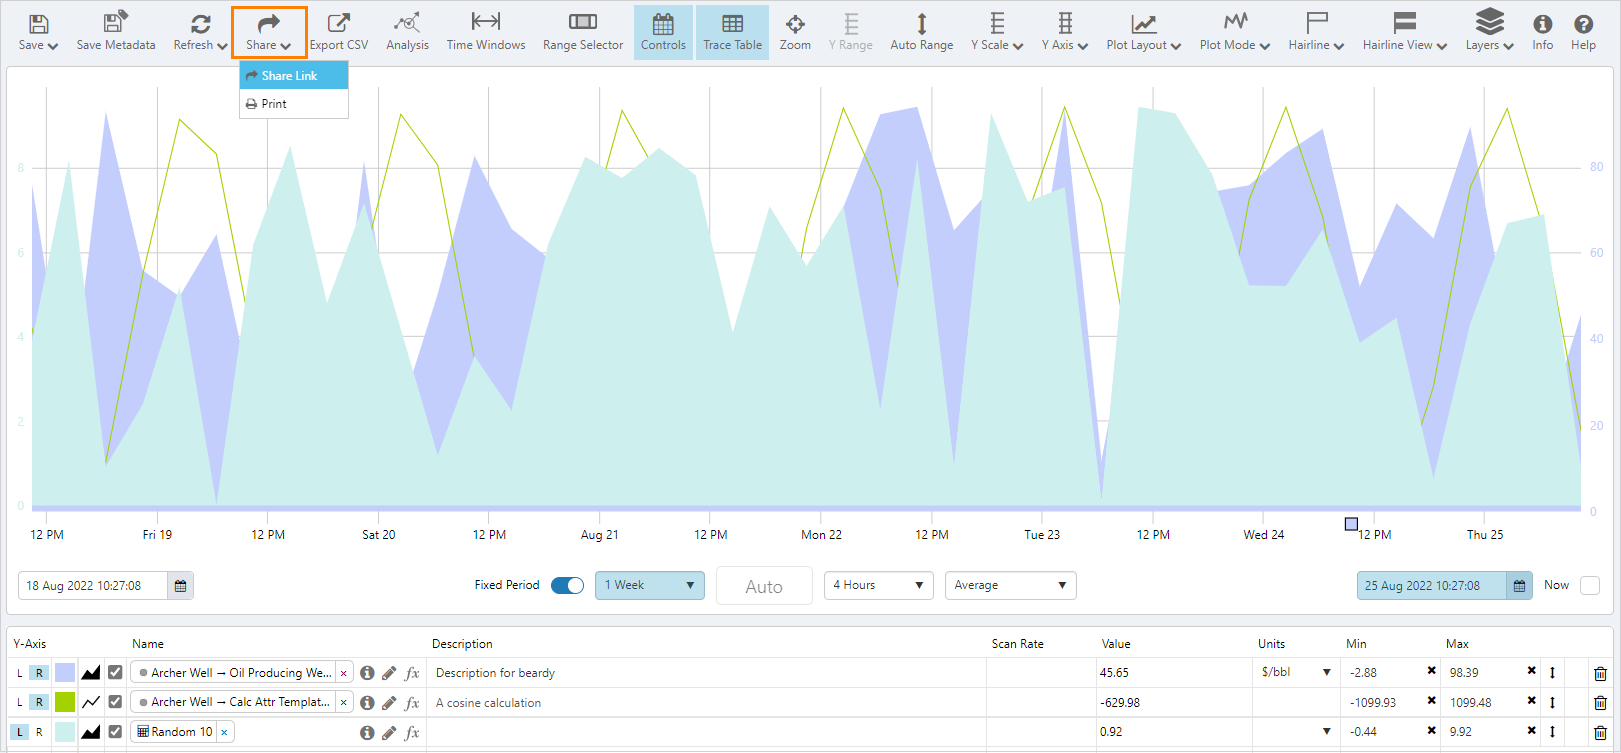
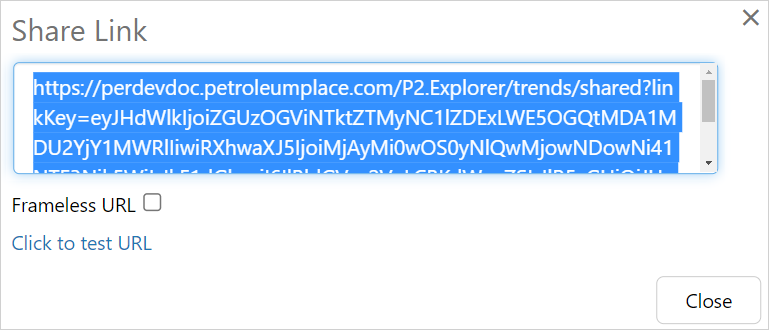
To create a trend link using Explorer, open the trend and then click the ![]() Share button on the Trend toolbar and select Share Link. This allows you to share the saved trend, or the current state of a trend (i.e. with the current selected options such as time range, sample interval, tags, calculations, etc.).
Share button on the Trend toolbar and select Share Link. This allows you to share the saved trend, or the current state of a trend (i.e. with the current selected options such as time range, sample interval, tags, calculations, etc.).
When a user clicks a link shared this way, the trend will either open in a tab inside the P2 Explorer framework, or as a separate tab in the browser.
When the Share Link dialog box opens, copy and paste the URL into an email, or wherever you intend to use it.
Note: People who do not have permission to view the included tags or attributes will not be able to view data for those tags or attributes.
How the link is constructed
Saved trends are constructed differently to blank trends.
Saved Trends
When a trend is saved, it is assigned a unique number (called a GUID) that identifies the trend. The GUID is represented with a long sequence of letters and numbers. E.g. /Guid/29fb9f2c-4324-ed11-a98d-005056b651de
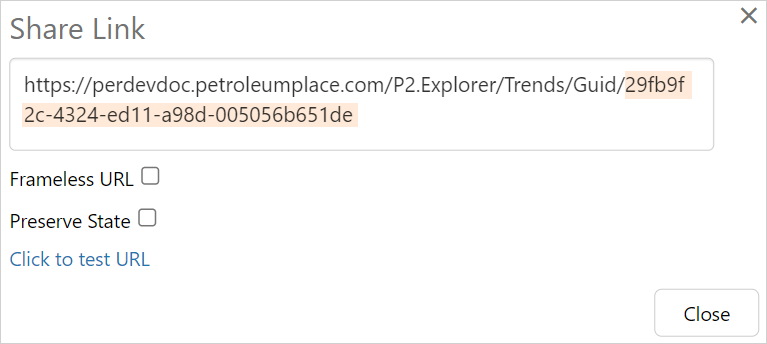
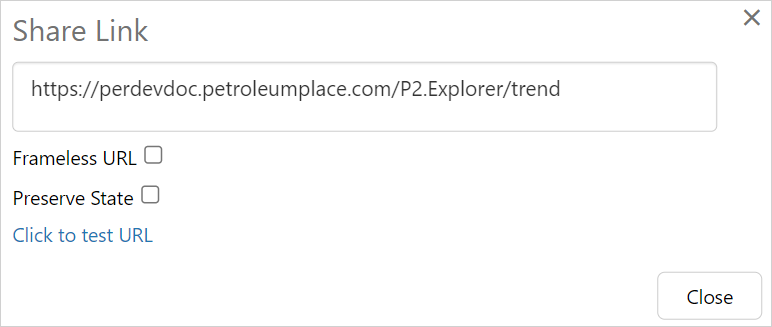
Framed or Frameless URL
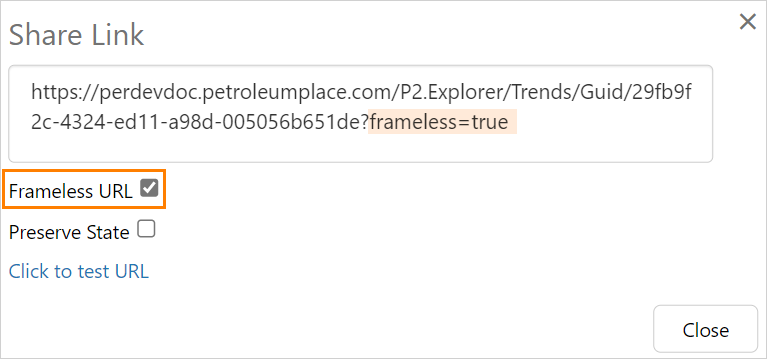
Select Frameless URL to open the trend outside of the P2 Explorer framework. A frameless URL has the parameter frameless=true appended to the URL.
When the check box is cleared, the frameless parameter is not added, and the resulting URL opens the trend within the Explorer framework.
Current State
Preserve the current state of the trend by selecting Preserve State, this will add an ID number after the GUID (e.g. 5).
The ID represents the current state of the trend at a particular point in time, and will increment each time the Share Link function is selected. Any link with an ID will open the trend to the point in time the link was constructed.
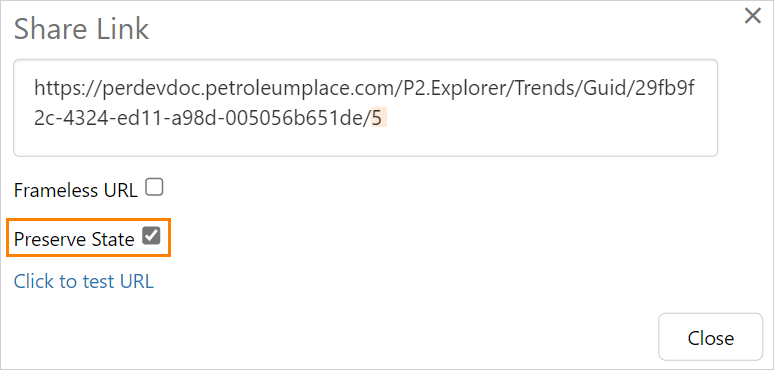
To link to the latest saved version of a trend, share the URL created without selecting Preserve State.
Private Trends
A trend that has been saved to My Workspace is assigned a Link Key that identifies the trend, and a State ID. The Link Key is represented by a long sequence of letters and numbers that identifies the trend. The State ID represents the current state of the trend, which is saved in the database with an incrementing ID every time this dialog box is opened.
Blank Trends
Unsaved blank trends do not have a GUID.
If Preserve State is selected the trend will open to the current state of the trend's variables, if Preserve State is not selected the trend will open with the default trend variables.
Option 2. Dynamic trend via URL
You can choose to share a dynamic trend via a URL which uses a list of variables to specify the tags, as well as some of the trend controls. This allows you to link to a trend with certain options already selected, such as tags, time range, sample interval, etc.
How the URL is constructed
The URL can be for a saved trend (where there is a GUID) or for a new, unsaved trend (with no GUID), called "Blank Trend".
Blank Trend URL
The standard format of a blank trend URL is as follows:
[Explorer URL]/trend[?variable list]
If you copy the URL for a particular unsaved trend (Blank Trend) with Preserve State selected, the state id is included:
[Explorer URL]/trend/[state][?variable list]
Saved Trend URL
The standard format of a saved trend URL is as follows:
- With Preserve State selected it is the current state of the trend
[Explorer URL]/Trends/Guid/[GUID]/[state][?variable list]
- Without Preseve State selected it is the saved version of the trend
[Explorer URL]/Trends/Guid/[GUID][?variable list]
Private Trend URL
The syntax is slightly different for a trend that has been shared from a private workspace (My Workspace):
[Explorer URL]/trends/trends/shared?linkKey=[link key]&stateId=[state]
Adding Variable Parameters
To use a variable in the URL, add a question mark ? followed by the list of variables in the format variable name=variable value. Separate multiple variables with &.
Example:
https://perdevdoc.petroleumplace.com/P2.Explorer/trend?startTime=2021-11-01T00:00:00&endTime=2021-12-01T00:00:00
Frameless
If you want the trend to be frameless (with no header or ribbon), append &frameless after the list of variables to the URL:
Example:
https://perdevdoc.petroleumplace.com/P2.Explorer/trend?startTime=2021-11-01T00:00:00&endTime=2021-12-01T00:00:00&frameless
Variable Parameters
This table lists the available variables and how to use them. The variables correspond with various controls available on the trend.
Note: The URL parameters are case-sensitive.
| Variable | Format/Options | ||||||||||||||||||||||||||||||||||||||||
| endTime |
Format: ISO8601 date string. Example (UTC): endTime=2021-12-01T00:00:00Z |
||||||||||||||||||||||||||||||||||||||||
| startTime |
Format: ISO8601 date string. Example (UTC): startTime=2021-12-01T00:00:00Z |
||||||||||||||||||||||||||||||||||||||||
|
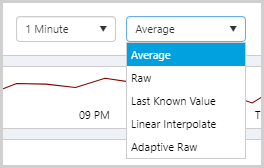
sampleMethod |
Options are: Average, LinearInterpolate, LastKnownValue, Raw, AdaptiveRaw Example: sampleMethod=Average Related control:
|
||||||||||||||||||||||||||||||||||||||||
|
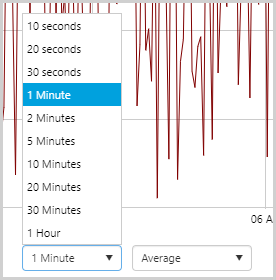
sampleInterval |
Format: Number of seconds Note: The number of seconds must correspond to one of the options available in the related trend control. Options are:
Example: sampleInterval=60 Related control:
|
||||||||||||||||||||||||||||||||||||||||
|
timeBoundMode |
The timeBoundMode tells the trend what times to use, and is set to one of the trend time variables. The Duration parameter is not used with the variables:
The Duration is used, and can be set, with the variables:
Format: timeBoundMode=trend time variable Example: timeBoundMode=ByStartTimeToEndTime Example: timeBoundMode=ByFixedPeriodFromCurrentTime&duration=1 month The Start Time, End Time and Duration field values are those being used by the trend, unless otherwise set in the URL. Note: The duration parameter should not be used with ByStartTimeToEndTime or ByStartTimeToCurrentTime. |
||||||||||||||||||||||||||||||||||||||||
|
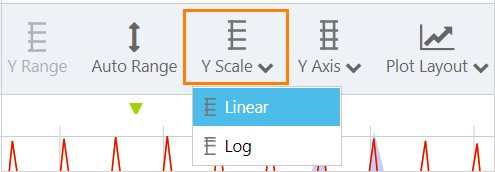
scaleType |
Describes the way the points are distributed in the y-axis direction. Options are: Linear, Log Example: scaleType=Linear Related control:
|
||||||||||||||||||||||||||||||||||||||||
|
interpolationType |
Specifies the line drawing algorithm to use to join the data points up. Options are: Linear, Log Example: interpolationType=Linear Related control: There is no specific control that relates to this parameter. |
||||||||||||||||||||||||||||||||||||||||
|
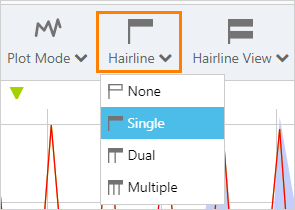
hairlineMode |
Specify how many hairlines should be allowed. Options are: None, Single, Dual, Multiple Example: hairlineMode=Single Related control:
|
||||||||||||||||||||||||||||||||||||||||
|
duration |
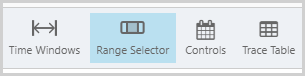
Sets the duration of the trace. The duration can be the current value on the trend, set in the URL, or determined from the difference between start time and end time of the trend. Options are: 5 minutes, 10 minutes, 30 minutes, 1 hour, 4 hours, 8 hours, 12 hours, 1 day, 3 days, 5 days, 1 week, 4 weeks, 1 month, 3 months, 6 months, 9 months, 1 year, 2 years Example: duration=1 week Full example showing start time and end time as well: https://perdevdoc.petroleumplace.com/P2.Explorer/trend/27606?duration=1 week&startTime=2021-12-01T00:00:00&endTime=2021-12-08T00:00:00 Related controls:
|
||||||||||||||||||||||||||||||||||||||||
|
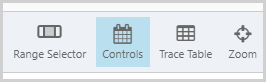
showControls |
Shows or hides the trend controls:
Options are: True, False Example: showControls=True Related control:
|
||||||||||||||||||||||||||||||||||||||||
|
showRangeSelector |
Shows or hides the trend's range selector:
Options are: True, False Example: showRangeSelector=True Related control:
|
||||||||||||||||||||||||||||||||||||||||
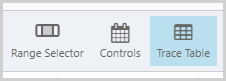
|
showTraceTable |
Shows or hides the trend's trace table.
Options are: True, False Example: showTraceTable=True Related control:
|
||||||||||||||||||||||||||||||||||||||||
|
tags |
The list of tags to be shown on the trend. The tags must be enclosed in curly brackets {} and separated by a comma. Format: Tag name To specify a list of tags, use tags=tag1,tag2 etc |
||||||||||||||||||||||||||||||||||||||||
|
selectedEntities |
The list of entities to be shown on the trend. The entities must be separated by a comma. Note: The URL parameters selectedEntities, templates, attributes, and attributeValues are all designed to be used together. These parameters do not work when used in isolation, although the URL will still be valid. When using these parameters, selectedEntities and attributes are both required. Format: Entity name To specify a list of entities, use selectedEntities=entity1,entity2 etc |
||||||||||||||||||||||||||||||||||||||||
|
templates |
The list of templates to be shown on the trend. The templates must be separated by a comma. Note: The URL parameters selectedEntities, templates, attributes, and attributeValues are all designed to be used together. These parameters do not work when used in isolation, although the URL will still be valid. If template is omitted, the entity's primary template will be used. Format: Template name To specify a list of templates, use templates=template1,template2 etc |
||||||||||||||||||||||||||||||||||||||||
|
attributes |
The list of attributes to be shown on the trend. The attributes must be separated by a comma. Note: The URL parameters selectedEntities, templates, attributes, and attributeValues are all designed to be used together. These parameters do not work when used in isolation, although the URL will still be valid. When using these parameters, selectedEntities and attributes are both required. Format: Attribute name To specify a list of attributes, use attributes=attribute1,attribute2 etc |
||||||||||||||||||||||||||||||||||||||||
|
attributeValues |
The list of attribute values to be shown on the trend. The attribute values must be separated by a comma. Note: The URL parameters selectedEntities, templates, attributes, and attributeValues are all designed to be used together. These parameters do not work when used in isolation, although the URL will still be valid. If attributeValue is omitted, the default value of the attribute will be used. Format: Attribute value name To specify a list of attribute values, use attributeValues=attributevalue1,attributevalue2 etc |


Release History
- Linking to a Trend 4.10.2 (this release)
- timeBoundMode variable
- Linking to a Trend 4.9
- Linking to a Trend 4.6
- Linking to a Trend 4.5.2
- Linking to a Trend 4.3.1