ON THIS PAGE:
Overview
When P2 Explorer is first installed, there are two default roles: Administrators and Everyone. You may wish to create additional roles to suit your organisational goals.
- All users are assigned to the Everyone role, which by default has read access to all of Server and Explorer workspaces.
- By default, only the default admin user is assigned to the Administrators role, which provides administration privileges over all modules.
When you create a role, you can assign module-level privileges and resource-level privileges to users with the role. This role overrides any object-level privileges, so users with this role will be able to see all objects of the specified resource, regardless of object-level privileges.
In order to be able to create a role, a user must be a Security administrator.
This article explains how to create a new role with resource-level privileges.
Creating a Role
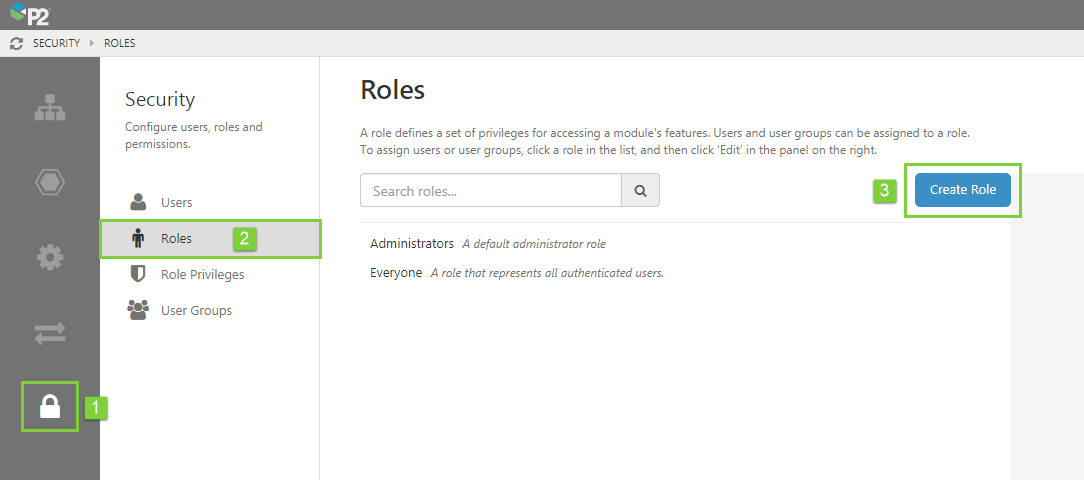
1. Open P2 Server Management, and click the Security ![]() icon.
icon.
2. Click Roles ![]() .
.
3. Click the Create Role button to the right of the search box.
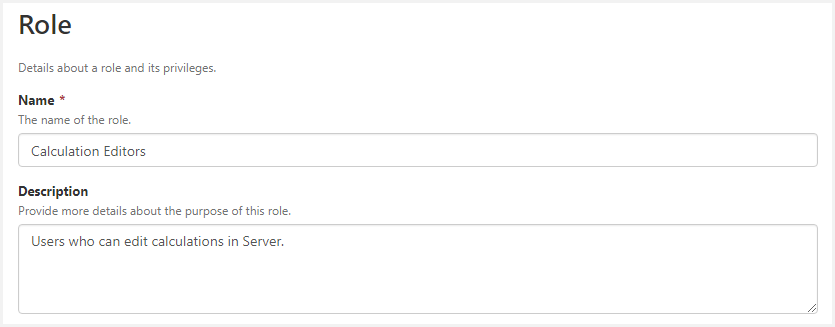
The Role page opens, which is where you can create your role.
4. Specify a name and description for the role.
- Name: The role name must not contain reserved characters or words.
- Description: (Optional) Provide additional details about the purpose of this role.
5. In the Privileges matrix, select the privileges you want to assign to this role. E.g. If you want to create a role for calculation editors, click the Edit privilege for Calculations in the Server module.
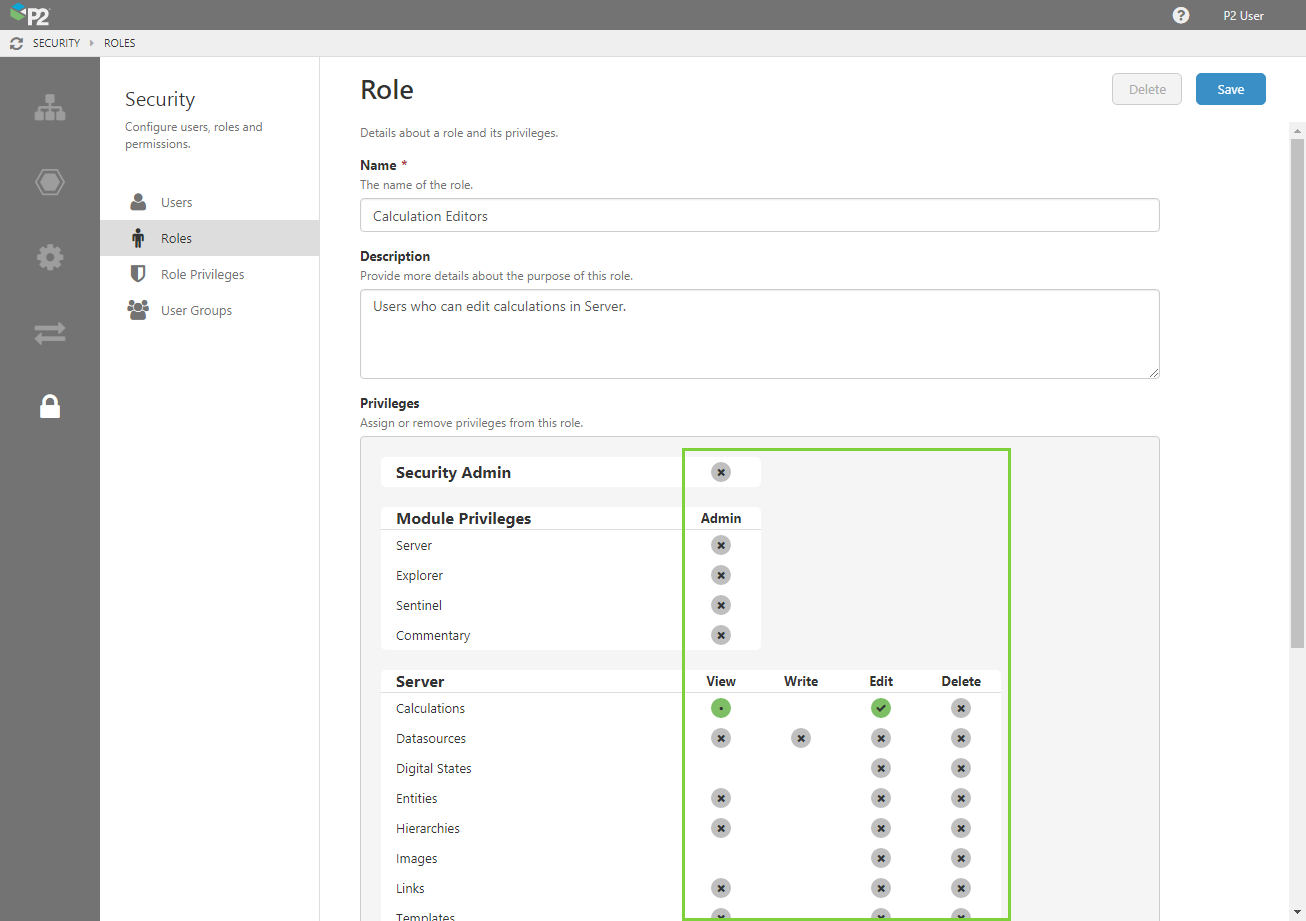
6. When you have finished, click Save in the top right corner.
Tip: You can quickly modify these privileges by clicking Role Privileges.