ON THIS PAGE:
Changing IIS Settings
Changing IIS settings can sometimes impact the way entries are displayed in tables.
If you notice unexpected behaviour after updating IIS settings, run the following actions/commands, in this exact order. After each step, check to see if the issue is resolved. If it is resolved, then you don't need to perform the remaining steps.
- Recycle "P2 Explorer REST API App Pool"
- Restart w3svc
- Execute net stop w3svc
- Then followed by net stop w3svc
- Perform an iisreset.
Roles & Features
When installing P2 Explorer onto a newly installed server, ensure the following IIS roles and features are turned on.
To turn the IIS roles and features on:
- In the Server Manager, click Add roles and features in the Dashboard.
- In the Add Roles and Features Wizard, on the Before You Begin Page (if displayed), click Next.
- On the Installation Type page, select Role-based or feature-based installation, and then click Next.
- On the Server Selection page, select the server you are installing onto, and then click Next.
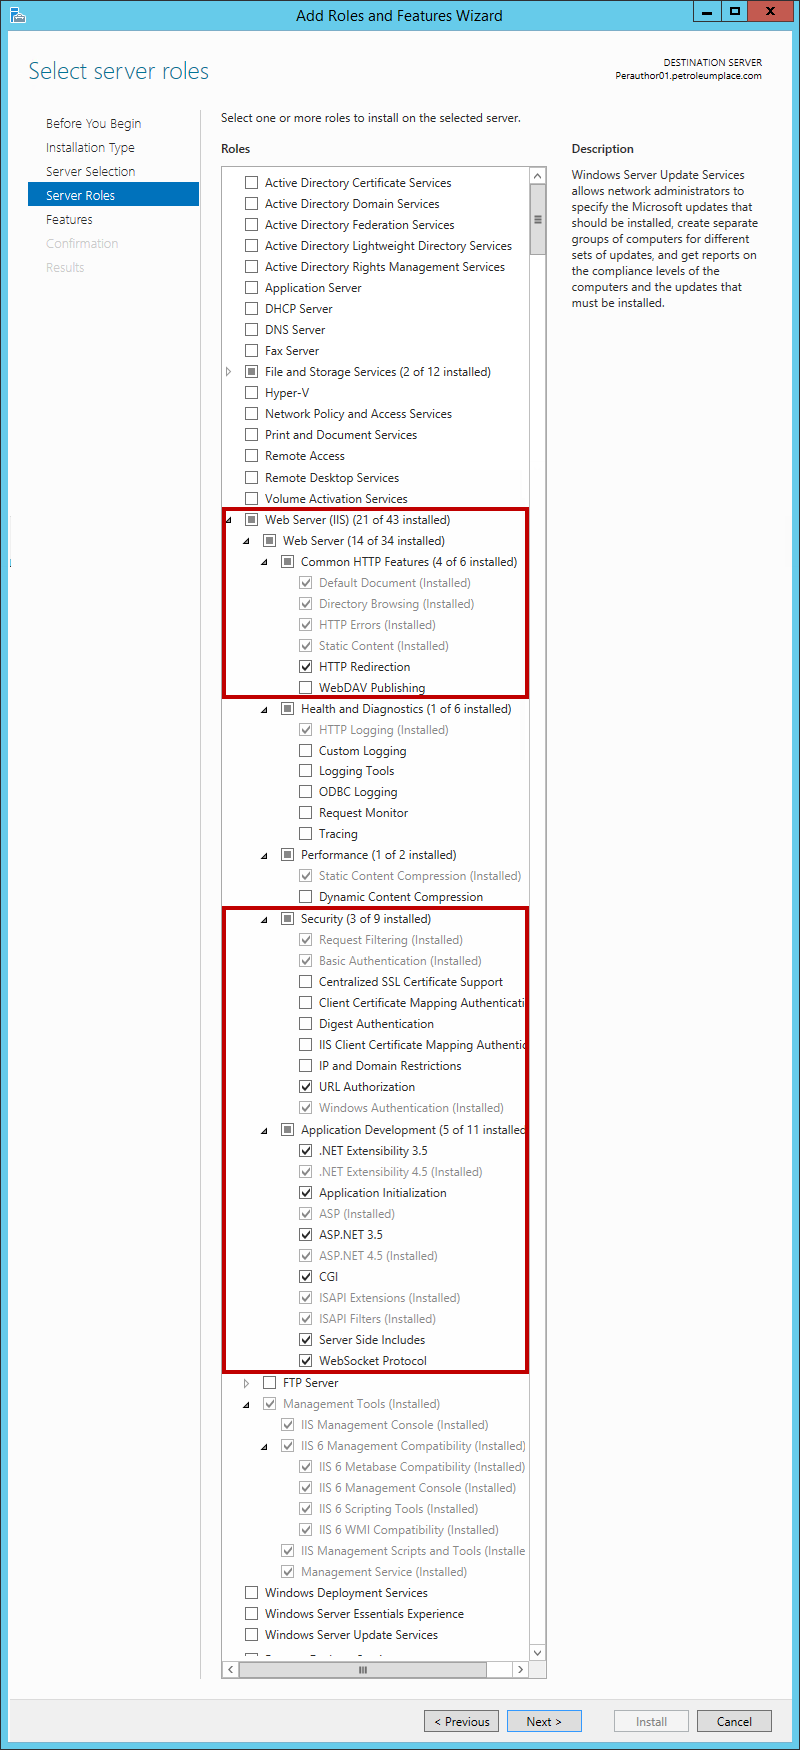
- On the Server Roles page, select Web Server (IIS).
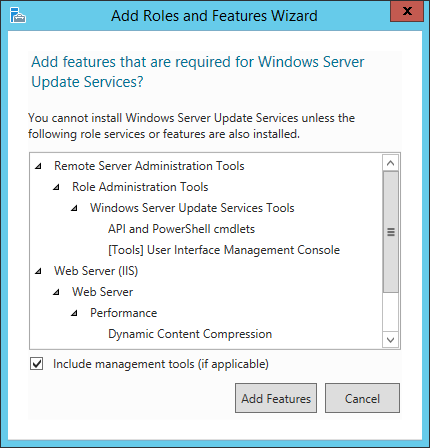
Note: As you select some roles, an additional dialog box may appear, prompting for installation of additional features. In each case, click Add Features to accept. The dialog box will look something like this example below (note this example is not a required feature).
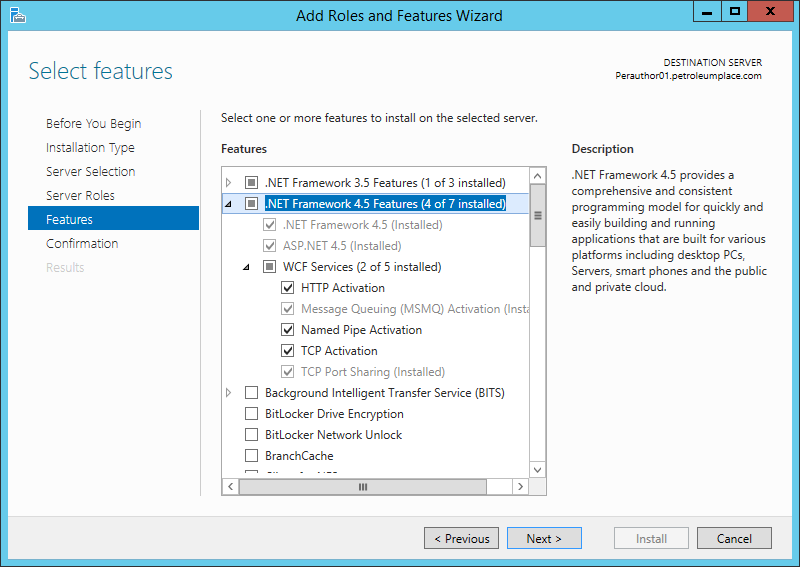
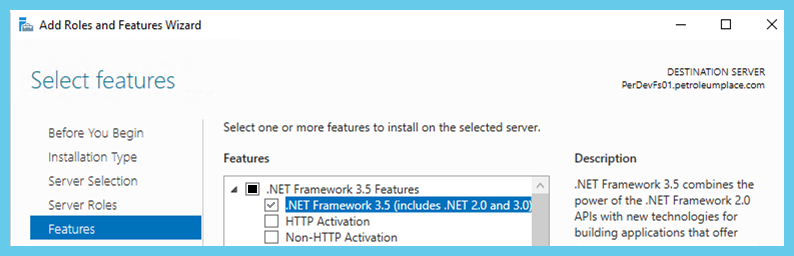
- In the Features screen, select the first of the .NET Framework 3.5 Features

- Select ALL of the .NET Framework 4.5 Features, and then click Next.
Note: The latest available version of .NET Framework should be selected.
- Select the following role services:
- Web Server (IIS) > Web Server > Common HTTP Features:
select all options except WebDAV - Web Server (IIS) > Web Server > Security:
- Request Filtering
- Basic Authentication
- URL Authorization
- Windows Authentication
- Application Development: select all options.
- Management Tools: select all options
- Web Server (IIS) > Web Server > Common HTTP Features:
- Click Next.
- In the Confirmation screen, check that you have selected all the required features, and then click Install.
The installation may take a few minutes. - Click Close when the installation has finished.
- In the Server Manager toolbar, click Tools > Services.
- Change the Startup Type of the Net.Tcp Port Sharing Service to Automatic.