ON THIS PAGE:
Overview
Explorer's page properties display audit information for each page, as well as page details (workspace, ID, Explorer version when the page was created). This is where you supply a page description, and where you can set the minimum page dimensions, as well as print options.
Page properties are part audit details (which cannot be updated) and properties (which can be updated).
How to get to Page Properties
To open the Page Properties, you need to have editor or administrator permissions.
First open a page in Studio Mode.
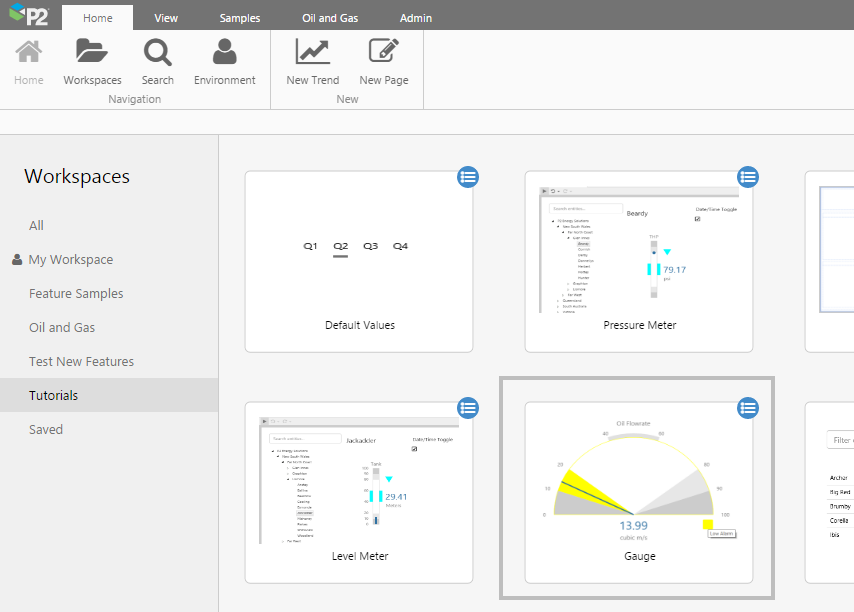
1. On the Home ribbon tab, click Workspaces.
2. In the Workspaces panel, click the workspace containing your page.
3. Ensure the Pages tab is selected, then type the name (or part of the name) of your page in the Search box and press Enter.
4. Click the button on the top right of the page.
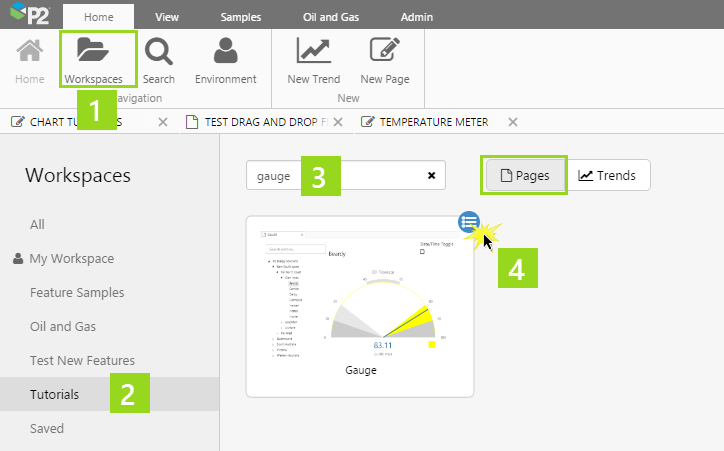
5. The page summary appears. Click Studio.

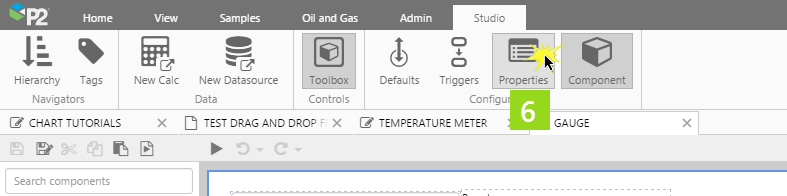
Now open the Page Properties.
6. On the Studio ribbon tab, click Properties.
Now you can view and update page properties.
Some of the page properties are visible when you select a page from a workspace.
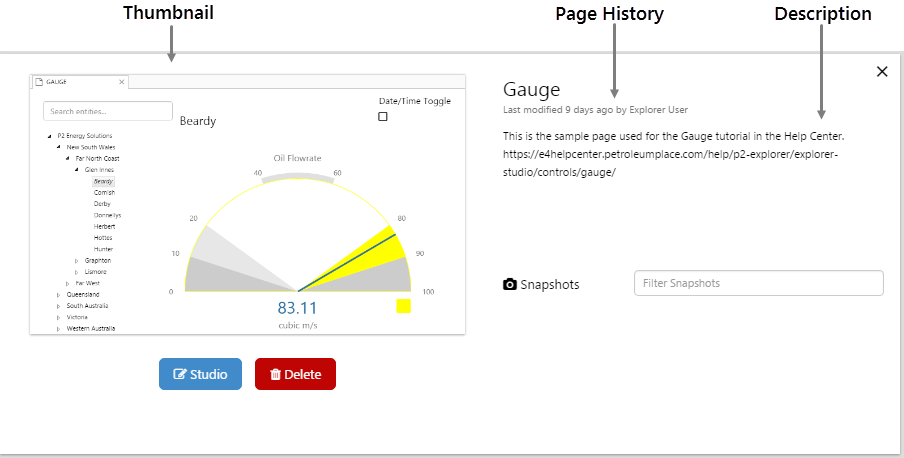
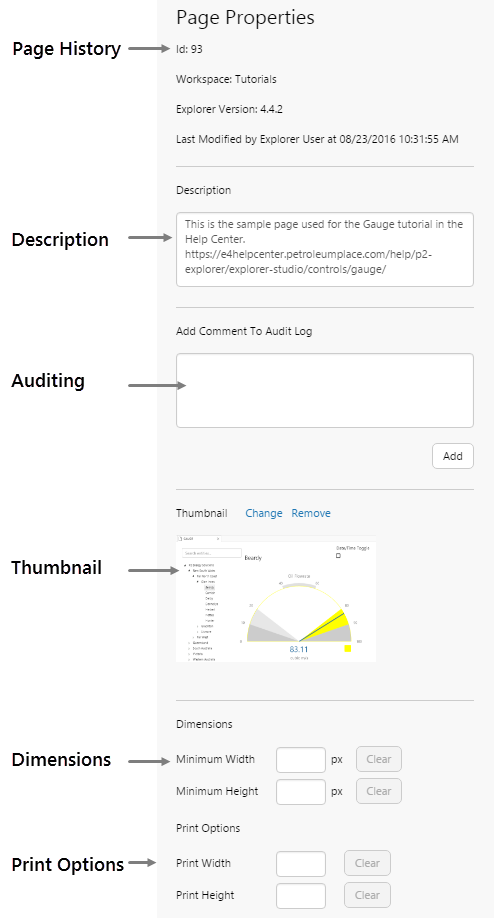
Page History
The page history is updated every time a page is saved.
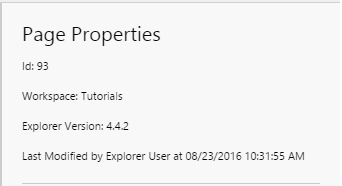
This portion of the Page Properties provides the page's basic information and history, and cannot be edited.
| Id | The unique page ID, within an installation of Explorer |
| Workspace | The page is saved in this workspace |
| Explorer Version | The version of Explorer used when the page was first saved |
| Last Modified | The user name of the person who edited the page most recently, as well as the date and time it was last edited |
Description
To add or update a description, click in the box, type a description, then click Save ![]() on the page toolbar.
on the page toolbar.
The description appears under the page name, in the page details in the Workspace.
Note: This is useful if you're scrolling through pages with similar names, as ideally the description summarises the purpose of a page, to differentiate it from other pages. Watch how this is done, in the video below.
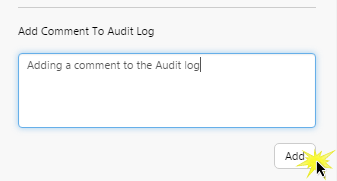
Add Comment to Audit Log
To add a comment to the audit log, type a comment in the Audit Log edit box, then click Add. The comment is saved to the audit log, and the edit box clears.
Note The audit log can only be reviewed by Administrators. See Page Auditing.
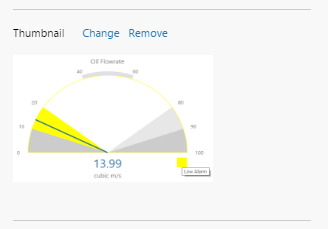
Thumbnail
1. Click the upload area, to upload a thumbnail for this page. The recommended size is 414 x 262 px. Images that are a different size will be resized to fit.
2. Navigate to an image file (for example Land Image.png) and click open.
The image is added as a thumbnail, which you can Change or Remove.
In the Workspace panel, the page thumbnail now contains the new image.
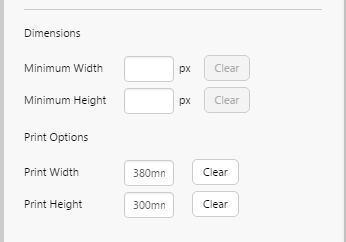
Dimensions
You can resize an Explorer page by setting the Dimensions in the page properties. This affects how the Explorer page appears in run mode, and also how you can work with it in design mode.
Type in a Minimum Width and Height to prevent users resizing to a too-small page.
You can also make these a larger size, for example 1670 by 900 (measured in pixels). This is larger than a standard minimum, and your design page will get horizontal and vertical scrollbars, which is useful if you want to add a background image, for example.
Click Clear to clear Minimum Width/Minimum Height.
Print Options
To ensure your page prints the way you want it to, you can adjust the print dimensions. Set a Print Width and a Print Height by typing in a number, followed by a unit (for example, 210mm). Other units you can use are cm (centimeters) and in (inches).
Click Clear to clear the print width/print height.