ON THIS PAGE:
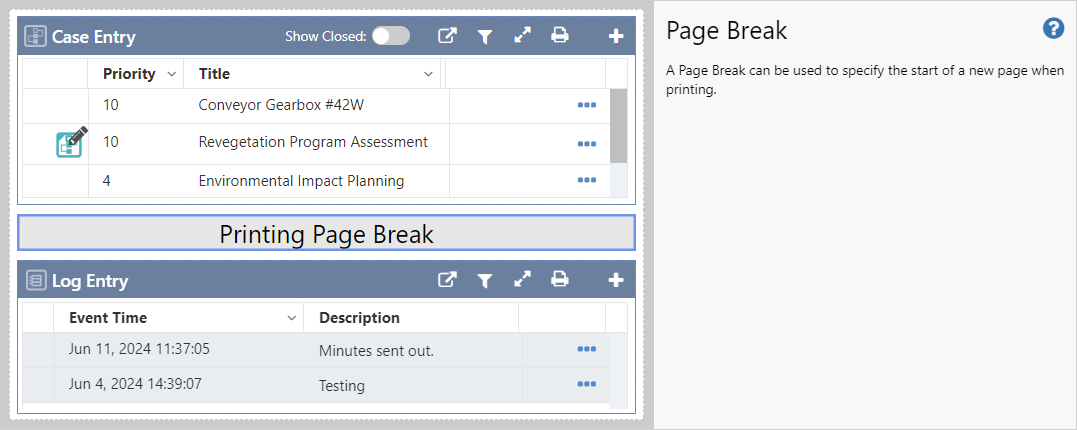
The page break component enables a page break to be inserted into a printed report.
Tutorial
If you're unfamiliar with the process of building pages, read the article Building an Explorer Page.
In this tutorial, we'll add a page break to a page in Workbook Studio.
Step 1. Prepare a Studio Page
To start, click the New Workbook button on the Home tab of the ribbon and add a new page.

Step 2. Add a Page Break
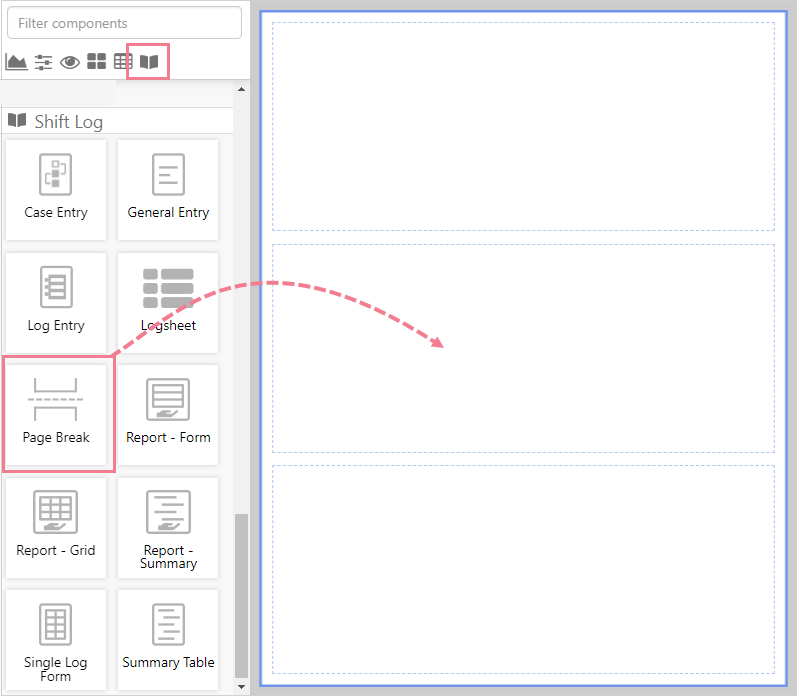
Drag and drop the Page Break component onto a cell. The Page Break is a part of the Shift Log ![]() group.
group.
The page can now be saved and used with the default configuration.
Step 3. Customize the Configuration
The configuration options available are explained in Configuration.
Step 4. All done!
Remember to save your work.
When a table or report that contains the page break component is printed, the printing will continue on a new page after the page break.
In a workbook, the page break will display as a blank line.

Configuration
The default configuration can be customized to suit your application.
Set the Row Height or select Dynamic in the page break row in the Grid Layout
| 1. |
Row Height The amount of space used by the page break component on the workbook page. |
 |
| 2. |
Dynamic When selected the amount of space used by the page break component on the workbook page is automatically allocated. |