A Named List enables items to be presented in a list, wherever a Field of type List is used. This allows users to choose from a list of valid items when they are completing an entry form.
Creating a New Named List
To create a new Named List:
| 1. Open IFS OI Server Management, and select one of the following options: | ||
|
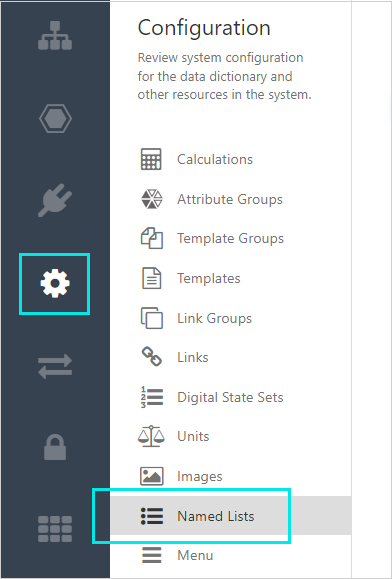
a. Configuration
|
OR
|
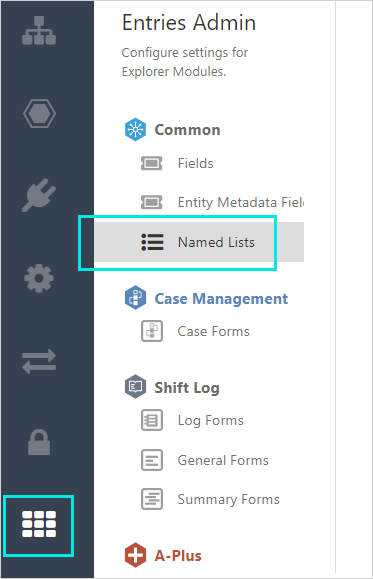
b. Entries Admin
|
2. Click Create New Named List
![]()
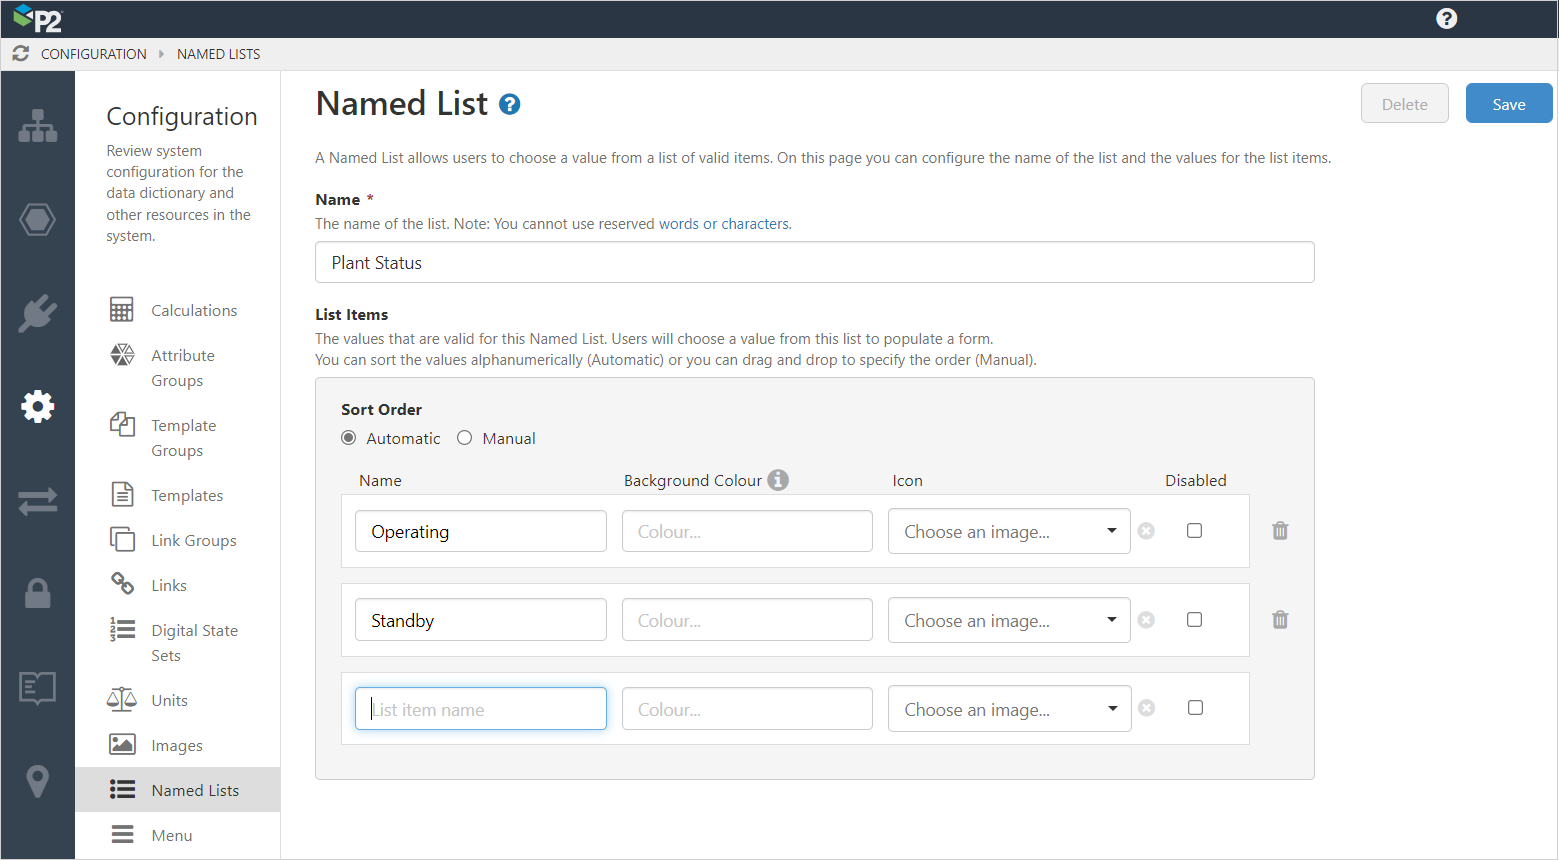
3. Choose a Name that is not already being used and does not contain any reserved characters. This will be the name of the list used when creating a field.
4. In the List Items table, type the name of each list item on a separate line. Add optional background colors and images to the list items as required.
After saving, items are ordered alphabetically unless a manual sort order is specified.
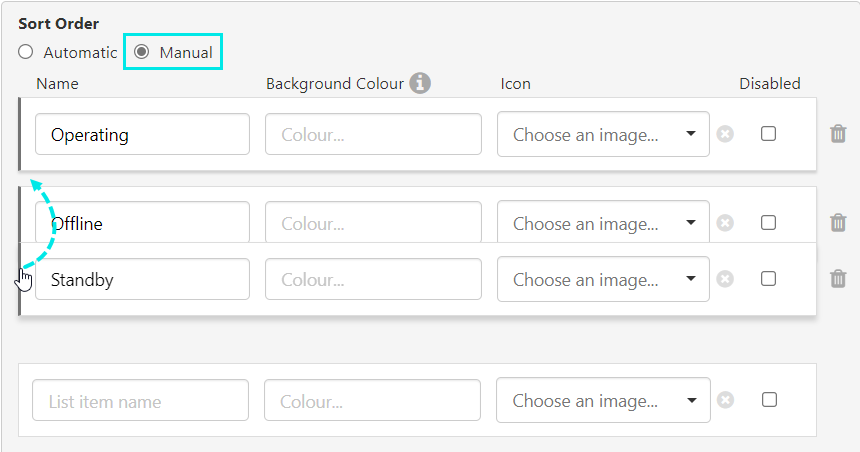
5. To specify a sort order, select Manual, and drag and drop the item cards so that they are in the desired order.
6. When you have finished, click the Save button in the top right corner.
![]()
Note: To delete an item from the list, click the bin ![]() icon on the right side of the item to be removed.
icon on the right side of the item to be removed.
Editing a Named List
To edit an existing list, use the search to filter the list of Named Lists and select a list from the search results.

Update and save the list.
Release History
- Named List (this release, 4.13):
- Entries Admin in Server Management