ON THIS PAGE:
Fields are the properties that appear in an entry, and this means they are in the entries table and in the entry dialog. Fields must be assigned to a Form and the same field (such as Category) can be assigned to many Forms. Fields are created independently of a Form.
Some fields are configured by default and are reserved for system use.
Add a New Field
To add a new field:
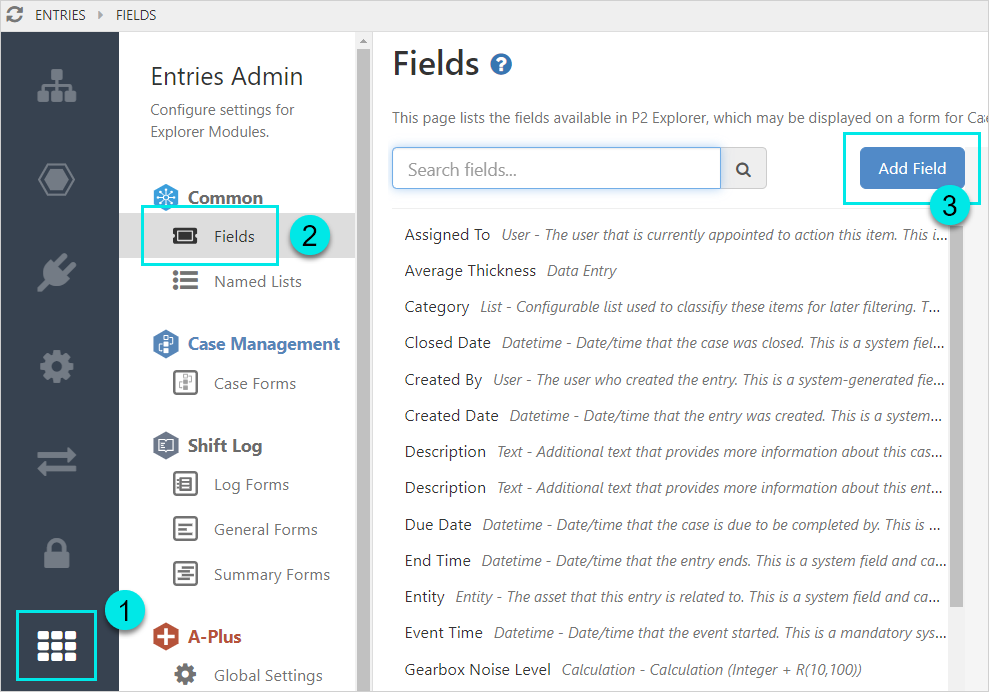
1. Open P2 Server Management and click the Entries Admin ![]() icon.
icon.
2. Click Fields.
3. Click Add Field.
4. In the Field Details section, enter a unique Name that does not contain any reserved characters.
5. Enter a Display Name - this is the name of the field that you will see in tables and dialogs and wherever users need to specify a field, such as in filters. This does not need to be unique, but is required. You can also optionally provide a Description.
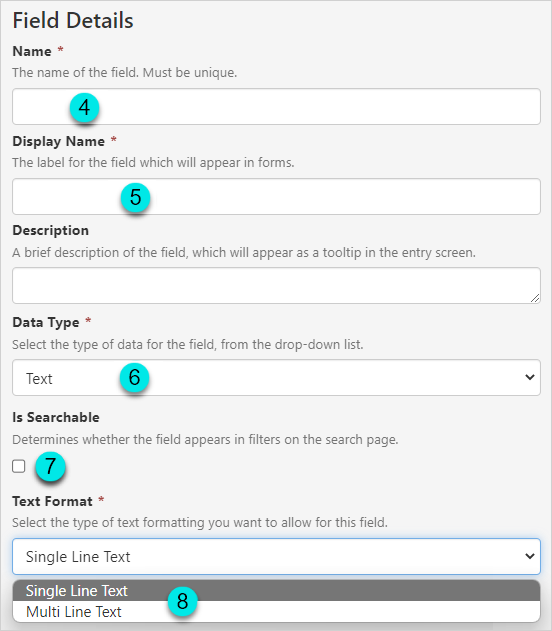
6. Next, select a Data Type from the list.
7. If required, select Is Searchable to allow:
- The content of text and entity fields to be searched.
- The option of sorting the search results by the field. Fields of type text, multiselect list, and datetime cannot be used to sort the results.
- The option of filtering the search results by the field.
8. Some data types have additional options associated with them.
9. Click ![]() .
.
Edit a Field
To edit a field:
1. Use search to filter the list of fields.
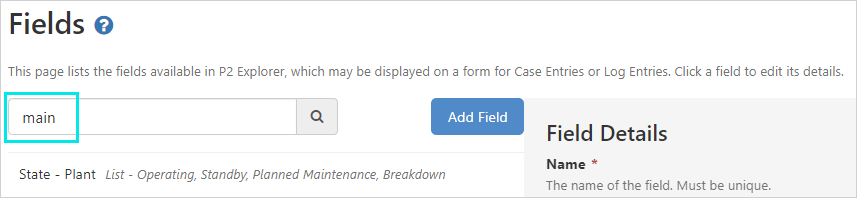
2. Select the required field to open and edit the Field Details.
3. Save any changes.
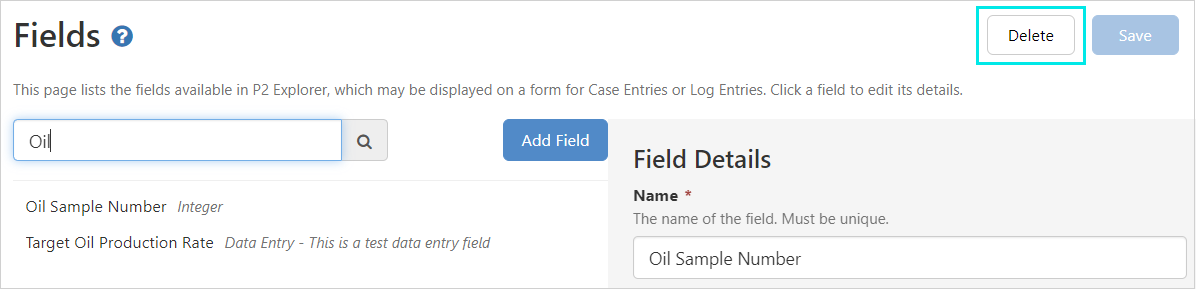
Delete a Field
A field can be deleted:
1. Before it is added to a form, or
2. If it is first removed from all forms that it had been added to. This applies even if data has previously been entered into the field.
List of Forms Containing a Field
The forms a field has been assigned to can be a found at the bottom of the field configuration.
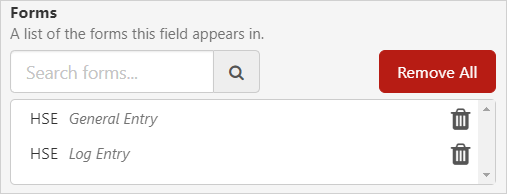
Fields can be removed from:
- Individual forms by clicking the
 on the right side of the form name.
 - All forms by clicking on
 .
.
Data Types
Field data types are:
| Boolean | This field is a check box in the dialog, and has the values True or False in the table view. | ||||||||||||||||||
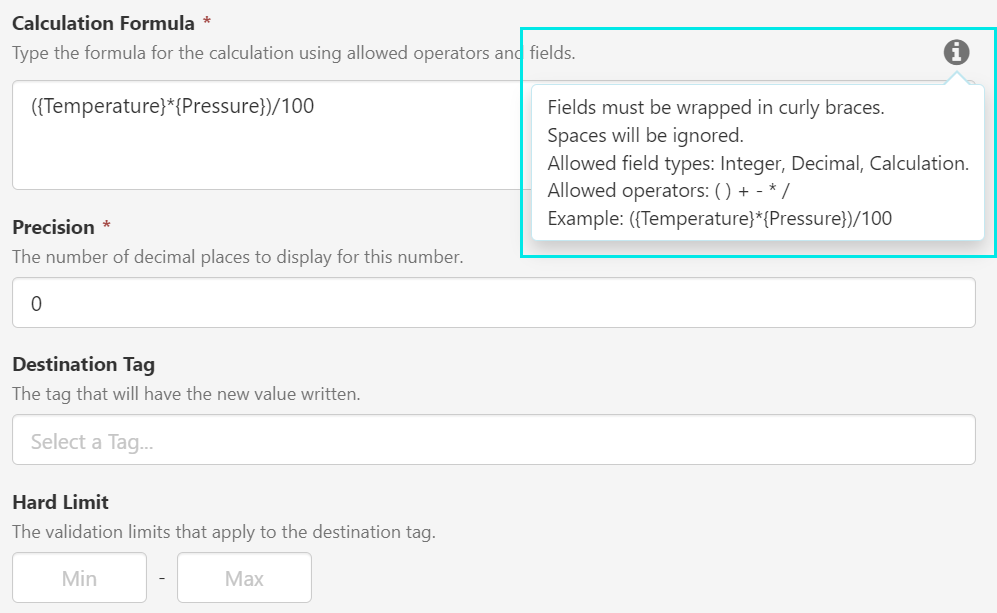
| Calculation |
The calculation field is bound by the form it belongs to, this means all values used in the calculation are collected from that same form. The calculation is created in Server Management, and the result is displayed in the dialog and the table. Neither the calculation or its result are editable in the dialog. The syntax to be used for the calculation can be found by clicking on the information
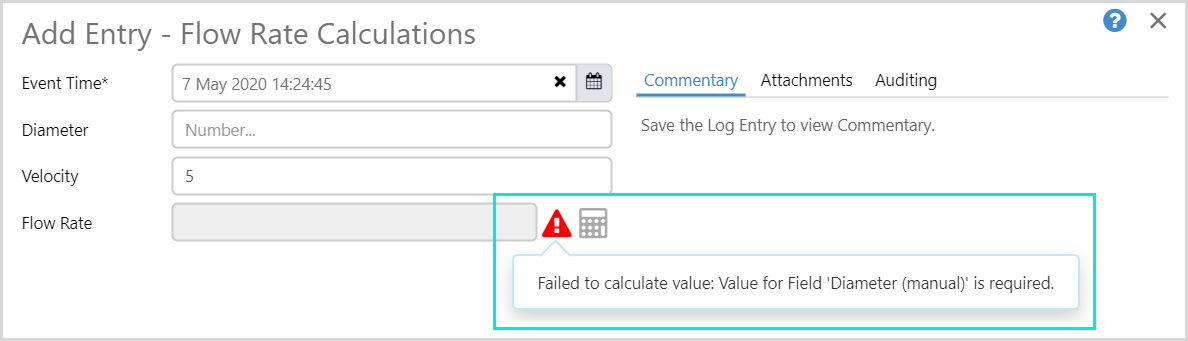
An error occurs if one of the fields used in the calculation is empty. Click
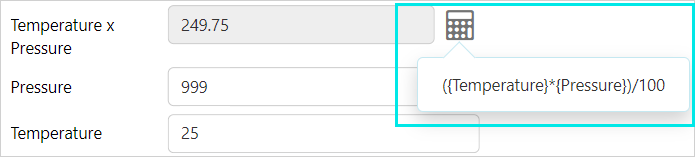
Click
|
||||||||||||||||||
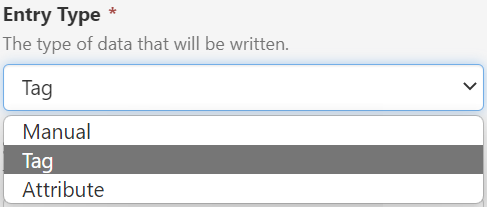
| Data Entry |
Data can be entered manually, or it can come from a Tag or Attribute.
These configuration settings apply to all entry types:
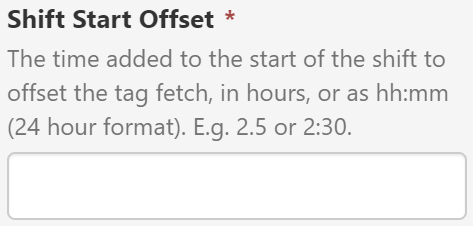
Additional setting for Tag entry type:
Additional settings for Attribute entry type:
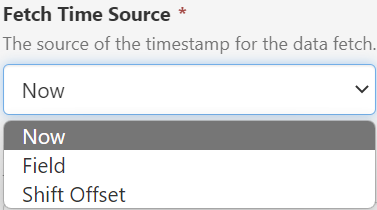
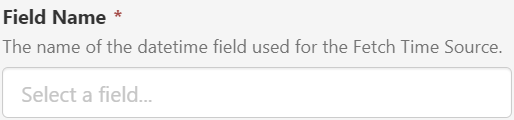
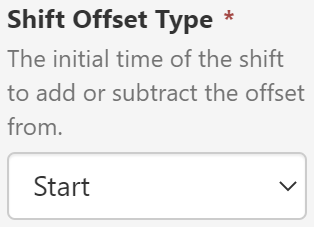
Additional settings for Tag and Attribute Entry Types:
|
||||||||||||||||||
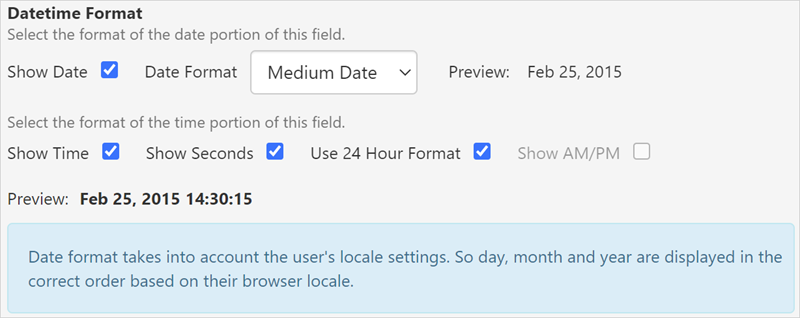
| Datetime |
This will allow users to choose a date and time by using a date/time picker in the dialog. You can specify the format in which the date and time will appear in the table. Note: the Date format takes into account the user's locale settings. So day, month and year are displayed in the correct order based on their browser locale. Various selections are available to make it easier to customise the format. A preview is shown that will update as you choose the various options. You can choose to hide the date and time, but both are shown by default.
|
||||||||||||||||||
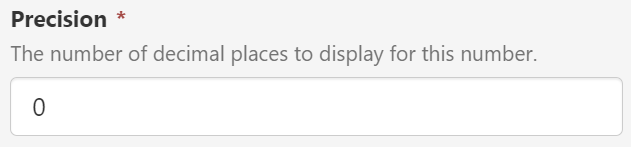
| Decimal |
A number field which allows you to specify the number of decimal places a user can enter in the field.
|
||||||||||||||||||
| Entity |
In the dialog, users will be able to enter the name, or part of the name, to search for an entity. The entities that are available for selection can be restricted to a certain hierarchy, part of a hierarchy, or a template. The selection restrictions can be applied either in the Field or Workbook configuration.
|
||||||||||||||||||
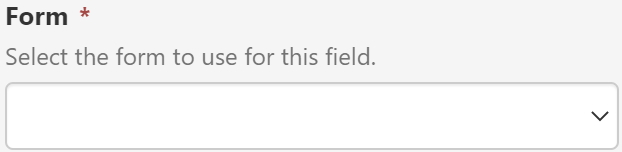
| Entry |
This is used to open a separate entry dialog, or subform, in order to add a new entry. The new entry is created while the first, or originating entry, is open. The field can be configured to use any case entry form in the subform.
The subform entry will be added to the Entries Table in the same way as all other entries, after it has been saved and the originating entry submitted. |
||||||||||||||||||
| Integer | A number field in which users can only enter a whole number. There are no additional options to choose for Integer values. | ||||||||||||||||||
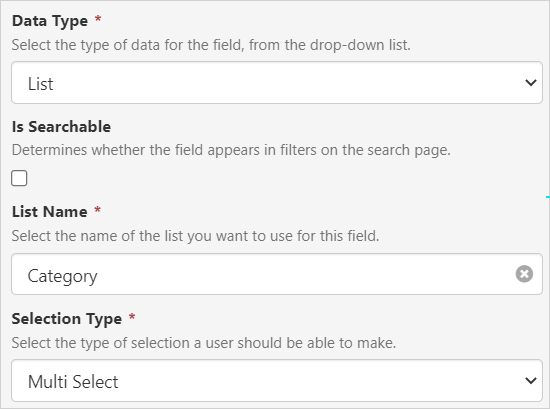
| List |
This field type allows the user to choose items from a pre-defined Named List. You can also specify whether only a single item should be selected, or if multiple items can be selected.
Note: List fields are used in the configuration of Conditional Fields. |
||||||||||||||||||
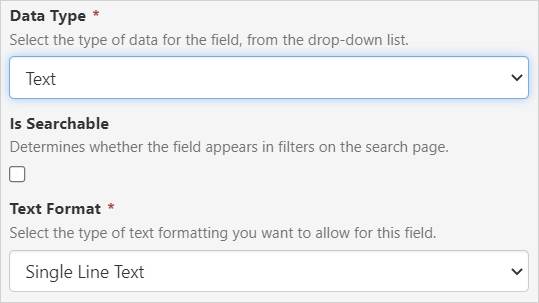
| Text |
This field type allows the user to type free-format text into a field in the dialog. You can choose whether this should be a single line of text, or if more text can be added. A text formatting toolbar, which includes the option of adding images, will be displayed if multi-line text is chosen.
|
||||||||||||||||||
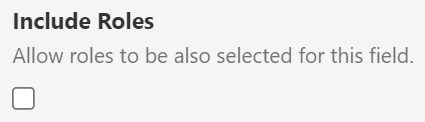
| User |
In the dialog, the user field can be filtered by typing part of a person’s name. The field can also be configured to include roles.
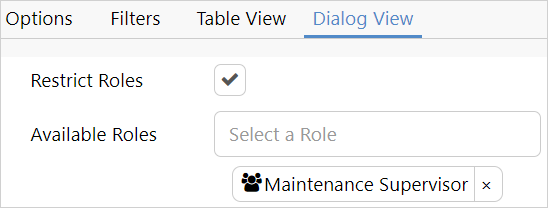
User fields can be restricted to selected roles in the Workbook configuration.
|

Release History
- Fields (this release, 4.13):
- Entries Admin
- Fields (4.10)
- Fields (4.0)