ON THIS PAGE:
The Calculation Tester is a fully-featured tool that allows you to test the results of your calculation.
This allows you to have even greater confidence in the calculation, beyond simply knowing that the syntax is correct, and enables you to determine whether or not you are getting the data you need from the calculation.
With the calculation tester, you can compare test results of the calculation run against different inputs, including:
- Entity (if required)
- Time Range (calculated from 'now')
- Sample Method
- Sample Interval
You can also:
- Export test results
- Open test results in separate windows, and keep them open so you can compare the results of different inputs
- See the time taken to run the calculation
The ‘Test’ button will become available only when the calculation is recognised as being syntactically correct.
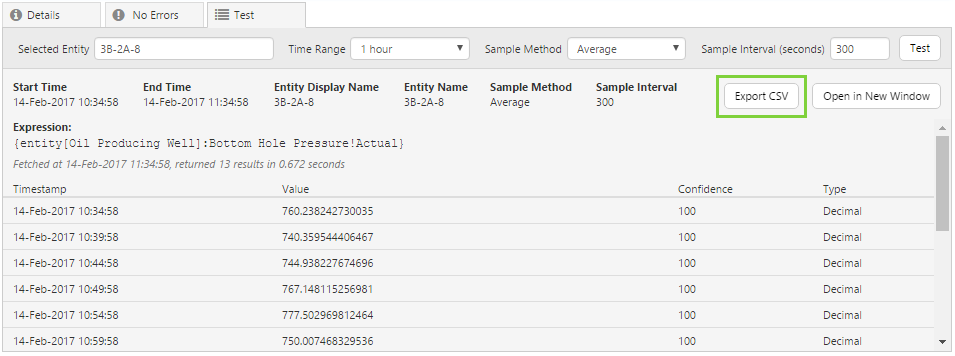
The Test Results are displayed below the parameters, after the ‘Test’ button is clicked. The results show not only the returned data, but also a summary of the parameters used, as well as the time taken for the calculation and options to export to .csv or to open the results in a new window.
How to Use the Calculation Tester
The tester will only become available when the error tab displays no errors, and when all of the required input parameters have been entered.
Step 1. Ensure no errors
First, ensure that the Error tab displays no errors. The Test button will not be available if the calculation expression contains any syntax errors. These can include:
- Mismatched brackets
- Use of square brackets [] - these are used as placeholders for optional parameters in functions, and are intended to be replaced
- Unrecognised keywords, e.g. Time being used instead of Time()
Step 2. Complete all required test inputs
By default, the Time Range, Sample Method, and Sample Interval are completed by default, but can be changed by selecting values from the drop down list (for Time Range and Sample Method), or by entering an number for the Sample Interval (the default of 300 seconds represents 5 minutes).

All required inputs are completed, inputs not required are greyed out, and test button becomes available
However, if your expression requires an entity name, you will need to enter the name in the Selected Entity field before the Test button becomes available.
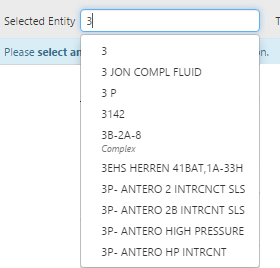
Click in the field and start typing, and a drop-down list will appear and be filtered as you type.
Select your entity from the list by using the arrow keys, and clicking Enter when your entity is highlighted.
Step 3. Click Test
When you have no errors and all your inputs have been completed, click the Test button. The test will run and your results are displayed in the panel below.
What to Do With Your Results
Your results appear in the Test panel after you have clicked the Test button.
Here you can check your fetch results, the parameters you used, the expression being tested, and the performance of the calculation.
Save Your Results
If you want to save your test results for future reference, click the Export CSV button. This will enable you to download the test results in .csv format.
Retest Using Different Parameters
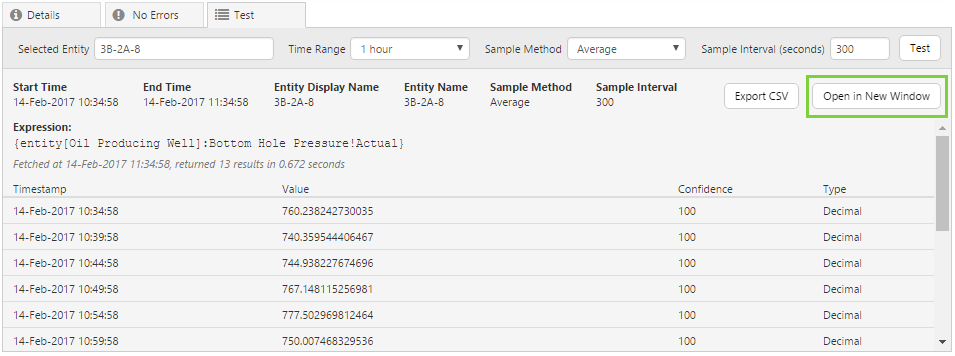
If you want to test your expression using different parameters, you can also display your current test results in a new window, by clicking the Open in New Window button.
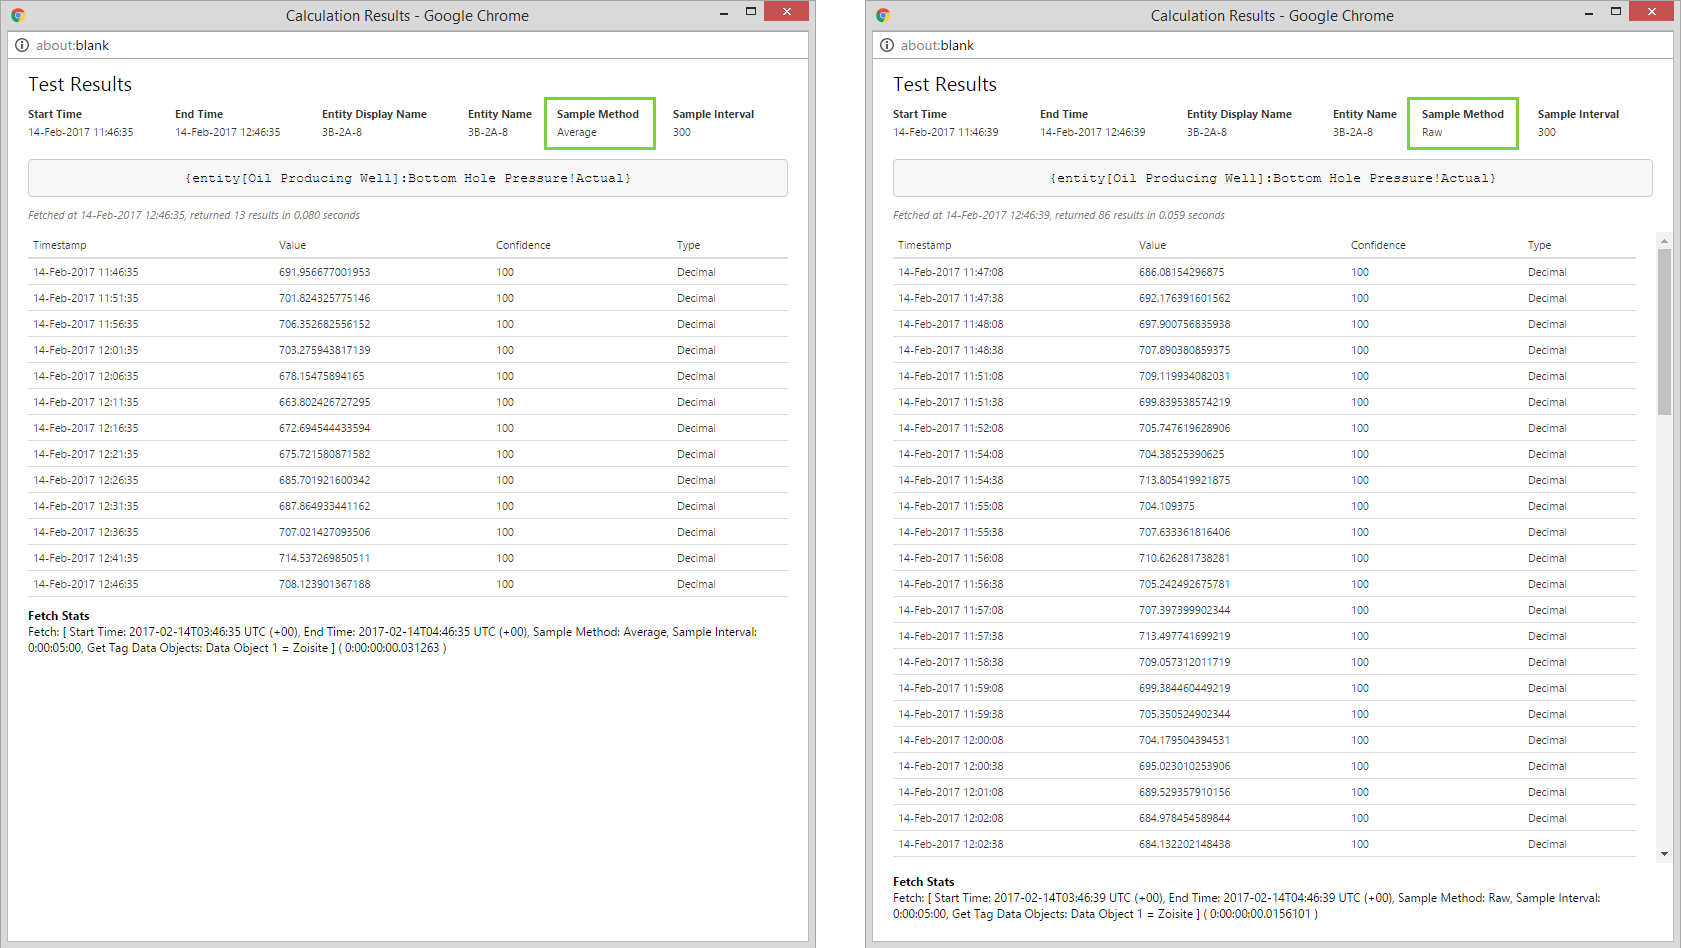
You can then retest the calculation, and display the two sets of results side by side for comparison. You can have several result windows open at the same time, closing them individually as needed.
All the information from the test panel, including fetch results, parameters used, expression tested, and performance results, are displayed in the floating windows.


