ON THIS PAGE:
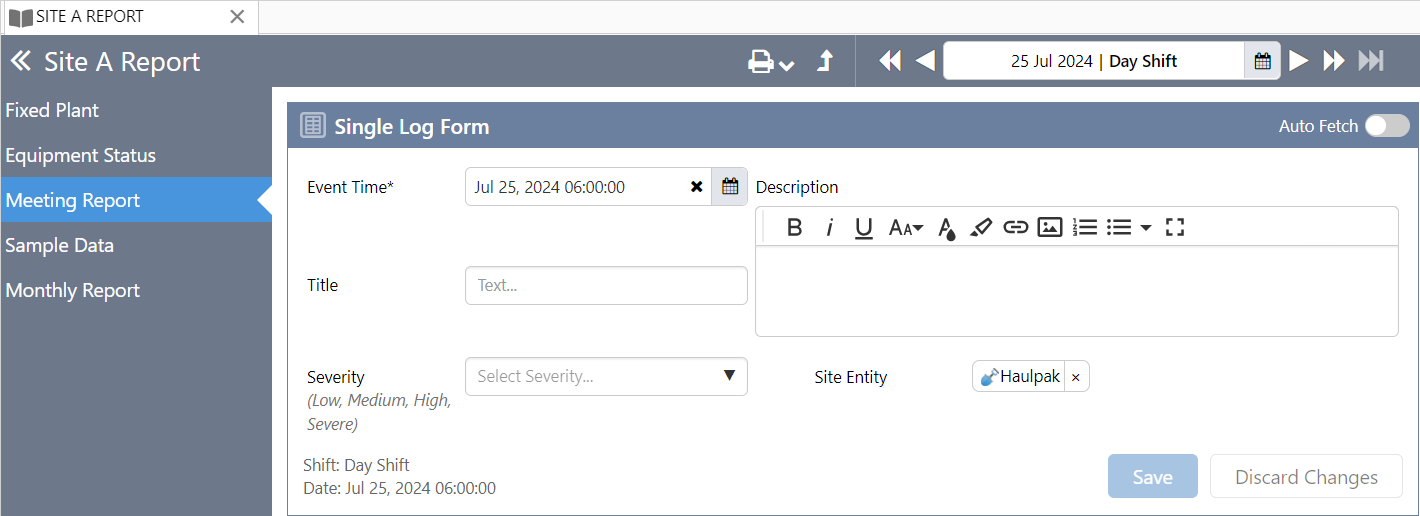
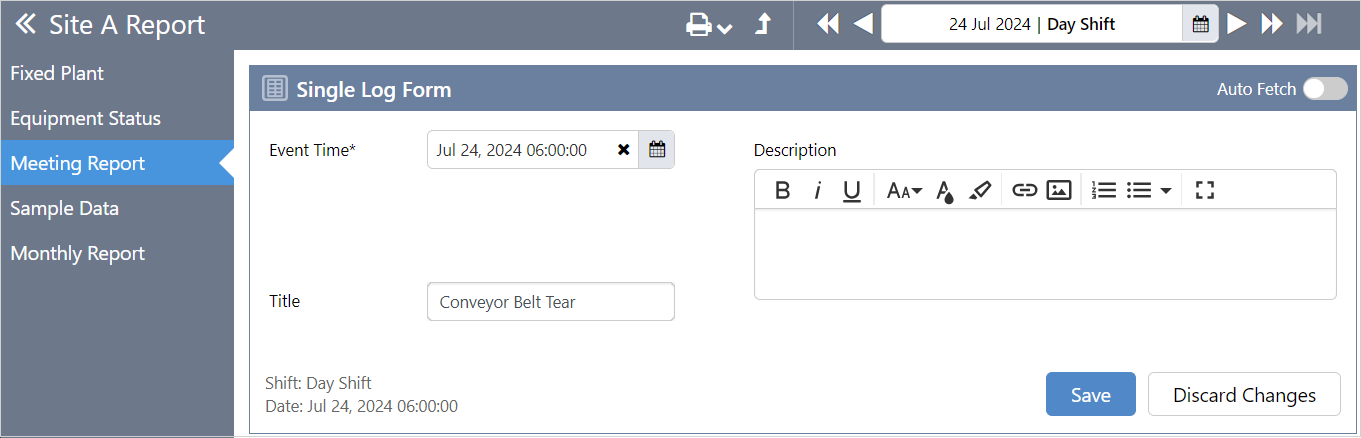
The Single Log Form component is designed to display a single log entry in an editable format.
The entry is created once per shift, and any changes made will simply update the existing entry, rather than create a new one. The entry can be the latest entry made, or an entry that is at a configured offset period to the start or end of a shift.
The fields on the form can be arranged, labelled, and hidden from view as required.
Configuration
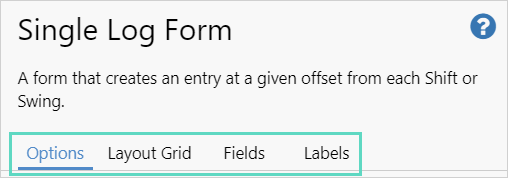
The configuration can be customized to suit your application.
The tabs, Options, Layout Grid, Fields, and Labels, each contain different configuration options.
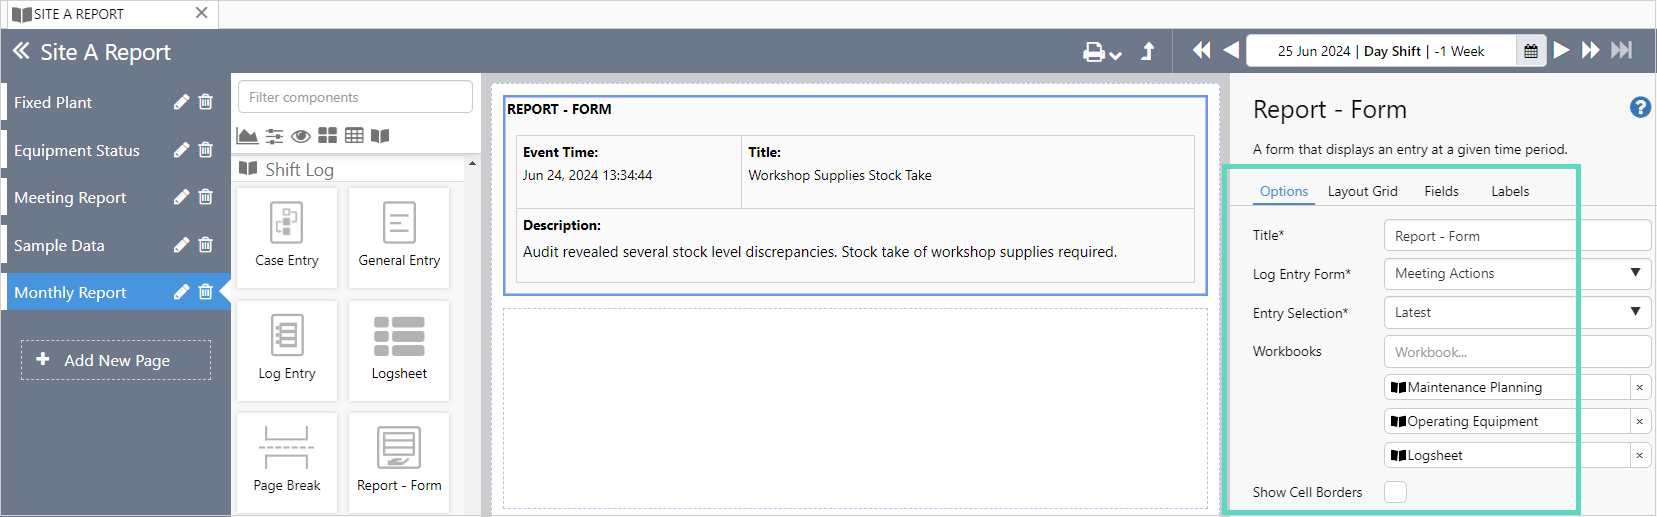
Options
Configure where the entry displayed in the Single Log Form comes from.
| Options | Configuration includes adding a title, and selecting the log entry form and entry to be used. |
| Auto Fetch | When enabled, field values will be fetched automatically. |
Layout Grid
The grid forms the basis for the form layout.
Fields
Field configuration options and where the fields are positioned in the grid. Note that different types of fields have different configuration options.
| Fields | Configuration includes adding an additional label, hiding the field and/or label, and the position of the field. | ||||||
| Set Default | An optional default value can be set for certain fields. | ||||||
| Default Value | Only values that match the data type for the field can be assigned. | ||||||
| Default to Now | The default time can be set to the time the entry was created. | ||||||
| Label Width | Fixed width in pixels. | ||||||
| Hide Toolbar on Mobile Devices | The formatting toolbar can be hidden to save space on mobile devices. | ||||||
| Restrict Roles | Select the roles that can be assigned to the field. | ||||||
| Override Hierarchy Filter |
Select this option to override the hierarchy configuration in Server Management.
|
Labels
Cells in the grid can be configured as labels.
Tutorial
This tutorial builds on the entry components tutorial.
In this tutorial, we'll add a Single Log Form component to a page in Workbook Studio.
Step 1. Prepare a Studio Page
To start, click the New Workbook button on the Home tab of the ribbon and add a new page.

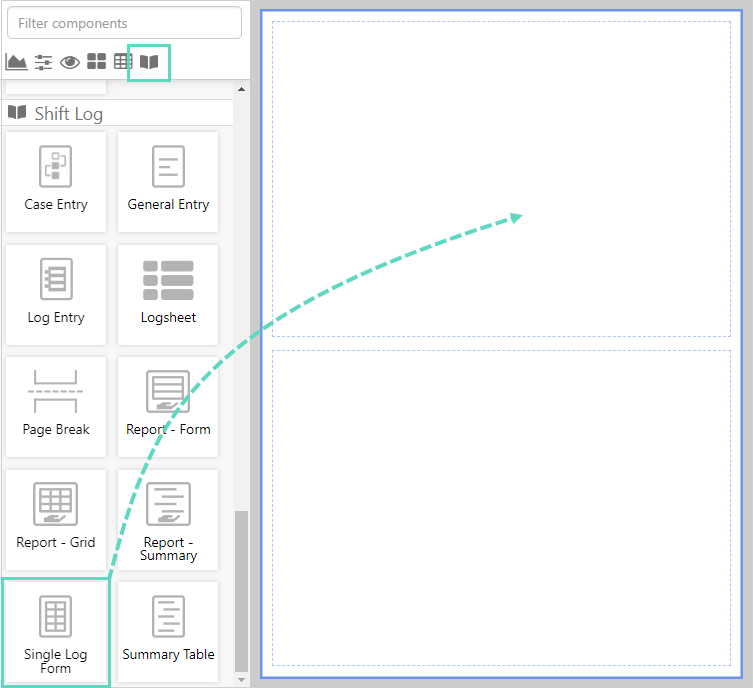
Step 2. Add a Single Log Form
Drag and drop the Single Log Form component onto a cell. The Single Log Form is a part of the Shift Log ![]() group.
group.
Step 3. Configure the Single Log Form
The configuration options available are explained in Configuration.
The Options tab configuration:
Step 4. All done!
Remember to save your work.
The Single Log Form on a workbook page. Editable fields can be updated and the changes saved.