ON THIS PAGE:
Overview
The Text Label displays text on a page.
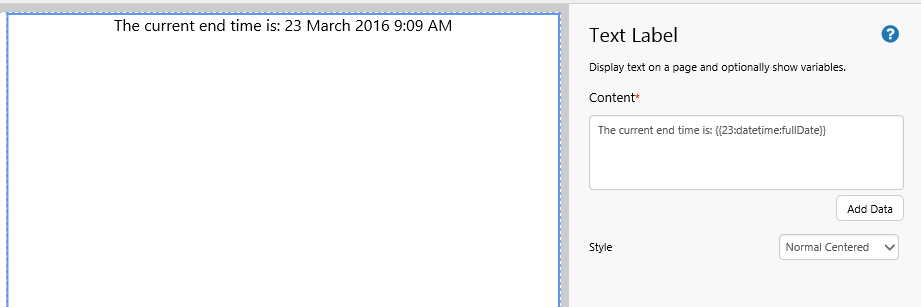
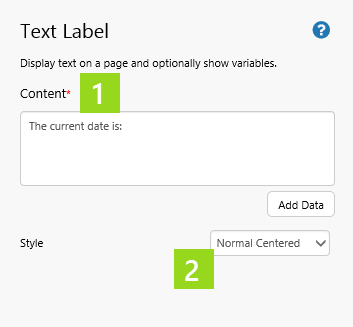
The diagram below shows a configured text label on a grid, in Studio mode. The text label here has been styled, and includes variable data.
| Content: | The text displayed in the label. Any added data is enclosed in curly brackets {} with any formatting applied. |
| Add Data: | You can add data to the content. The selected data (fixed or variable) forms part of the content text. |
| Style: | Select one of the available styles from the drop-down list, or keep the default style. If you are a Style Administrator, you can add a new Text Label style. |
Interaction with other Controls
The Text Label interacts with other controls on the page if it is configured to use variable data from other controls.
The page default variable endTime is embedded as data in the Text Label's Content. The endTime variable is refreshed every second by a Current Date/Time Toggle component, until this is switched off.
Tutorial: Adding a Text Label with Data
If you're unfamiliar with the process of building pages, read the article Building an Explorer Page.
In this tutorial, we'll add a Text Label component, and add the page default value of endTime. We'll configure the endTime to use the Full Date format
Note: Before you start the tutorial, prepare a page in Studio.
Step 1. Add a Text Label to the Page
Drag and drop a Text Label component onto a grid cell. The Text Label is in the Display ![]() group.
group.
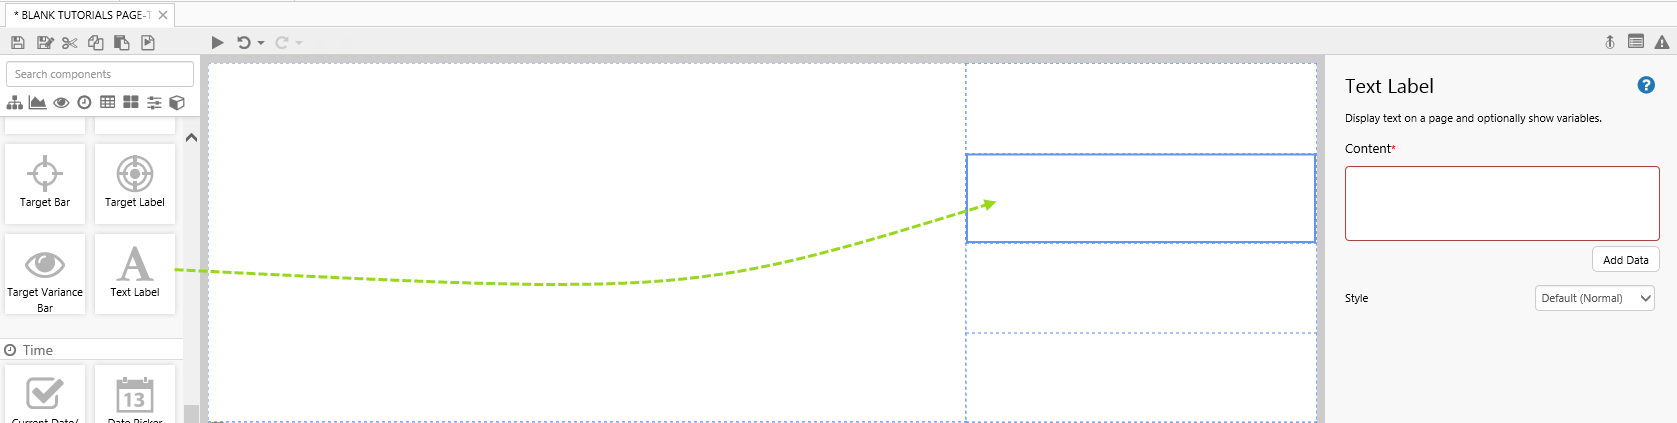
Step 2. Configure the Text Label
In this example we will add Value data to the Text Label, by selecting the Values ![]() data category.
data category.
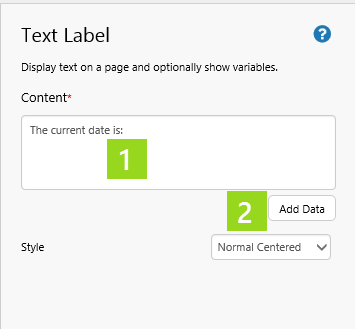
Click the Text Label component to configure it:
|
|
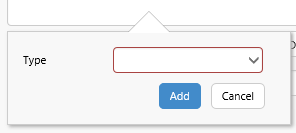
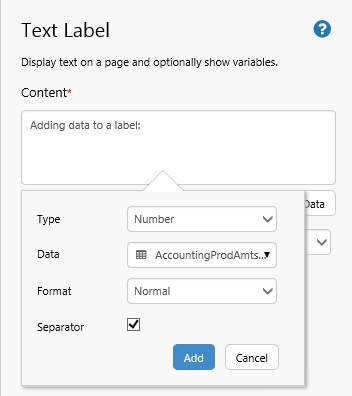
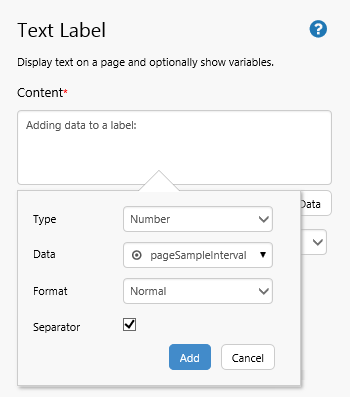
Content is a combination of text and formatted data. To add text, type it into the edit box. To add data, click Add Data.
|
||||||||||||
|
||||||||||||
|
||||||||||||
|
||||||||||||
| For numerical data (not shown here), choose a Separator using the check box. |

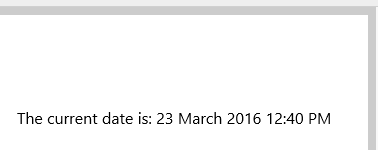
In preview mode, the Text Label shows the content, including the changing endDate date.
Options for a Text Label's Data
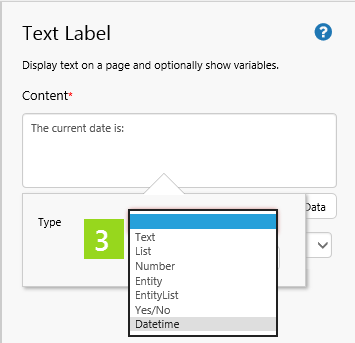
There are up to five separate data categories that you can choose from, when adding data to a Text Label, depending on the data's Type.
Here is the full reference of data categories you can choose from (including the dataset category already covered in the Tutorial).
Note: You can tab through the different data categories, to configure them. The one that is selected when you add the data remains the configured option. Any other configurations will be lost.
| Select a Data Category | |
|
Dataset
|
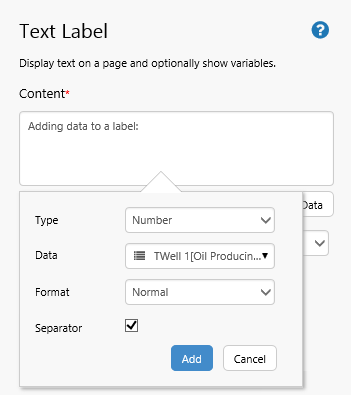
Attribute
|
|
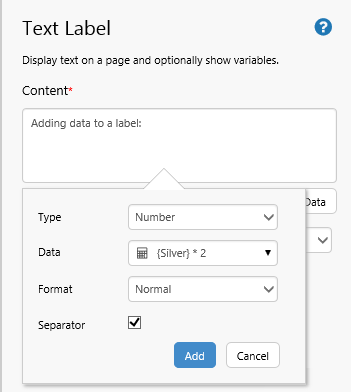
Ad-hoc Calculation
|
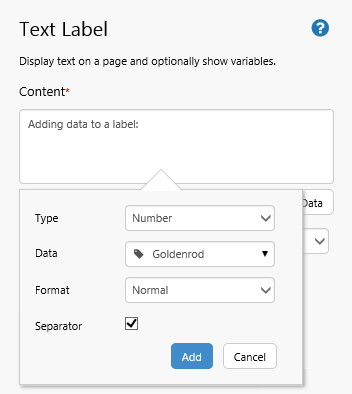
Tag
|
|
Value
|
Options for Formatting a Text Label's Data
When you add data to a text label, you can choose from various formats.
The available options relate to the data's Type:
- List Formats
- Number Formats
- Entity Formats
- EntityList Formats
- Datetime Formats
Text data does not require formatting; nor does the Yes/No type, which just adds the text: 'true' or 'false'
Below are some examples of type formatting.
Datetime Formats
The Datetime type has several formats. Here are the different formats for the date Thur 19/10/2017 04:12:16 GMT.
| Format | Result |
| Full Date | 19 October 2017 04:12 |
| Date | 19 October 2017 |
| Short Date | 19/10/2017 |
| Time | 4:12:16 am |
| Month | October |
| Day | 19th |
| Hour | 4 am |
Number Formats
The Number type has several formats. Here are some of the results you'll get when you format the number 10,932.5821. The number separator depends on the locale of the user’s browser.
| Format | Parameter (for example: Separator, Symbol) | Result |
| Normal | (Separator) selected | 10,932.582 |
| Currency | (Symbol) $ | $10,932.58 |
| Scientific | (Decimals) 2 | 1.09e+4 |
| Decimals | (Decimals) 4 | 10,932.5821 |
Entity and EntityList Formats
The only format here is Display Name.
List Formats
All lists are formatted as Comma Separated. For example, a list: 1, 2, 3 appears in the text label as 1, 2, 3.
Release History
- Text Label 4.5.3 (this release)
- If the text label's data contains tags or calculations that have a digital state set assigned, the matching digital state pair's Name is used instead of the Value if there is a match. No changes to the Text Label's configuration are required.