ON THIS PAGE:
P2 Excel Add-in provides a macro function that you can use to submit entity values to P2 Explorer for storage. This is typically done by embedding a button in a worksheet.
The following example describes how to add a button to a worksheet and use the BFPut function to submit values to P2 Explorer when the button is clicked.
1. Open a blank workbook in Excel, with a default worksheet name of Sheet1.
2. Make sure the Developer tab is displayed in the ribbon toolbar (turned off by default):
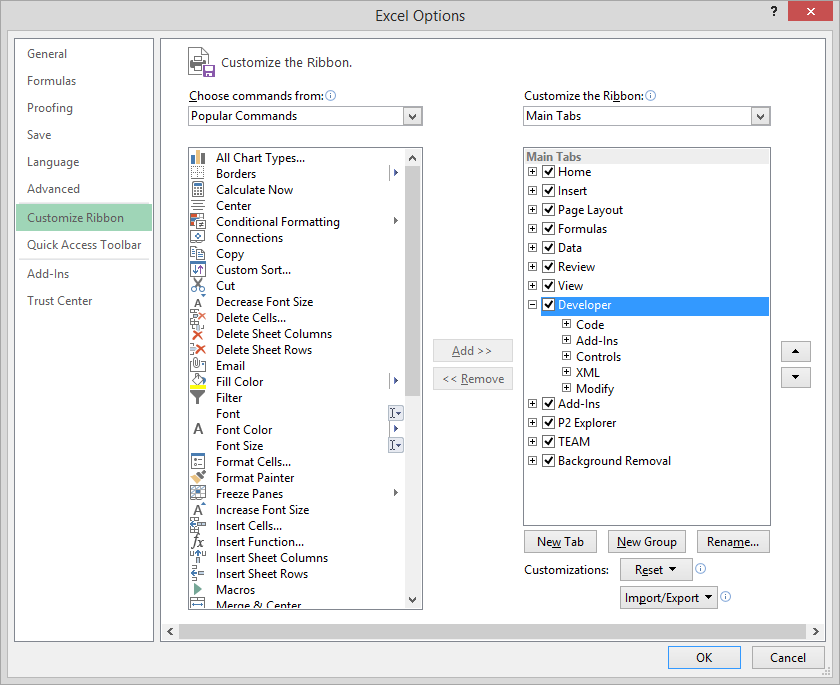
- Click the File tab, and select Options.
- Click Customize Ribbon.
- In the list on the right, select the Developer check box.
- Click OK.
3. Click the Developer tab on the ribbon.
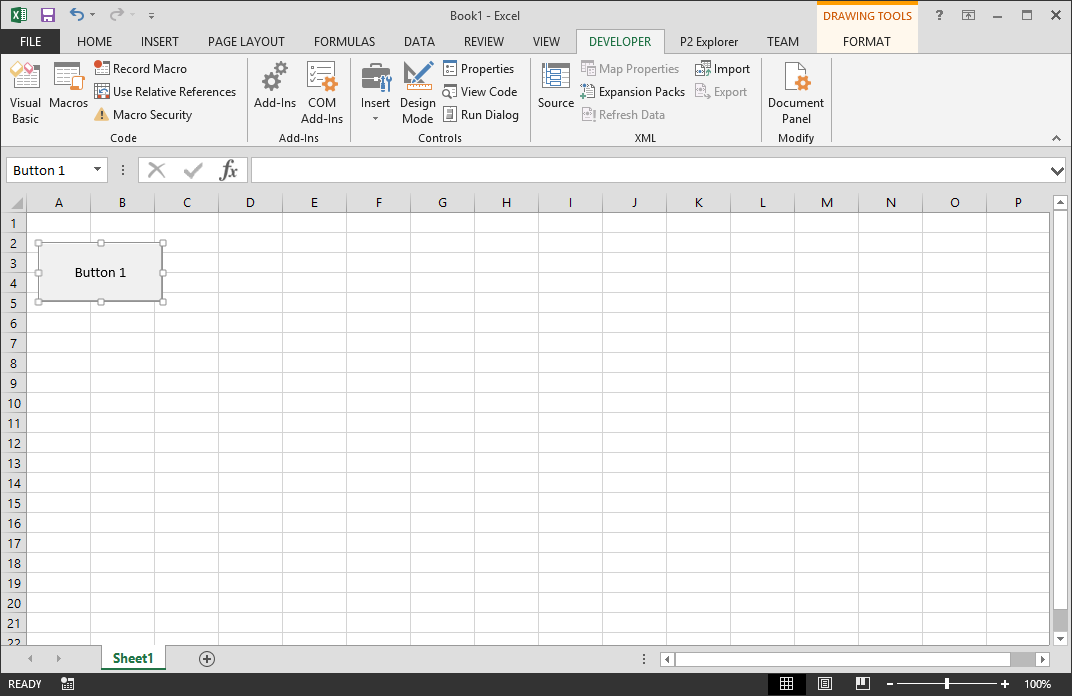
4. Add a form button to the sheet:
a. On the Developer tab, click the Insert button and select the Button Form Control.
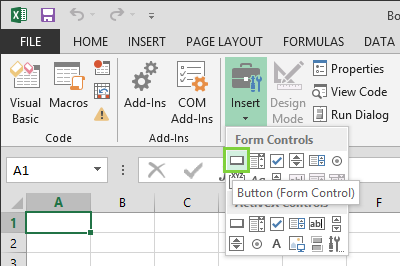
b. Drag a rectangular area on the sheet where you want the button.
An Assign Macro window appears.
5. To add some new VB macro code (which executes when the command button is clicked), click New in the Assign Macro window.
The Assign Macro window appears.
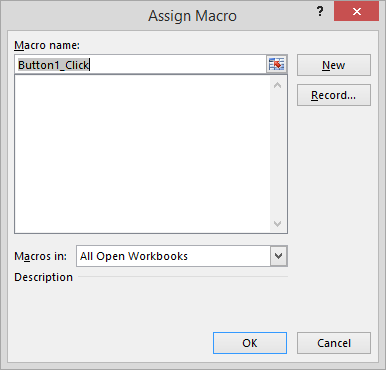
6. Type a name for the macro, click in the white box, and then click New.
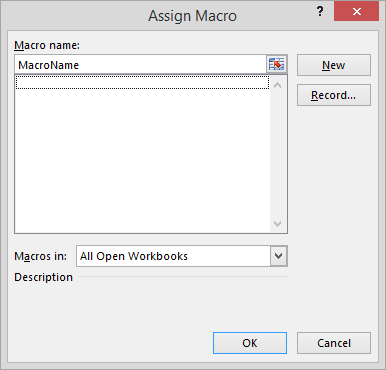
Visual Basic opens.
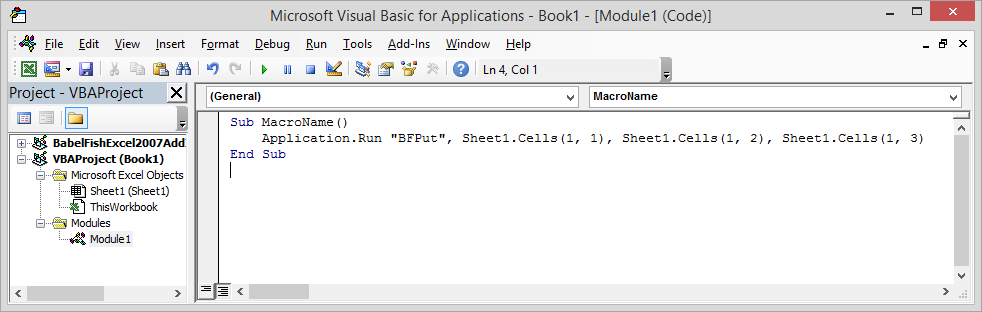
7. Enter the following code:
Sub MacroName()

    Application.Run "BFPut", Sheet1.Cells(1, 1), Sheet1.Cells(1, 2), Sheet1.Cells(1, 3)

End Sub
8. Close the VB Macro Editor window.
You are returned to the Excel worksheet, and the button will now be labelled.
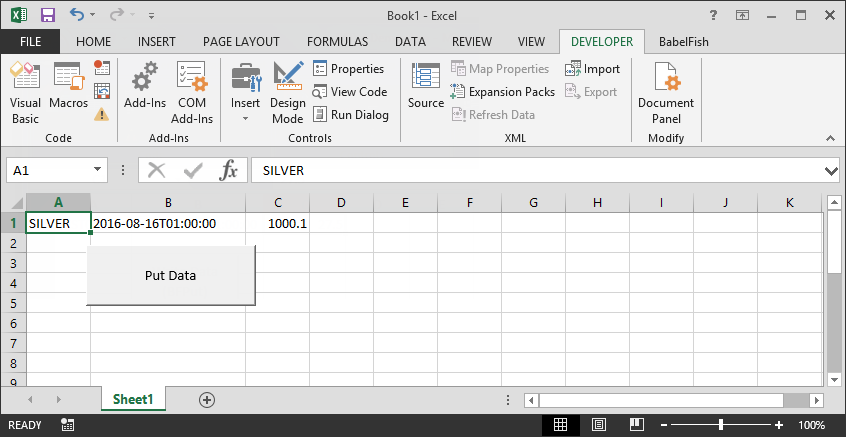
9. Make sure that in your worksheet, you have entered the following cell data:
- Cell A1 should contain the tag name to put (for example, SILVER)
- Cell B1 should contain the time stamp for the data (for example, 2016-08-16T01:00:00)
- Cell C1 should contain the value for the tag (for example, 1000.1)
10. Rename the button to something more meaningful:
- Right-click on the button and select Edit Text.
- Type the new name for the button, for example Put Data.
11. Click the button to test the function. Any errors will appear in a message box.
BFPut
Format: BFPut(EntityName, Time, Value)
BFPut stores entity data within P2 Explorer.
For a given Entity Name, Time, and Value, this function can submit these values to P2 Explorer for storage. It is provided as a macro function within Excel®, to be used by a VBA programmer. For further details, refer to Submitting Values to P2 Explorer.
Entity Name: The specified Entity Name of the P2 Explorer entity that you want to save.
Time: The date and time for which you want to save.
The ISO 8601format accepted in P2 Excel Add-in is YYYY-MM-DDThh:mm:ss. Where:
|
YYYY MM DD hh mm ss |
Four-digit year Month (01 to 12) Two-digit day of month (01 through 31) Hour in 24 hour format (00 - 23) Minutes (00 to 59) Seconds (00 through 59) |
If the time is specified in Excel format, then the BFTimeFromExcelTime function must be used to convert from Excel format to ISO8601 format. This is so that you can easily use Excel formulas to calculate a time, then convert that time for use with the P2 Explorer functions.
Value: The Value parameter is the value you wish to store for the Entity Name and the Time you wish to save it for.
Return Value
There is no return value.
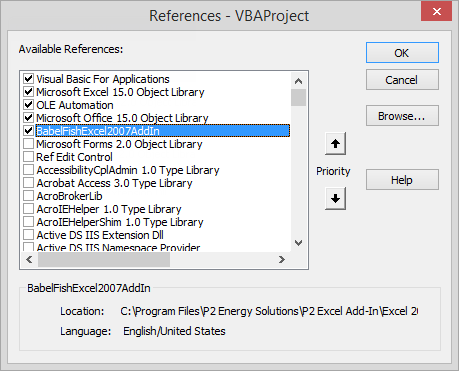
Adding a VBA Reference
Before you can use BFPut you must add a VBA reference to your current project.
To add a reference:
- Select Tools>References... from the VBA code window.
- Select BabelFishExcel2007Addin.
How to Call BFPUT
Example 1
Calling BFPut() from a VBA macro with hard coded parameters
Application.Run "BFPut", "TEST001.PV", "2002-10-01T03:00:00", 5
Example 2
Calling BFPut() from a VBA macro with cell referenced parameters
Application.Run "BFPut", Sheet1.Cells(1, 1), Sheet1.Cells(1, 2), Sheet1.Cells(1, 3)
Example 3
Calling BFPut() from a VBA macro with hard coded parameters
Call BFPut("TEST001.PV", "2002-10-01T03:00:00", 5)