ON THIS PAGE:
A workbook in Explorer is a collection of pages that allows someone to perform a role-based activity.
In Shift Log, this generally means adding entries to a logbook. However, they are much more powerful because of their tight integration with Explorer. In future versions of Shift Log, Workbooks will also be able to contain Explorer pages and trends, paving the way for role-centric workflows.
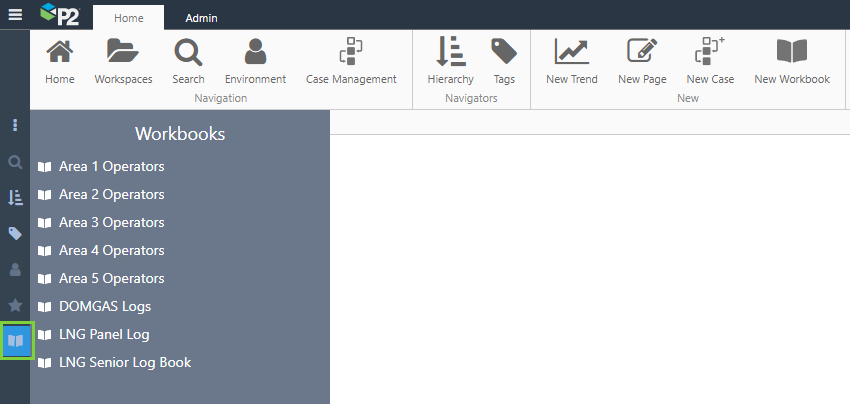
Workbooks Menu
Workbooks will appear in a Workbooks menu list, accessible from the shortcut menu on the left. Workbooks are arranged in alphabetical order, and users will only see the ones that they have privileges to view.
Workbook Information
Workbooks have the added benefit of being part of Explorer’s collaboration network, so you can click the Info button in the ribbon to open the Explore panel on the right. Here you can find and add information about the workbook, including Knowledge Management and Commentary. You can also add the workbook to the site menu, by using the classification system developed for your specific needs.

Workbook Structure
Workbooks have a distinct Look and feel, with a dark blue header and page list on the left. The workbook header contains the main functions specific to the workbook and shift, such as the Shift Navigator, Publishing, and Report Printing functions. Additional functions that apply to the workbook are contained in the workbook ribbon.
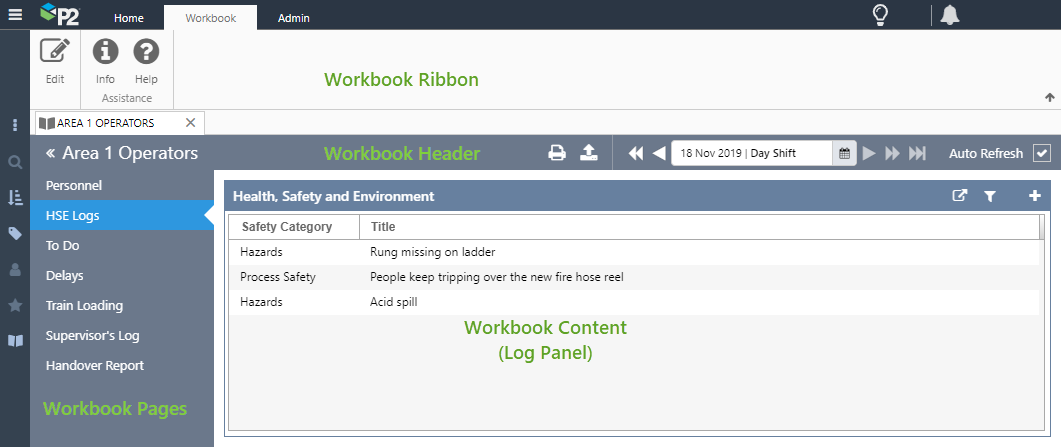
Workbooks can be configured in various layouts. In this version of Shift Log, the Shift Log administrator can configure workbooks to have a grid layout with any number of rows or columns. In the grid, cells can be configured to contain Log Entries, Case Entries, or General Entries.
Ultimately, Shift Log administrators will also be able to embed other Explorer components inside a workbook, such as charts, which will allow users to view production data alongside log entries pertaining to that data.
Workbook Controls
Workbooks contain a number of controls by which you can perform various actions for that workbook.
Our redesigned Shift Navigator makes it easy for you to select the shift you need. First click the date, and then click the shift. Click Apply, and you’re done.
If you want to change the month or the year, click the name of the month at the top and then choose the month, or keep clicking to change the year.
You can also click the current date at the bottom to get back to today’s date, if you get lost.
The Shift Picker also retains the familiar quick navigation controls:
![]() Back or Forward 7 Days
Back or Forward 7 Days
![]() Previous or Next Shift
Previous or Next Shift
![]() Go To Current Shift
Go To Current Shift
The Shift Navigator also remembers where you left off, so if you reload the browser, the shift you had selected will be the one that is shown when the browser is reloaded.
Watch the video below to see how to use the Shift Navigator.
Auto Refresh
Workbooks are, by default, set to automatically refresh the displayed entry data every minute. Users can choose to turn this off if they do not want or need the data to be updated, such as if there is only one person using the forms in that workbook.
![]()
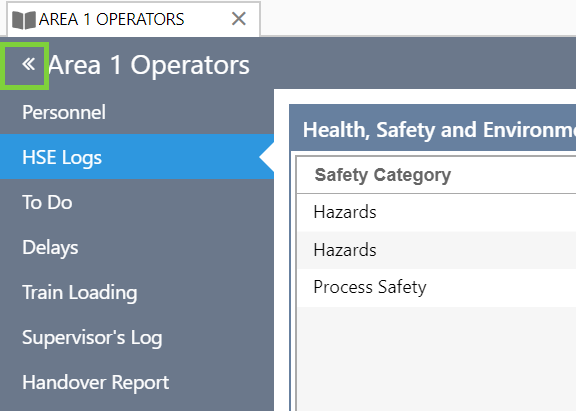
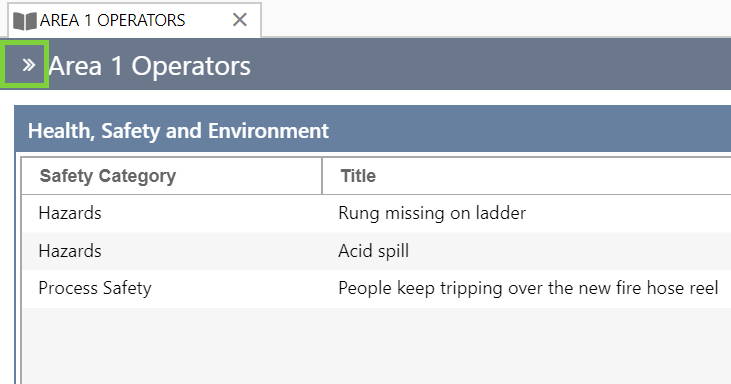
Hiding the Workbook Pages list
In a workbook, you can see more of the workbook contents by hiding the page list. Click the << arrows to the left of the workbook title to hide the page list, and click them again to unhide the list.
|
Click << to hide the page list: |
Click >> to show the page list: |
 |
 |
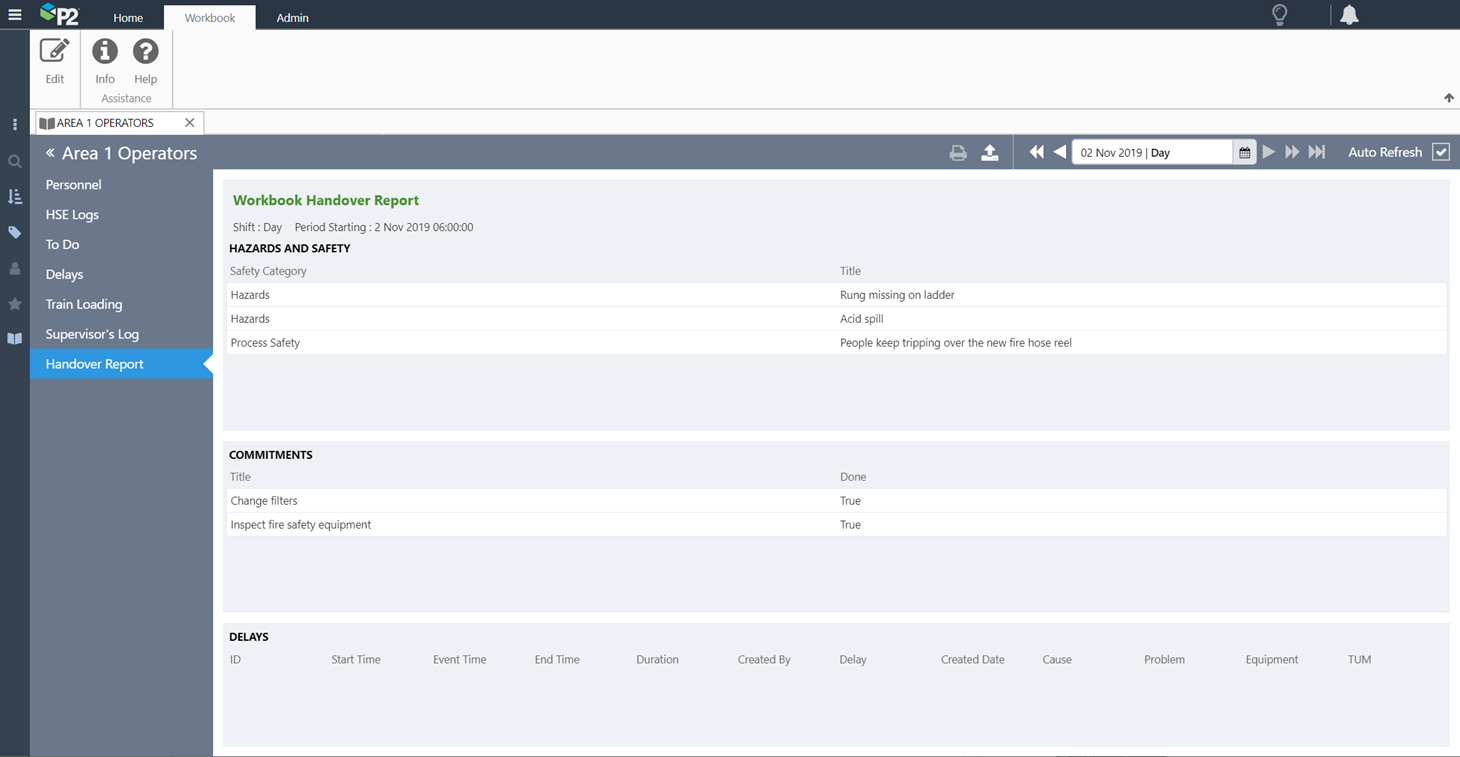
Shift Handover
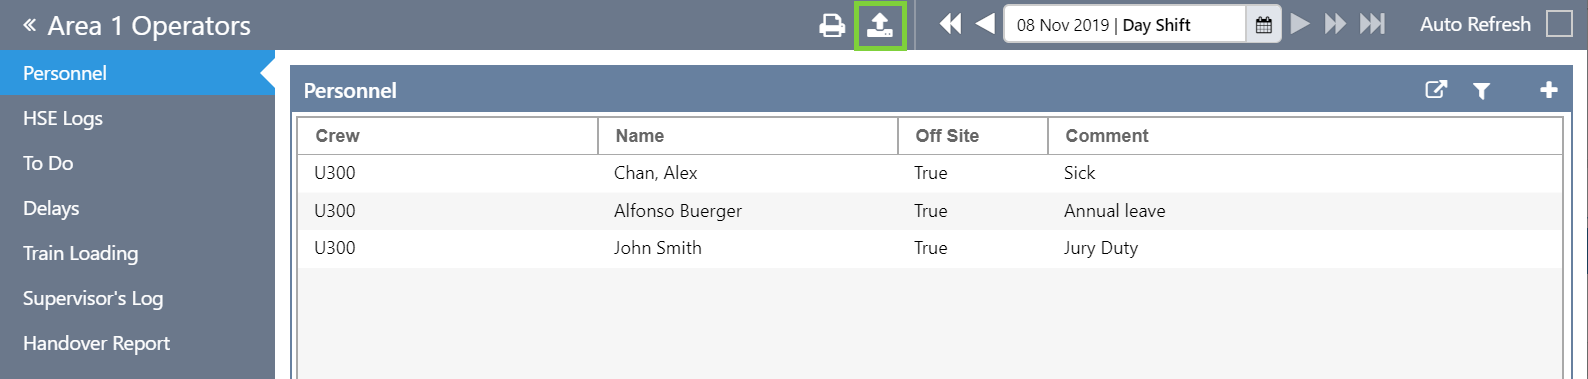
At the end of a shift, the shift can be locked down to prevent further editing, and a Handover Report can be printed.
Publishing/Locking a Shift
A workbook can be published by clicking the Publish icon in the workbook header. This locks log entries for that shift and prevents further edits to the log. Note that only logs using the Log Entry Form are locked; Case Entries and General Entries are not locked.
After publishing, a lock symbol indicates which log is locked against further entry, and the Publish icon changes to an Unpublish icon.
You can then click the Unpublish icon to unlock the workbook.

Printing a Handover Report
For workbooks that have a Handover Report configured, the report can be printed by clicking the Print button in the workbook header.

The handover report can be printed at any time, not only after a workbook has been published.
Entry Tables
Entering logs in Shift Log 4 is very similar to the previous versions. In the log panel, click the + button.

Note: A maximum of 200 entries can be displayed in a log table.
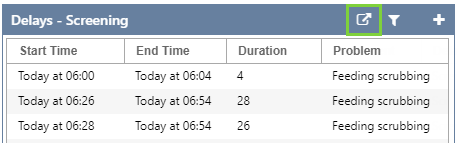
Exporting Logs
You can export the data for a particular log panel to a .csv file, by clicking the Export button in the log panel header. This will download a .csv file onto your machine.
Filtering Logs
Users of Shift Log can apply filters to a log to further restrict what is being displayed, by clicking the Filter button in the log panel header.

This will open a dialog box containing the filtering options.