ON THIS PAGE:
Case Management is all about monitoring, and managing, activities and events.
Cases come from Sentinel, Shift Log, or those manually entered in Explorer via Case Management.
They can be edited, categorized, sorted and filtered. Cases can also be assigned a due date, and changes in status as they are progressed.
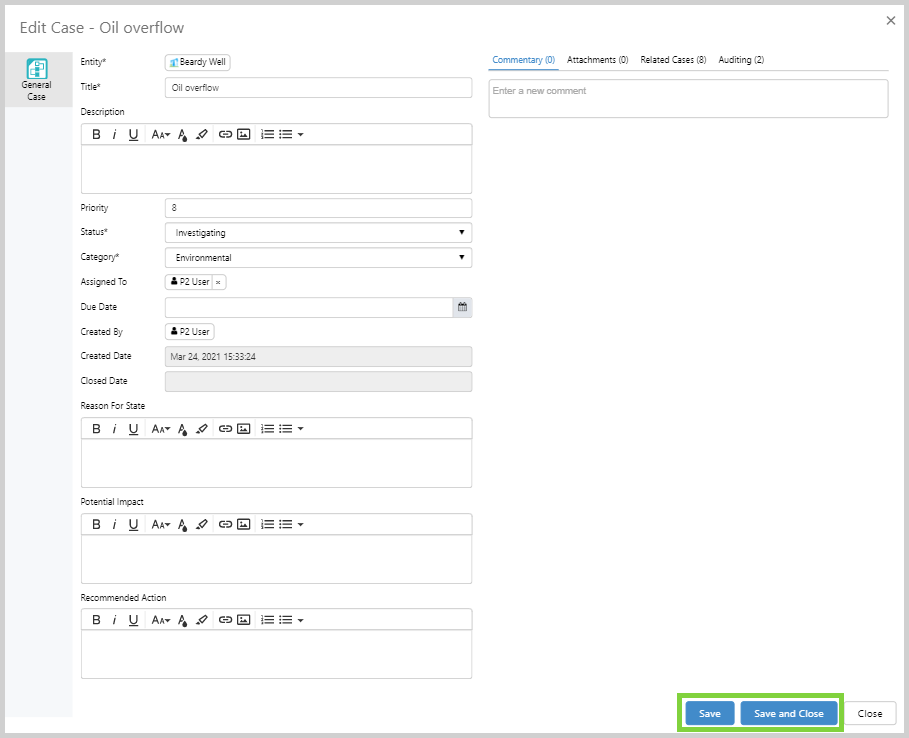
The Case Management entry form is where you create, and edit case entries.
The Entry Form
The Case Management entry forms are the Create New Case and the Edit Case forms.
The main parts of the Create New Case form are:

| 1 | The title of the form - this shows if you are adding, or editing an entry. |
| 2 | Fields that must be filled in are outlined in red. |
| 3 | Fields that are optional are outlined in grey. |
| 4 |
Click the relevant tab to add a comment, add attachments, see related cases, or view the audit history of the entry.
These fields are only available after you have saved the entry.
|
| 5 | Buttons to save the entry, or close the dialog box. 'Save' will save the entry but leave the dialog box open. |
The data entry fields in the form are:
| Entity | You can fill in the entity field by either:
|
| Title | This field accepts alphanumeric text. The title is displayed at the top of the Edit Case form. |
| Description | Enter any combination of alphanumeric characters. Formatting can be applied to entries in this field. |
| Priority | Enter a number to assign a priority to the case. Number one is usually used as the highest priority. Default value is 10. |
| Status | Click in the field, or on the down arrow, and select from the options in the displayed list. |
| Category | Click in the field, or on the down arrow, and select from the Environmental, Financial, Maintenance, Occupational Health and Safety, or Operational categories. |
| Assigned To | Click in the field and select a name from the displayed list, or start typing a name and the list will filter to match what you have entered. |
| Due Date |
Click in the field, or on the calendar icon, to access the time and date picker. Select the Due Date and Time.
If the selected value is in the past, the field is highlighted in pale red.
|
| Reason For State | Enter any combination of alphanumeric characters. Formatting can be applied to entries in this field. |
| Potential Impact | Enter any combination of alphanumeric characters. Formatting can be applied to entries in this field. |
| Recommended Action | Enter any combination of alphanumeric characters. Formatting can be applied to entries in this field. |
The fields in Edit Case forms can vary depending on how they have been configured.
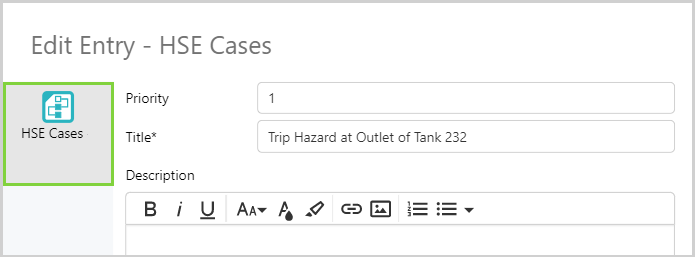
The icons on the left side of the Edit Case form indicate the type of the case entry.
Shift Log cases may have a variety of different labels, for example, HSE Cases.
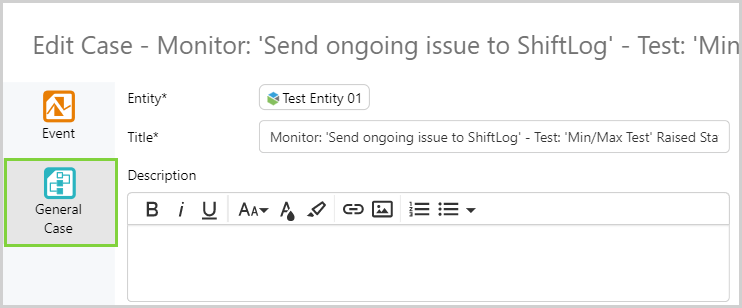
All Sentinel and Explorer cases are a General Case.
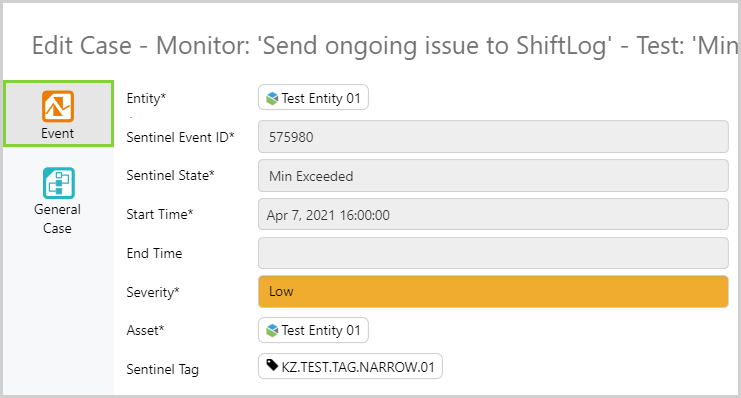
Cases created as a result of a Sentinel event also have event information.
Select the Event tab on the left side of the Edit Case form to find details of a Sentinel event.
Note: On mobile devices the layout of the entry form is different to what is described above.
Add a New Case
1. Open Case Management in one of these two ways:
-
- On the Home ribbon tab, click on the Case Management button, or

-
- On the Shortcut Menu, click on the Case Management
 icon.
icon.
- On the Shortcut Menu, click on the Case Management
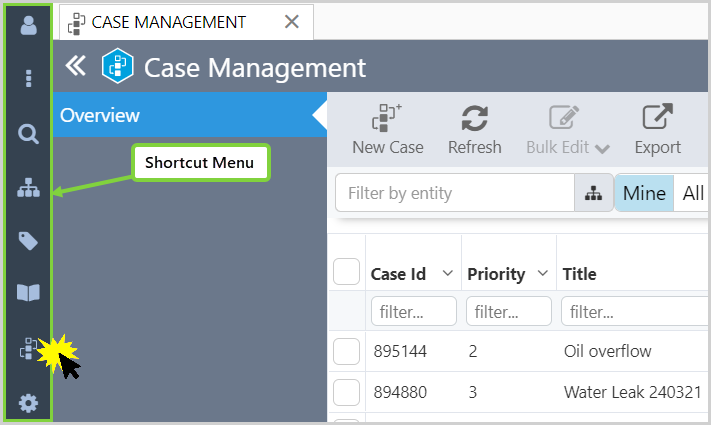
Case Management opens and displays the Overview page.

2. Click on the New Case ![]() icon on the toolbar.
icon on the toolbar.

The Create New Case entry form will open.
See The Entry Form.
Edit a Case
To edit a case:
1. Click on the case you want to edit in the Cases Table.
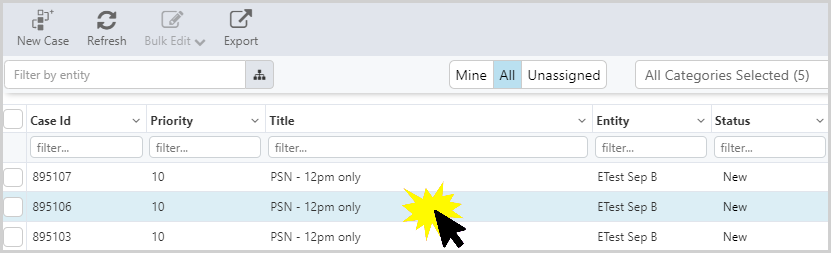
The Edit Case entry form will open, and you can make the changes you need.
2. Click Save or Save and Close to save your changes.
When you open a form for editing you are able to:
These options are explained in the following sections and are only available when you are editing an entry.
Add a Comment
When the Edit Case entry form opens:
- The Commentary tab is selected, and
- The comment box is displayed.

To add a new comment:
1. Click in the "Enter a new comment" box, and type your comment.
2. Click Save, or press the Enter key, to save the comment,

Add an Attachment
You can attach photos and documents to an entry. Note that an entry must first be saved before you can add attachments, and only certain file types are allowed.
To add an attachment:
1. Click on the entry in the Cases Table to open the Edit Case entry form.
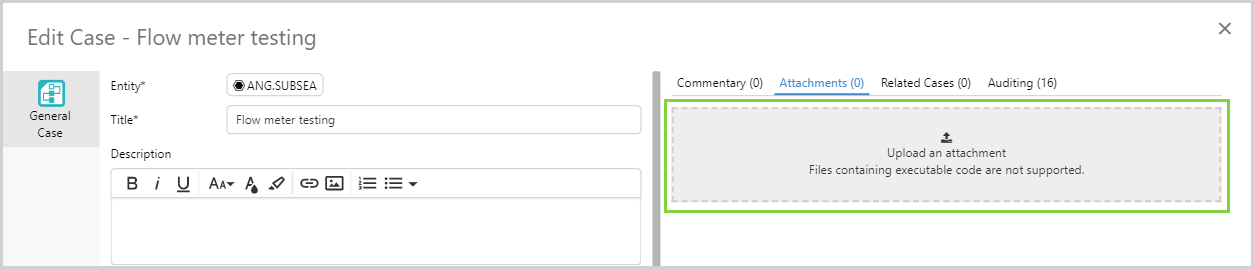
2. On the top right side, click the Attachments tab (if it is not already selected).
3. Click the grey "Upload an attachment" box, and use the Windows file selector to find the file you want to add.
Alternatively, you can drag and drop from your desktop or another location on your computer.
If you're using a mobile device, such as a tablet, you can tap the attachment box to take a photo or choose one of your existing photos.
4. You will have the opportunity to change the title and description of the attachment. When you are done, click the Upload button.
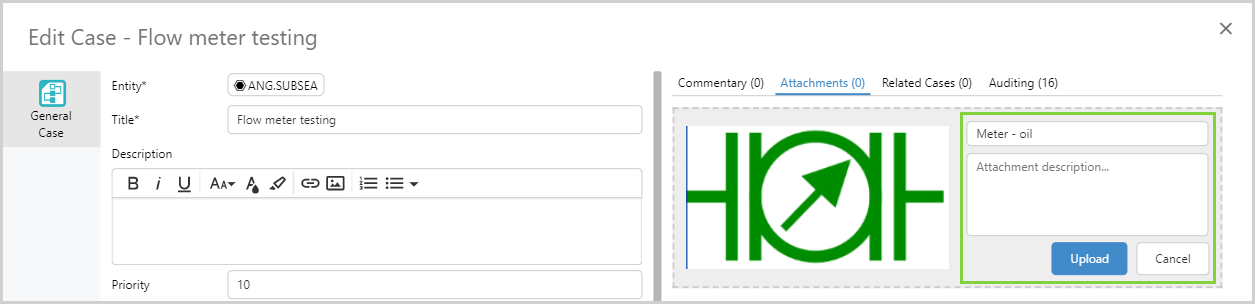
The file is attached, and you do not need to save the entry again.
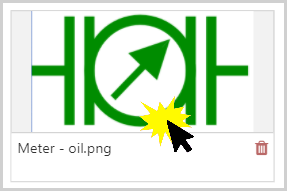
To open the attachment, click the preview image and save it to your computer.
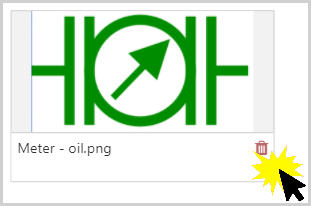
Delete an Attachment
To delete an attachment from an entry, click the red Delete icon next to the attachment you want to remove.
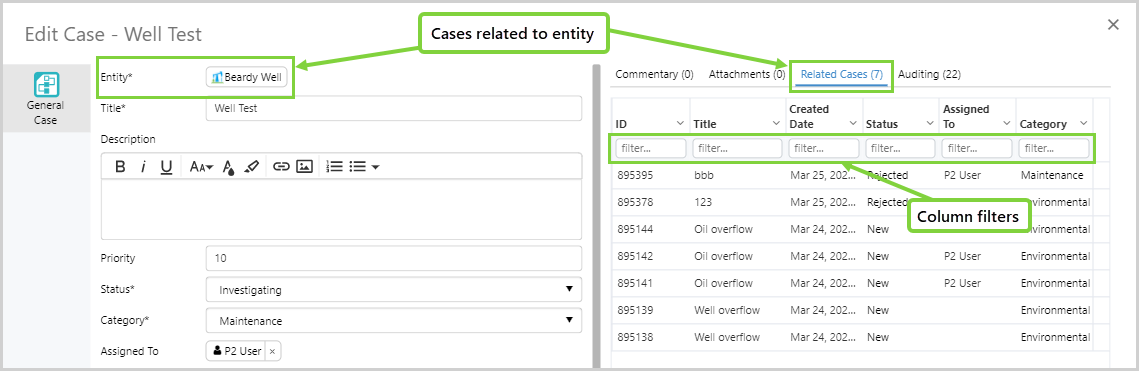
Related Cases
You can see a list of all the cases for a particular entity in the Related Cases section of the Edit Case entry form.
To view the Related Cases:
1. Click on the entry in the Cases Table to open the entry form.
2. On the top right hand side, click the Related Cases tab (if it is not already selected).
3. Use the column filters to reduce the number of cases displayed.
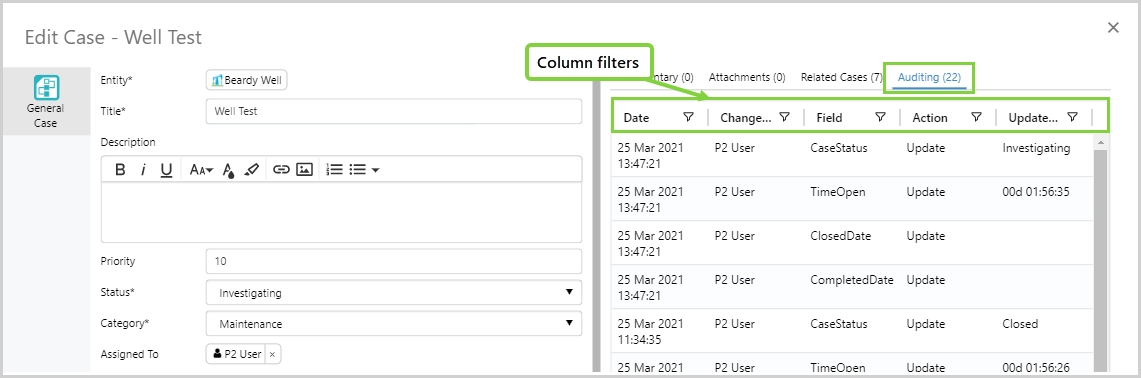
View a Case's History
Every time a change is made to a data entry field, the system will keep a record of what has changed. Changes to Commentary and Attachments are not recorded.
There are two types of changes that can occur to a field:
- Insert: A value has been added to a field for the first time.
- Update: A change has been made to the value of an existing field.
To view an entry's history:
1. Click on the entry in the Cases Table to open the Edit Case entry form.
2. On the right hand side, click the Auditing tab (if it is not already selected).
3. Use the column filters to reduce the number of entries displayed.
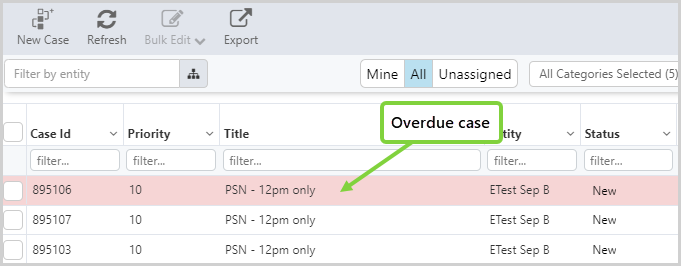
Overdue Cases
Cases become overdue if the current date/time is past the date/time in the Due Date field. Overdue cases have a pale red background color in the cases table.
Note: If you can open a case in Shift Log, additional functions are available. New cases can be added via the Shift Log Entry Form.