Icons (and other images) are a useful tool to help people more easily identify certain types of information.
You can add images to P2 Server Management and assign those images to templates.
Adding an Image
To add an image to P2 Server Management:
1. Open P2 Server Management, and click the Configuration ![]() icon.
icon.
2. Click the Images ![]() icon.
icon.
3. Select a group from the Image Group drop-down list.
4. Add your images using either drag and drop, or click the drag and drop box to browse from your computer.
Note: You can add multiple images at a time if you wish.
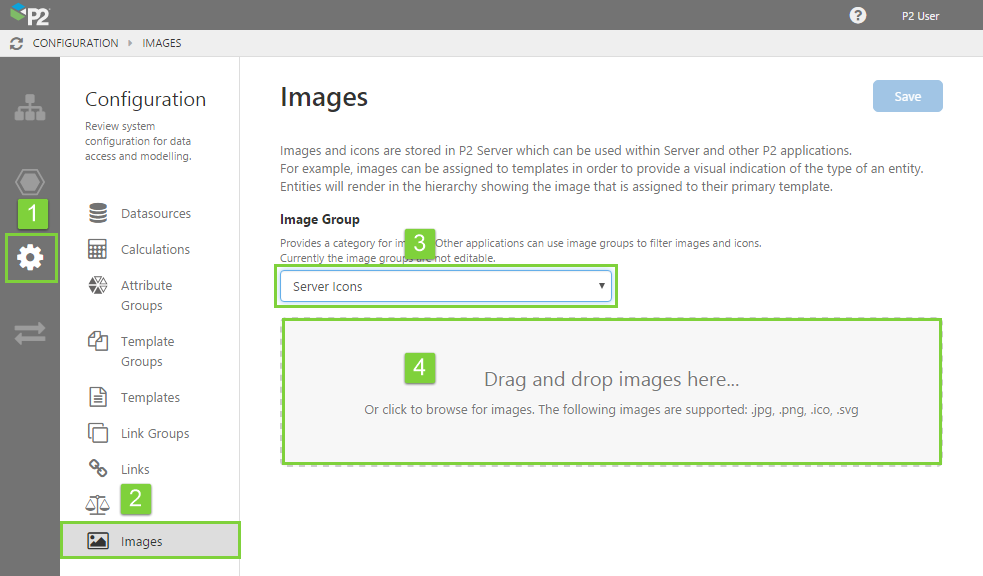
Note: From version 4.4.6, the maximum file size can be specified in the configuration file. The default is 5MB.
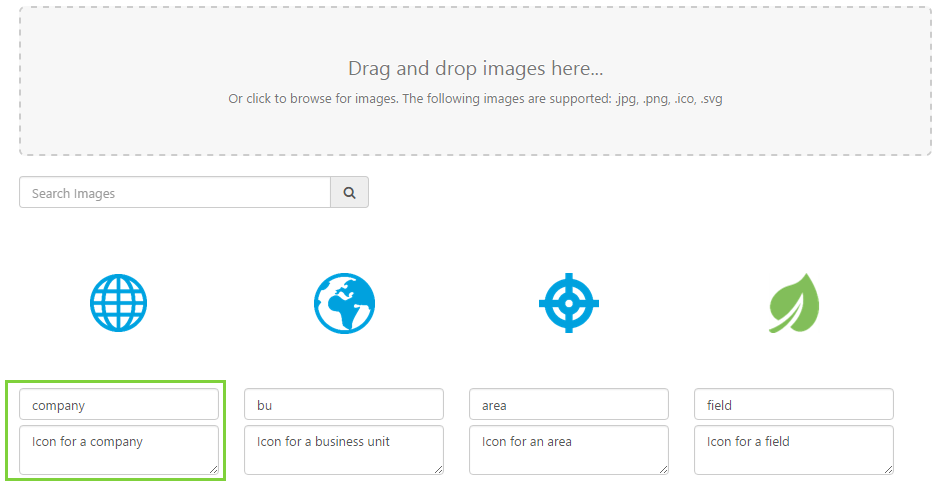
4. After your images have been uploaded, they will be displayed below the drag and drop box. You should now check that you images have suitable names and descriptions, and make any necessary changes.
Items are ordered by the order in which they were added, so the last one added will appear at the bottom of the list.
6. When you have finished, click the Save button in the top right corner.
P2 Server will automatically create thumbnails for your images for use on the Hierarchy and Entity pages.
Making Your Images Appear in Hierarchies
One of the most useful things you can do with images is to have them appear as icons in the Hierarchy. P2 Server will automatically do this for you, if you assign the image to a primary template.
1. In P2 Server Management, click the Configuration ![]() icon.
icon.
2. Click the Templates ![]() icon.
icon.
3. Select a template from the list and edit it. In the Icon field, select the icon you want from the drop-down list, and click Save when you have finished.
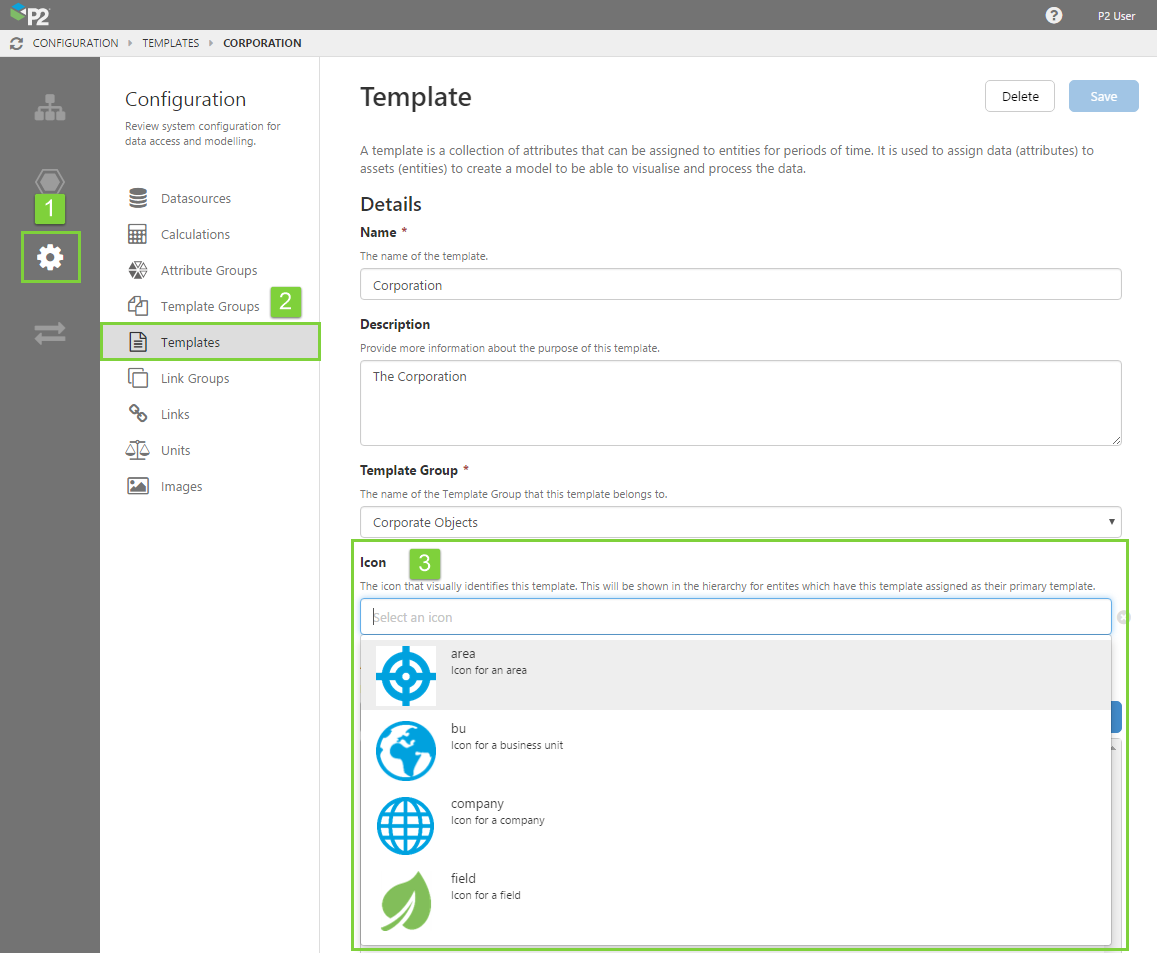
Now, whenever you see an entity with this template applied as the primary template, you will see this icon in the Hierarchy and Entity Overview pages.
Image appearing in the Entity Overview page:
![]()
Image appearing in the Hierarchy:
![]()