ON THIS PAGE:
Overview
The Case Details tab is used for capturing new cases, or editing existing ones.
The Case Details tab for a new case is titled New Case, while that of a saved case is titled Case [Case Id].
- If you are adding a new case, read about it here: New Case
- If you are editing a case, read about it here: Edit a Case
Add a New Case
To raise a new case, click the New Case button on the Home ribbon tab, or on either of these ribbon tabs:
- Case ribbon tab (for new or existing cases)
- Case Management ribbon tab

A Case details tab appears, with the title: New Case.
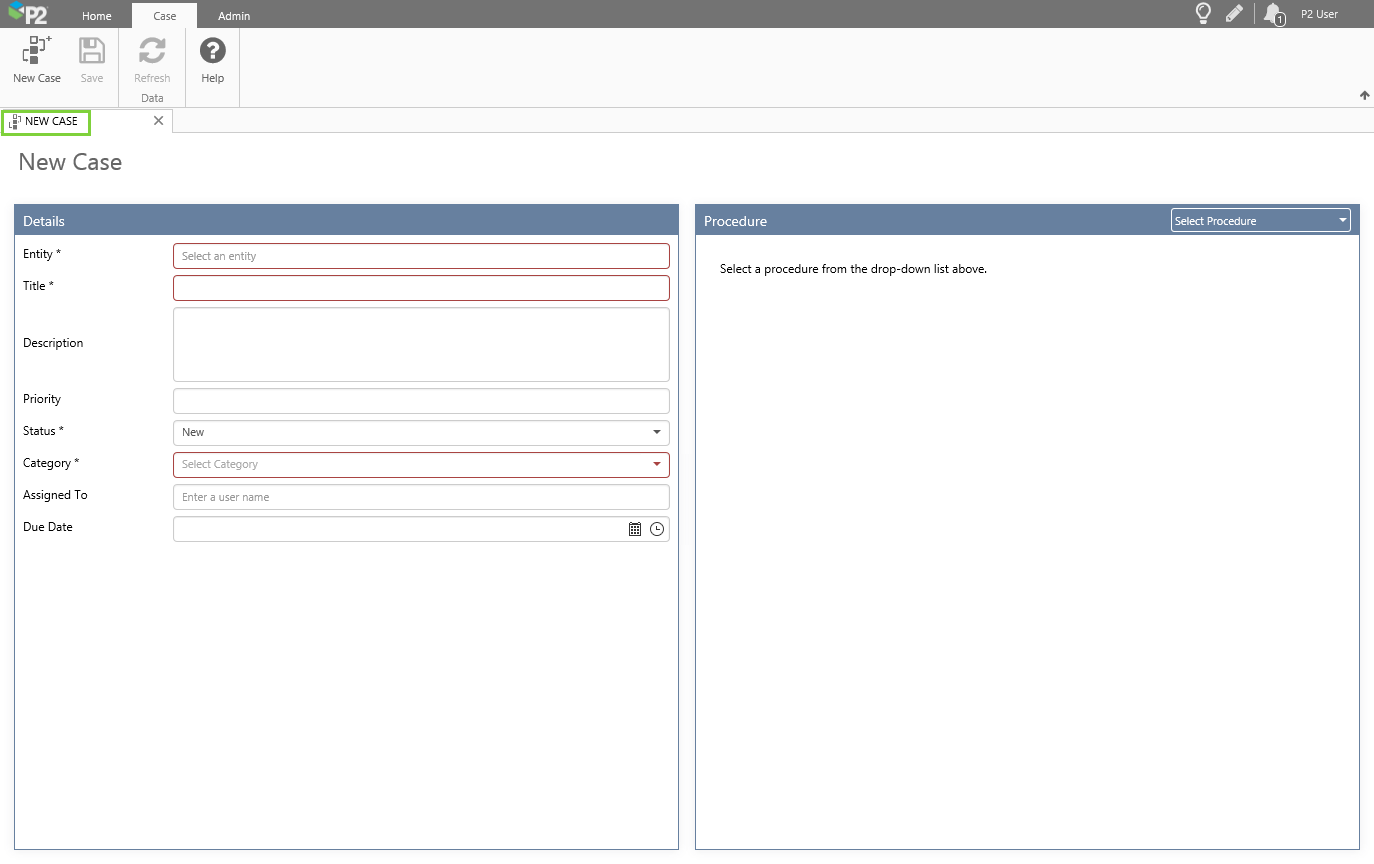
Step 1. Details Section
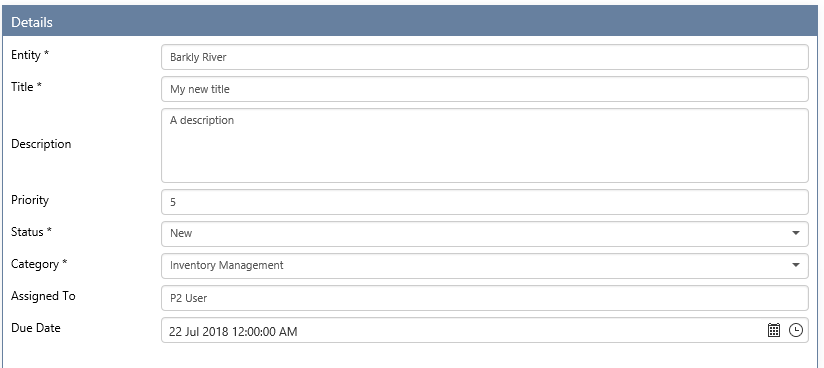
Fill in the Details section:
| Entity | (Mandatory) Select an Entity from the drop-down list, which contains all of Explorer's entities. | |
| Title | (Mandatory) Type in a Title for the case. This field should define the case in one or two words. | |
| Description | (Optional) Type in a Description for the case. This field should describe the case in more detail than the title. Note: From version 4.6.4, you can format the text in the Description field and in comments. |
|
| Priority | (Optional) Type in a Priority for the case (1 thru 10). This field will default to 10 if left out. Note that the priority might be automatically updated again, if it is eligible for auto-prioritisation. Read more about Managing Prioritisation of Cases. | |
| Status | (Mandatory) Select a Status from the drop-down list, or keep the default New status. Read more about Case Statuses. | |
| Category | (Mandatory) Select a Category from the drop-down list. Read more about Case Categories. | |
| Assigned To | (Optional) Select an Assigned To user from the drop-down list. Only valid user names that match your text are returned. | |
| Due Date | (Optional) Select a Due Date using the date-time picker. The ideal is to try and resolve a case by its due date, and then either confirm or reject it, before closing it. |
Step 2. Case Procedure
Optionally add a procedure for the case.
- Select procedure from the drop-down list.
- Update the step for one or more of the procedure steps.

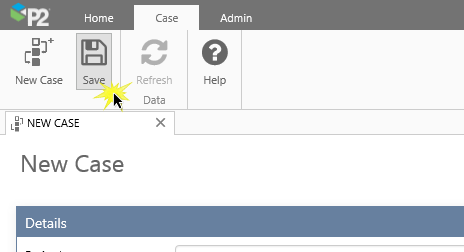
Step 3. Save the Case
Click Save on the ribbon tab.
Your new case is saved, and a unique Case Id is allocated to it. You can now proceed to view and edit the case.
Note: Existing cases can also be edited and saved. The case id remains the same.
Edit and View a Case in the Case Tab
When you have saved a new case, the case tab changes:
- The tab header now shows the new Case Id, instead of New Case
- Two new sections appear in the Case tab: Related Cases and Case Commentary
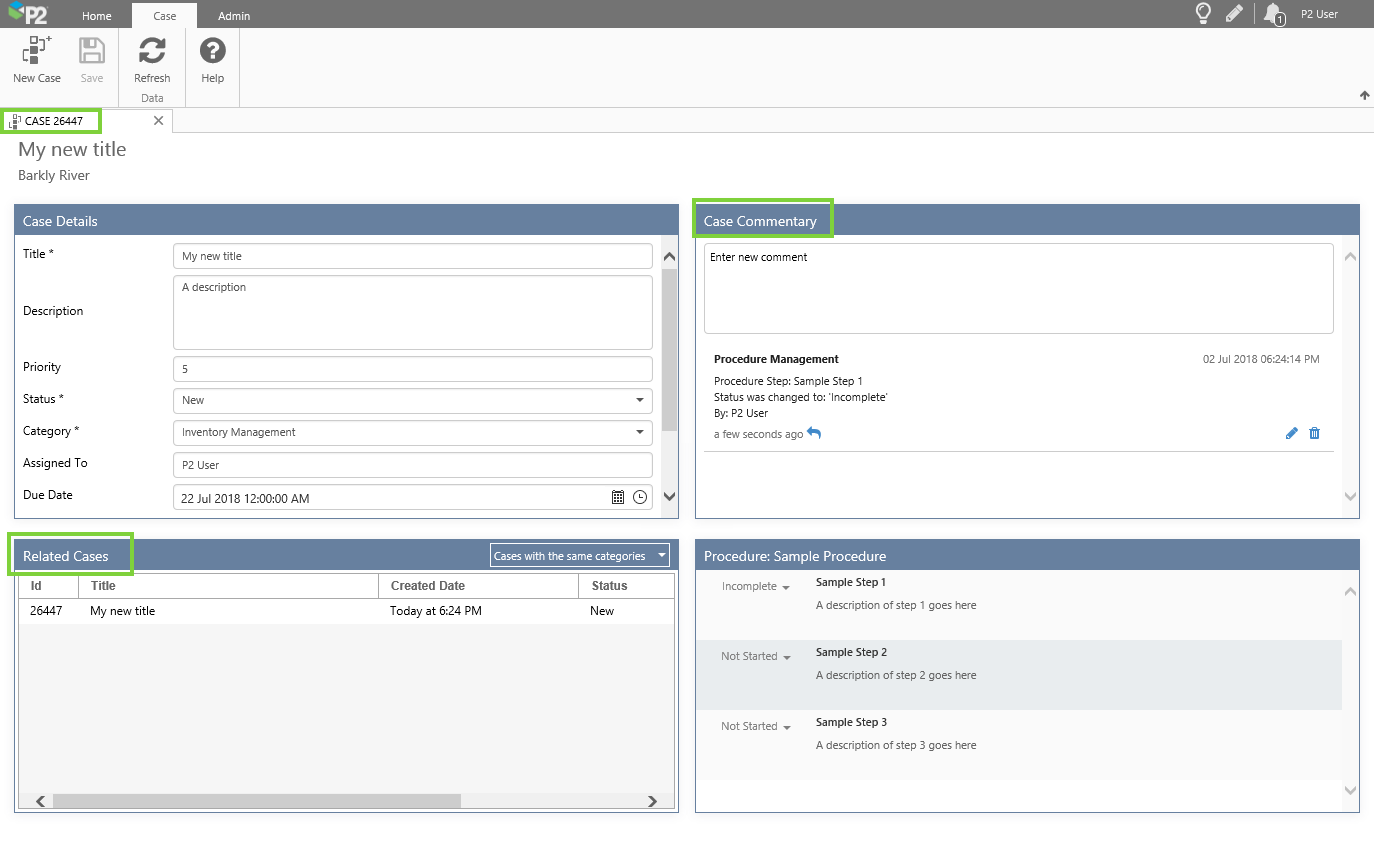
Case Details
After the case is saved, the case details section gets three new read-only fields:
- Created By: The user name (for manually created cases) or the Sentinel super user name (for Sentinel-raised cases).
- Created Date: The date and time the case was created.
- Closed Date: The date and time the case was closed (blank until the status is updated to Closed).
To edit the case, edit the details as described in this step: Step 1. Details Section, and then Save the Case.
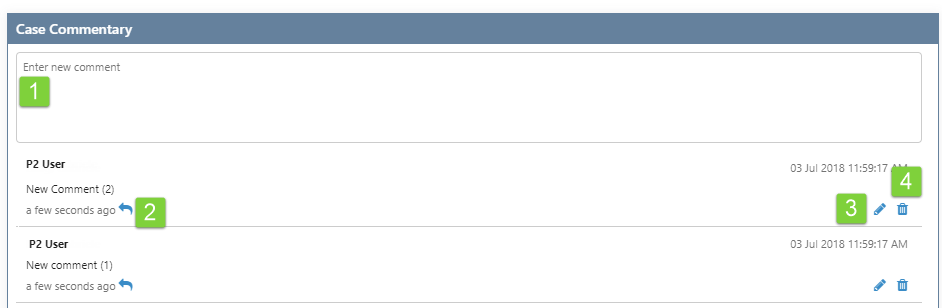
Case Commentary
The comments here are those captured against the case, as well as system-generated auditing comments, which track updates to the case.
To add a new comment, type in the comment edit box, then press Enter. Any user can reply to a comment. If you have Commentary privileges, you can edit or delete comments.
 |
||||||||||||||||
|
Related Cases
This is a list of cases that relate to this case by entity, with the most recently raised at the top of the list.
Select Cases with the same categories to see related cases of the same category. Otherwise, select All.
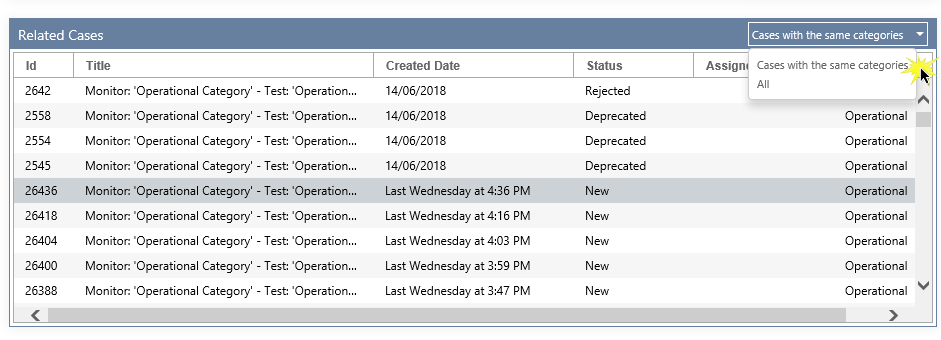
The related case details are:
- Id
- Title
- Created Date
- Status
- Assigned To
- Category
Click on a row in the Related Cases section, to open the Case details in the Explore panel.
Procedure
Each case can have a procedure allocated. This has a list of steps to take, when handling a case.
To edit the case procedure, follow the instructions in this step: Step 2. Case Procedure, and then Save the Case.
Opening the Case Tab for an Existing Case
When you add and save a new case, this appears in the Case Tab, as described above in Add a New Case.
For other cases, you can open the case tab:
- From the Explore Case Details (see how: Opening Case Details )
- Using a Case URL (see how: Case URLs )