ON THIS PAGE:
Overview
Use the Current Date/Time Toggle component to refresh data on your Explorer page.
We have added new functionality: Page Defaults for startTime and endTime. We recomend that you set a page refresh here, instead of using this component.
Quick Start
The Current Date/Time Toggle component can be used without any changes to its configuration.
1. Open any Explorer page in Studio mode.
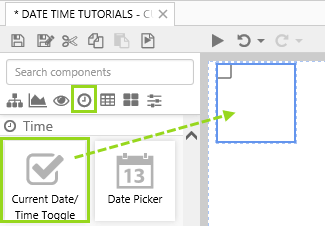
2. Drag a Current Date/Time Toggle component onto the page. The Current Date/Time Toggle is in the Time ![]() group.
group.
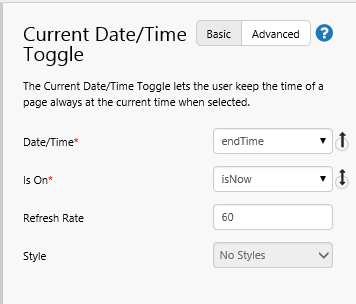
The Current Date/Time Toggle component has the following pre-assigned properties.
- Date/Time: endTime (the Page Default)
- Is On: isNow (this is a Boolean that toggles between True/False as the user selects/de-selects the check-box at run-time.)
- Refresh Rate: 60 (60 seconds)
3. Save the page.
During run-time, the endTime page variable is refreshed to the current date/time, every 60 seconds. Consequently, any data on the page that uses the endTime variable is refreshed every 60 seconds.
Tutorial 1: Display the Current Tag Value
If you're unfamiliar with the process of building pages, read the article Building an Explorer Page.
The Current Date/Time Toggle is a useful component that enables users to view data at the current time. It is more commonly used with timeseries data than with datasets.
In this tutorial, we’ll look at adding a Current Date/Time Toggle that will display the value of the Goldenrod tag at the current time.
We'll use the standard page for date tutorials, and add a basic Current Date/Time Toggle to this, to demonstrate how text labels and tag values are updated when this component refreshes.
There are four steps in the tutorial:
- Step 1. Prepare the Tutorial Page
- Step 2. Save as a New Tutorial Page
- Step 3. Update the Text Labels and Tags
- Step 4. Add and Configure a Current Date/Time Toggle
Step 1. Prepare the Tutorial Page
Before you start the tutorial, prepare a new date/time tutorial page. If you have already created a "Date/Time Tutorials" page, then open this. Otherwise follow the instructions in Date Time Tutorials to add the page.
Step 2. Save as a New Tutorial Page
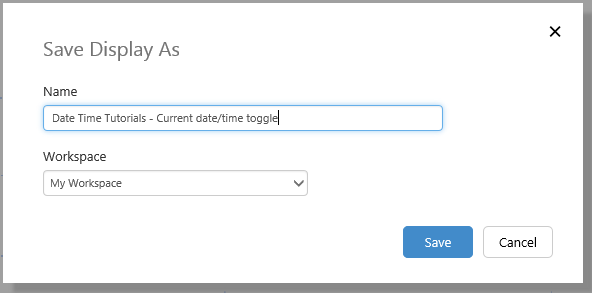
Save the page as "Date Time Tutorials - Current date/time toggle" in your private workspace, My Workspace.
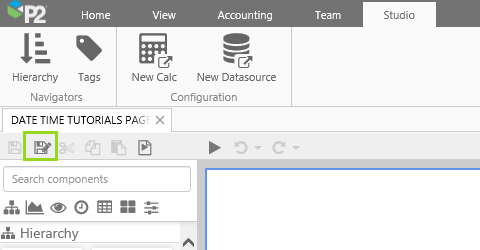
1. Click the Save As.. ![]() button on the Studio toolbar.
button on the Studio toolbar.
2. In the dialog that appears, type in Date Time Tutorials - Current date/time toggle, and keep the default Workspace, My Workspace.
3. Click Save.
Step 3. Update the Text Labels and Tags
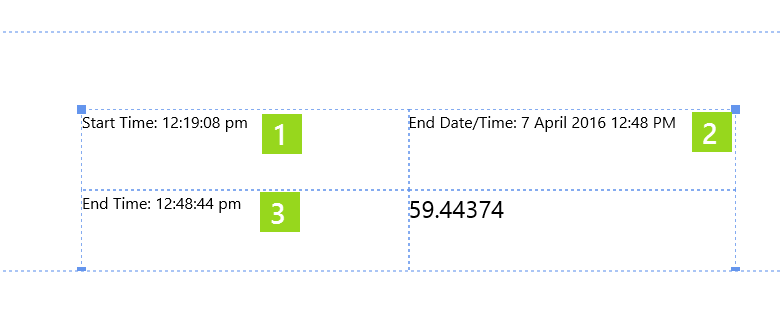
1. Replace or update the text label in the top left grid cell so that it uses startTime in Time format.
2. Update the text label in the top right grid cell so that the Content text is: End Date/Time:.
3. Drag a text label into the bottom left grid cell , and give it a content of: End Time. Now Add Data endTime using Time format.
Step 4. Add and Configure a Current Date/Time Toggle
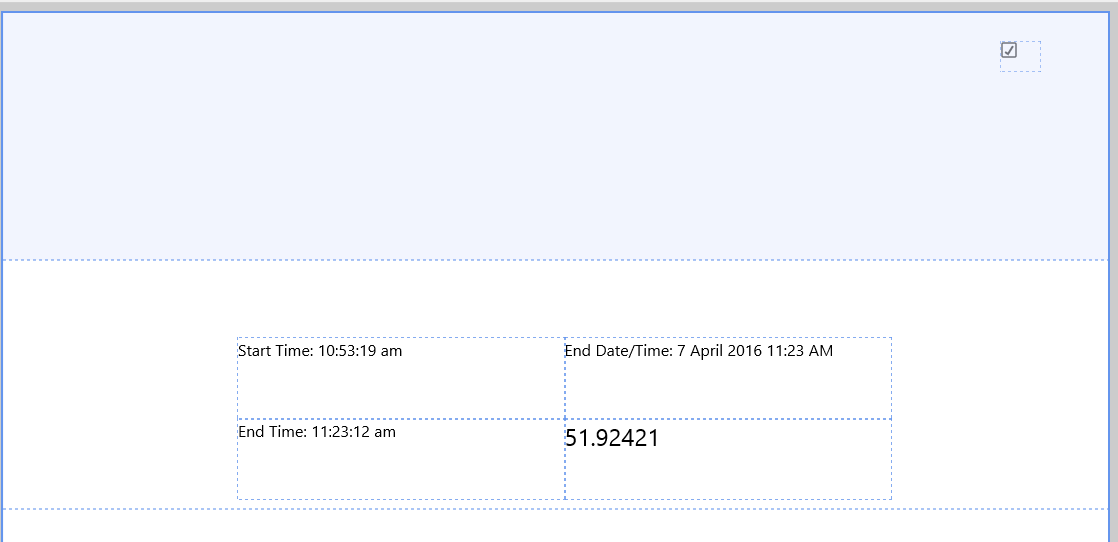
1. Drag a Current Date/Time Toggle component onto top right of the Precision Layout, as shown:
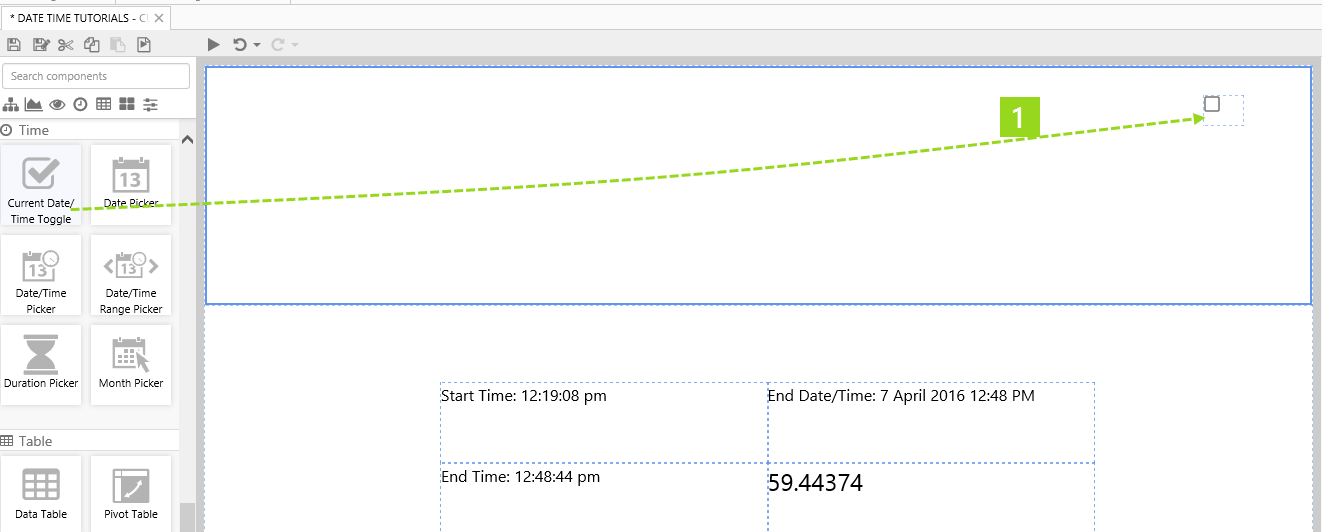
Click on the Current Date/Time Toggle component to configure it
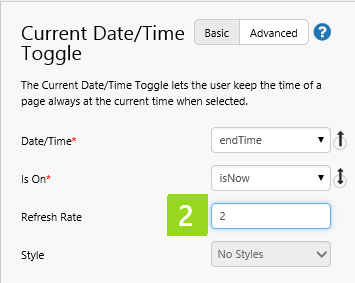
2. In the Refresh Rate text box, type 2, to set the refresh rate to 2 seconds.
Try out the New Component
- Click the Preview
 button on the Studio toolbar to see what your page will look like in run-time.
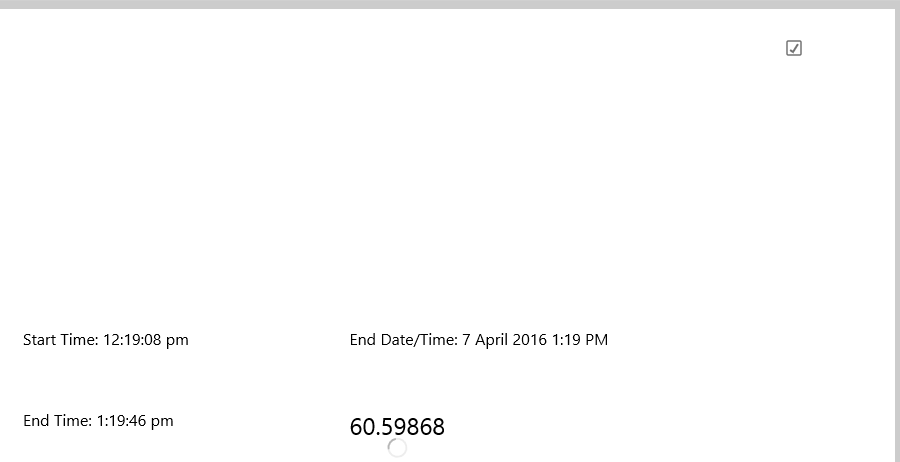
Note how the End Time text label and the tag value update at the refresh rate of 2 seconds.
Keep your page open if you want to continue with the next tutorial.
Tutorial 2: Choose Refresh Rate from Combo Box
This tutorial builds on Tutorial 1. In this tutorial, we'll add a Combo Box with refresh rate options, and then update the Current Date/Time Toggle to use the selected RefreshRate.
There are two steps in the tutorial:
- Step 1. Add a Combo Box with a Default Value
- Step 2. Configure the Current Date/Time Toggle
Step 1. Add a Combo Box with a Default Value
In this step we're going to add a Default Value and Combo Box, to control the Refresh Rate of the Current Date/Time Toggle.
Before you begin, open the page you saved in Tutorial 1: Date Time Tutorials - Current date/time toggle.
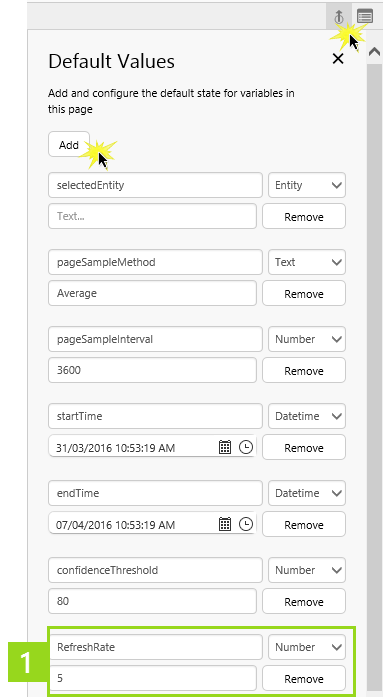
Open the Default Values, and add a new Default Value.
1. Type a variable name, RefreshRate, into the edit box, of type Number, with a default value, 5.
2. Drag a Combo Box component onto the Precision Layout, just to the left of the Current Date/Time Toggle component. Resize it to be slightly wider.
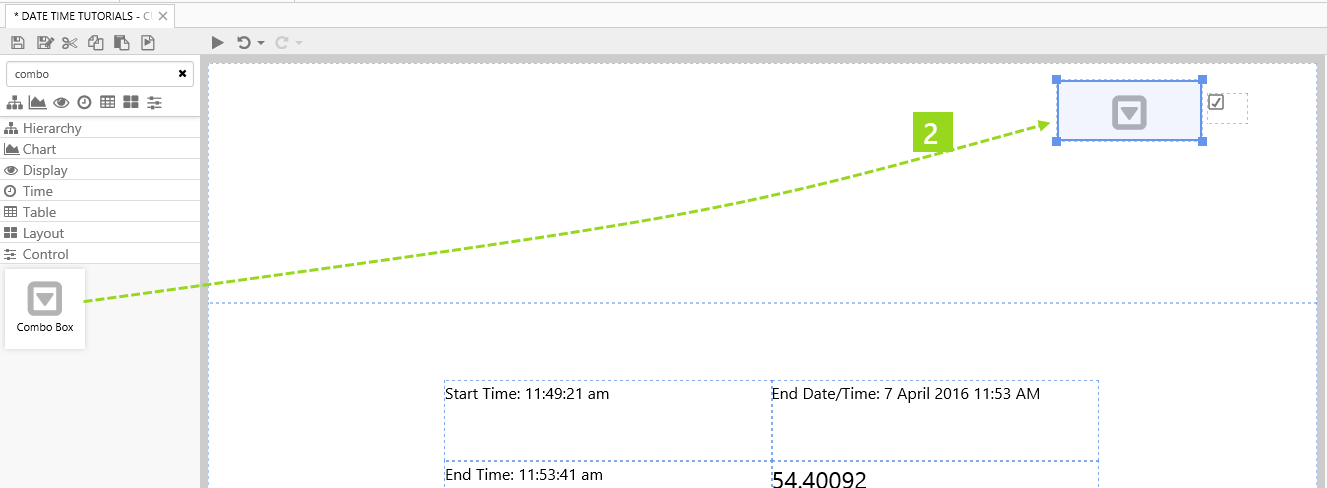
Now click on the combo box to configure it to interact with the new default value, RefreshRate.
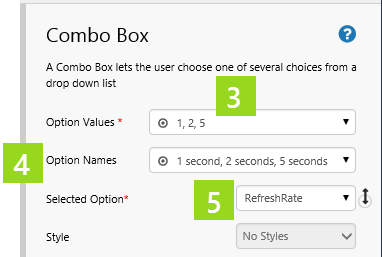
3. Add the following list of values to Option Values: 1, 2, 5.
4. Add the following list of values to Option Names: 1 second, 2 seconds, 5 seconds.
5. In the Selected Option drop-down list, select the new default variable: RefreshRate.
Step 2. Configure the Current Date/Time Toggle
In this step we're going to configure the Current Date/Time Toggle to use the new variable RefreshRate for its Refresh Rate property.
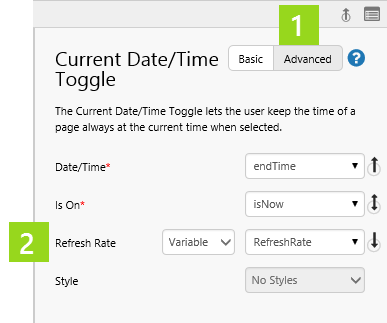
Click on the Current Date/Time Toggle component, to configure it.
1. Click Advanced to open the Advanced properties panel.
2. For Refresh Rate: select Variable from the first drop-down list, and RefreshRate from the second.
Try out the Component
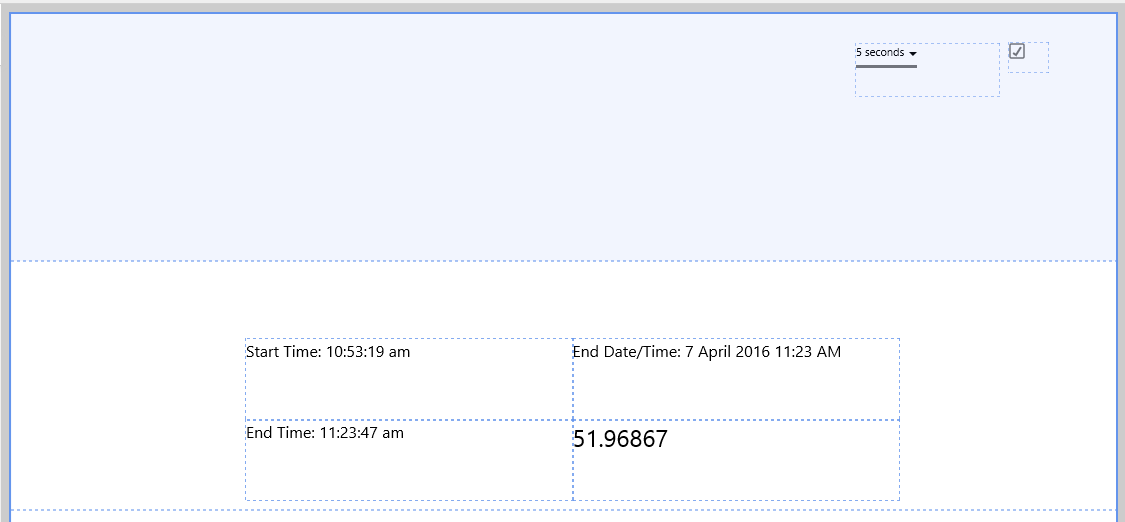
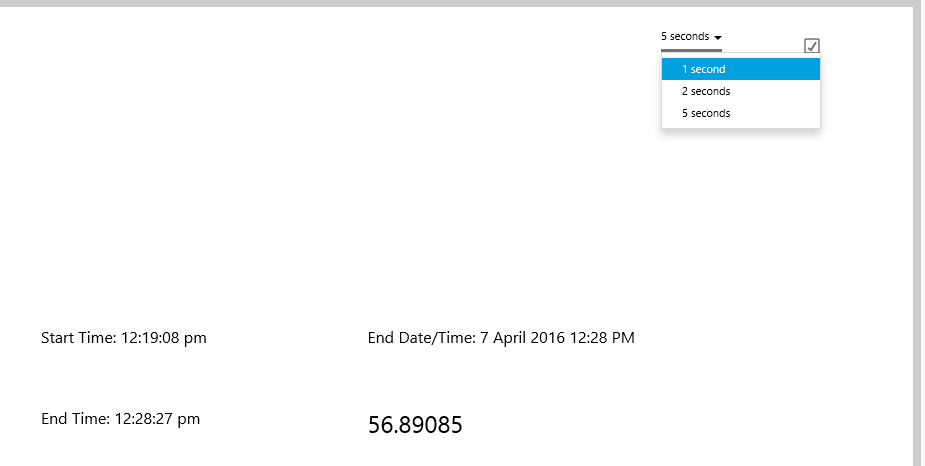
- Click the Preview button on the Studio toolbar to see what your page will look like in run-time.
- Select 1 second from the Combo Box.
Note how the End Time text label and the tag value update at the new refresh rate of 1 second.
Release History