This article describes how to get a single page ready for date/time tutorials.
Overview
There are several date/time components in Explorer, and each of these uses one or more dates. To save yourself some time, it's worth setting up a single tutorial page, and then seeing how this page is affected by the various date/time components.
Page Defaults for startTime and endTime
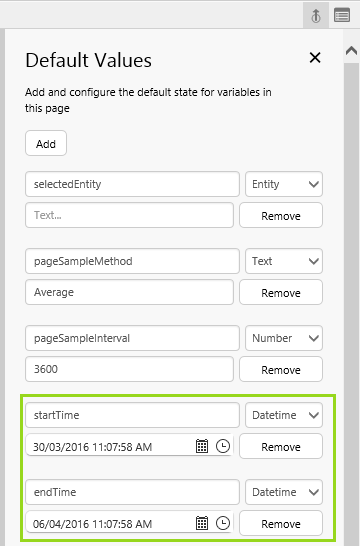
Before you set up the page, read about Page Defaults in the Default Values article.
Note how startTime and endTime are already in the Default Values list panel; these are page defaults.
Preparing the Page
We're going to add a page in grid layout, with three rows. We'll add a precision layout to each of the top two rows, and then a grid layout onto the second precision layout.
Next, we'll add two Text Labels and two Data Labels.
Finally, we'll save the new page as "Date Time Tutorials" in My Workspace.
Step 1. Set up a new IFS OI Explorer Page
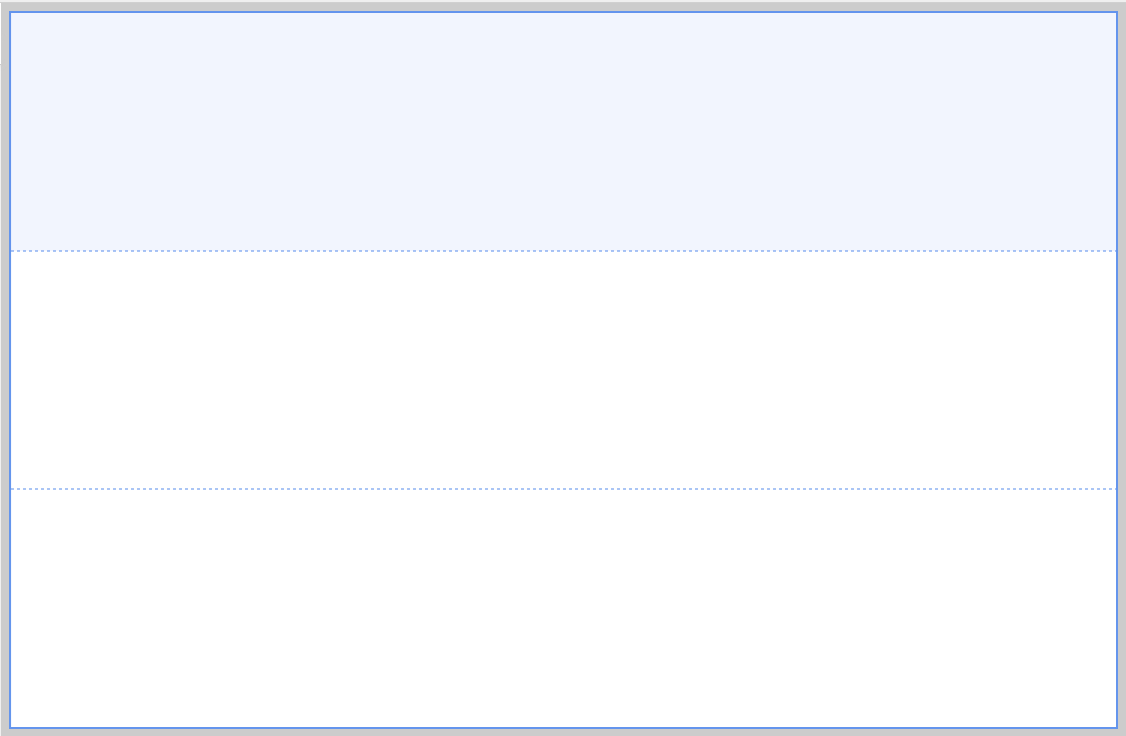
Create a new page in Grid Layout, then format this so that you have three rows and no columns.
1. Click New Page on the Explorer Ribbon Home tab, and select Grid Layout.
2. Drag a new grid onto the top left quadrant, and add three rows.
Step 2. Add Precision Layouts and another Grid Layout
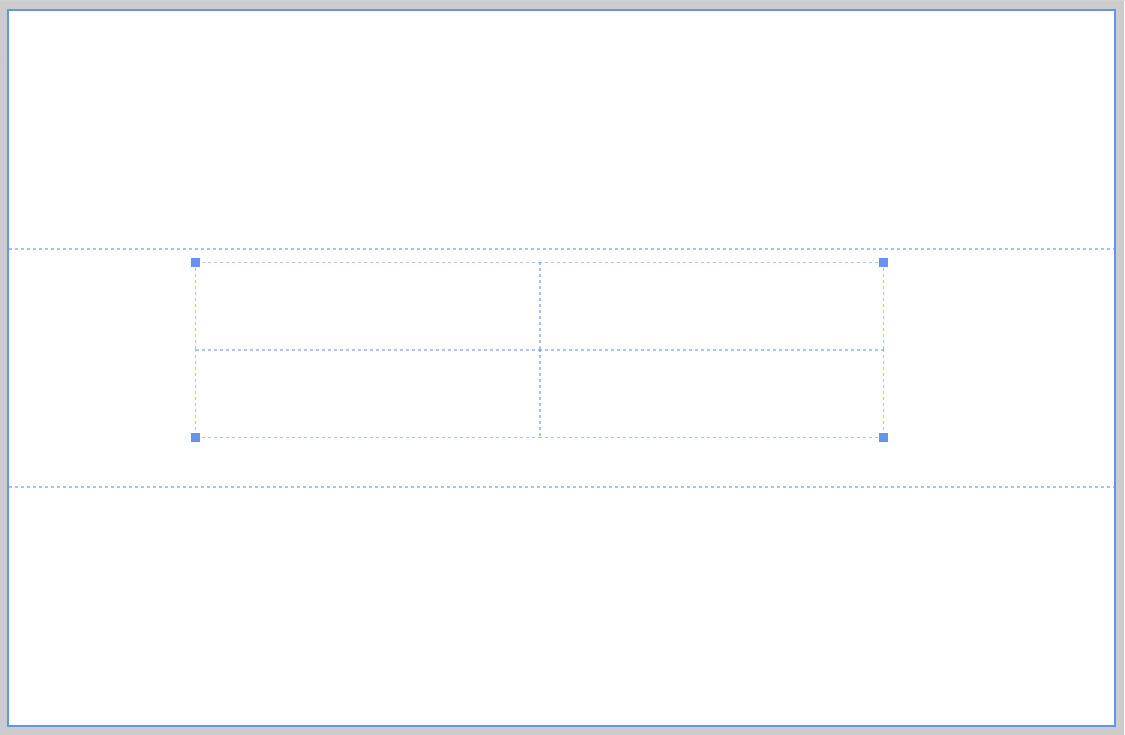
1. Drag a Precision Layout component onto each of the top two grids cells.
2. Drag a Grid Layout onto the second precision layout.
3. Resize the grid layout to center in the precision layout, and give it two rows and two columns.
Step 3. Add components to the page.
Add components to the central grid:
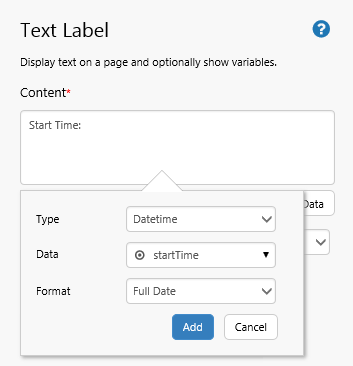
1. Drag a Text Label onto the top left grid cell. In the text label's Content type Start Time: then click Add Data and add the page variable startTime with a Full Date format.
2. Drag a Text Label onto the top right grid cell. In the text label's Content type End Time: then click Add Data and add the page variable endTime with a Full Date format.

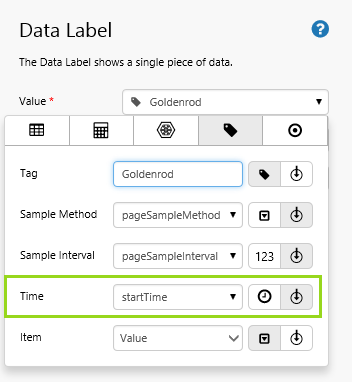
3. Drag a Tag into the bottom left quadrant. We've used the Goldenrod tag and configure its Time to use startTime.
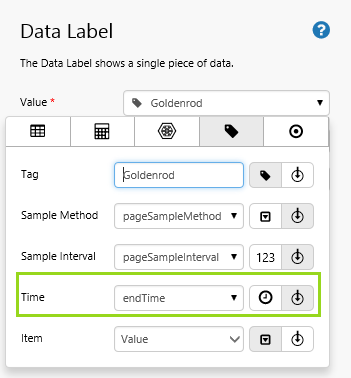
4. Copy and paste your tag into the bottom right and configure its Time to use endTime.
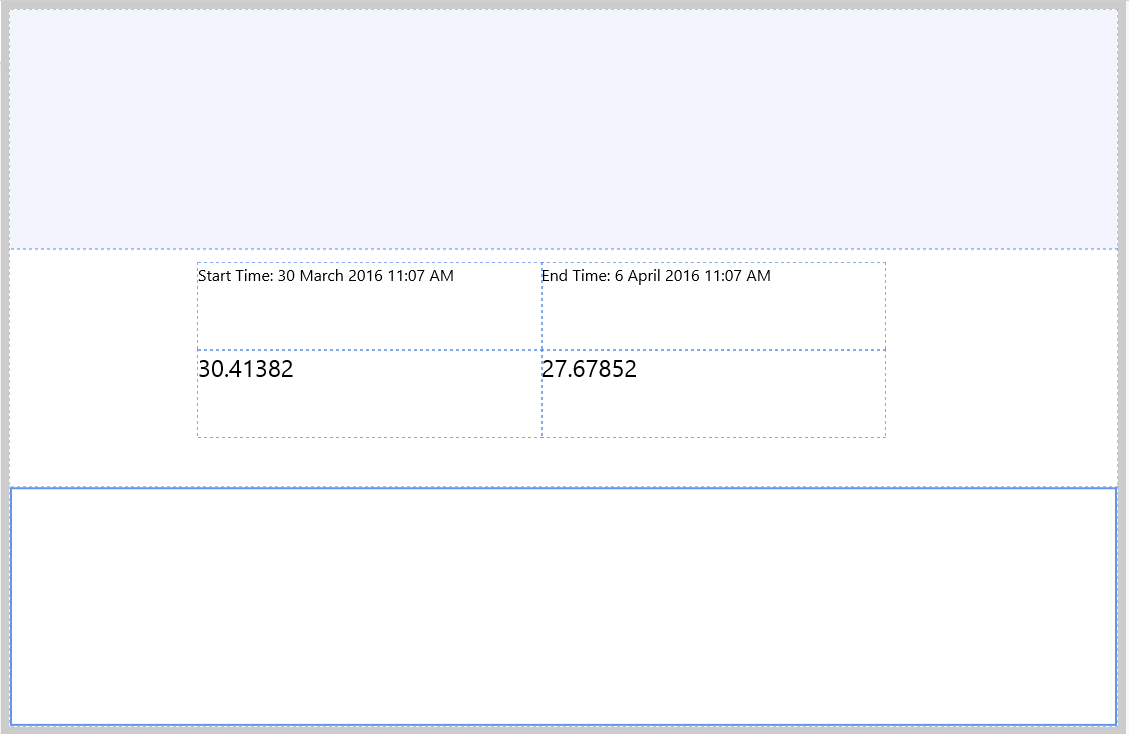
This is how your page should look:
Step 4. Save the Page in your Workspace
Save the page in your private workspace with suitable name, such as "Date Time Tutorials".
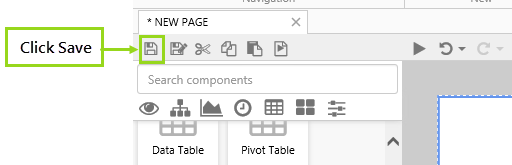
1. Click the Save ![]() button on the Studio toolbar.
button on the Studio toolbar.
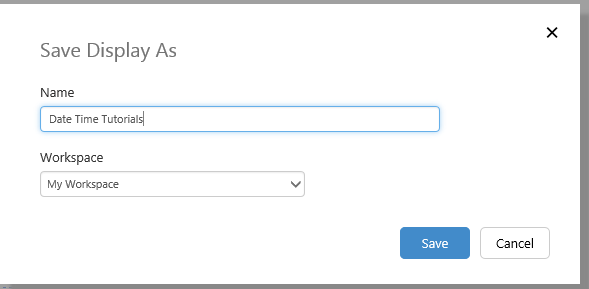
2. In the dialog that appears, type in Date Time Tutorials, and keep the default Workspace, My Workspace.
You can now continue with your date tutorials.
Date Time Tutorials
There are several date/time components in Explorer Studio. Here are the links:
- Current Date/Time Toggle
- Date Picker
- Date/Time Picker
- Date/Time Range Picker
- Duration Picker
- Month Picker