Overview
The Image Gallery allows you to insert an image from P2 Server, into a P2 Explorer page. If you have the requisite permissions (Server Editor role), you can also upload an image.

Inserting an Existing Image
1. In the Image Gallery, first choose the category your image is in. In most cases, this will be 'Explorer Images'. If you don't know, select 'All'.
2. If the list of images is long, you can type into the Search box to filter the list by name. The list is filtered as you type. Or, you can use the scrollbar to browse through the images.
3. Once you have found the image you want to insert, click it once and then click the Select button [4], or simply double-click the image.
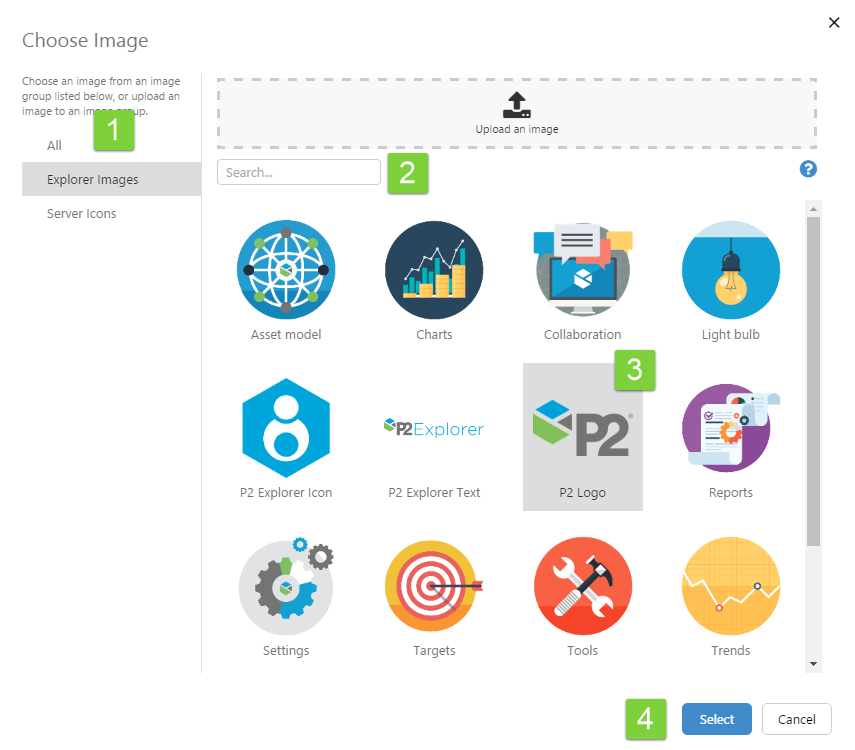
The image is inserted in P2 Explorer.
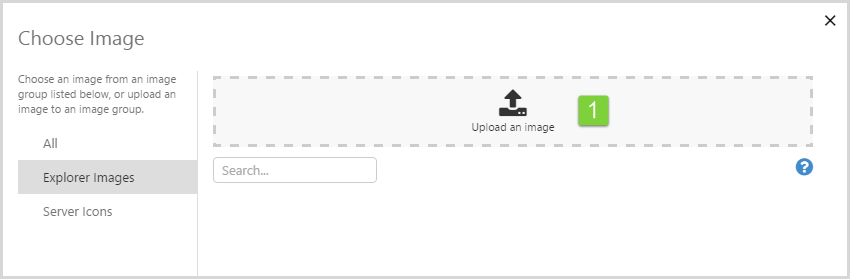
Uploading an Image
1. In the Image Gallery, click the Upload an image box.
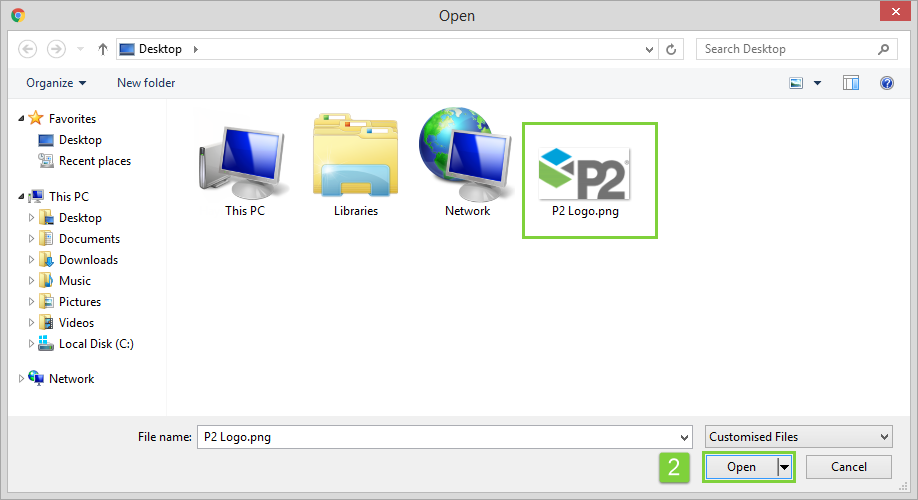
2. Select the image to upload, using the standard Windows selection window. Click the file, and then click 'Open'.
3. A preview of the image appears in the Image Gallery. Now you need to finalise the image properties.
- Choose a group for the image from the drop-down list. By default, this is Explorer Images.
- By default, the file name becomes the name of the image. You can change this here if you wish.
If you want to change it later, you will need to do this in P2 Server Management.
Note that file names must be unique. - If you wish, add a description for the image.
- When you have finished updating the properties, click the Upload button.
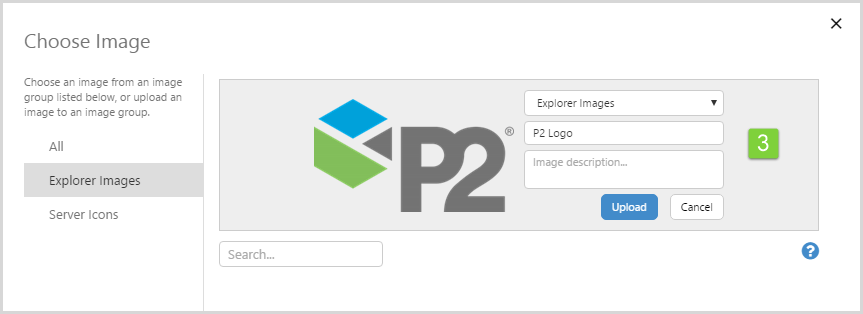
The image is uploaded and the Image Gallery closes. The uploaded image is inserted in P2 Explorer.
Note: The maximum file size is set by your system administrator. By default, it is 5MB.