An individual workbook is an object of the Workbooks resource in the Explorer module.
Securing workbooks relies on default object security, which provides the Everyone role with implicit view privileges for all objects in the system. When securing a workbook, you will need to remove the View privilege from the resource, as well as default object privileges for other roles.
When applying object-level privileges, it is important to remember the cascading nature of privileges applied at the resource-level. If a role has explicit View privileges (or higher) on the Workbooks resource, all users with that role can view all workbooks.
Changing object-level security for individual workbooks is done directly within Workbook Studio, and requires Explorer administrator privileges.
What the Workbook Privileges Mean
Workbooks can be assigned View, Contribute and Publish privileges, which are explained in the following table:
| View | Contribute | Publish | |
| Move between shifts | |||
| Read existing entries (b) | |||
| Add comments to existing entries | |||
| Share entries (a) | |||
| Use form actions | |||
| Add attachments to existing entries | |||
| Add new entries | |||
| Save filters on workbooks | |||
| Publish workbooks | |||
| (a) To share entries, you also need Contribute privileges on the Form used for the entry, and the Workbooks you are sharing From and To. | |||
| (b) Also need at minimum View privileges on the Form. | |||
| (c) Also need Contribute privileges on the Form used for the entry. | |||
| (d) Also need Contribute privileges on the Form used for the entry, and the Workbook you are sharing From. | |||
Tutorial: Changing Workbook Privileges
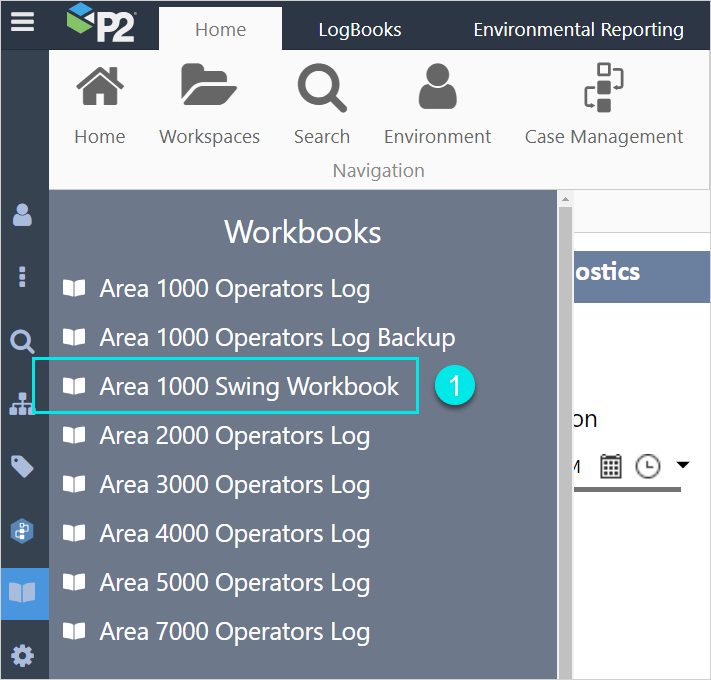
1. In P2 Explorer, open the workbook you want to lock down.
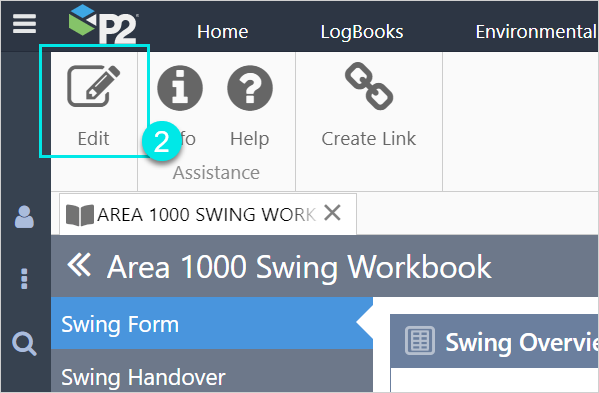
2. Click the ![]() Edit button.
Edit button.
3. Click the ![]() Settings Workbook buttton.
Settings Workbook buttton.

4. For each role, click the relevant privileges you want to assign.
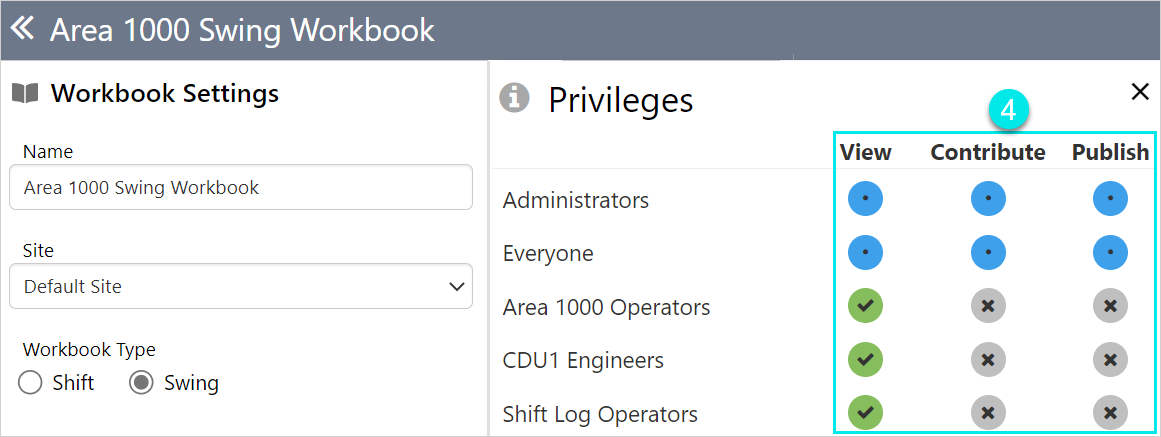
What the Colours Mean
The privileges matrix is colour-coded to indicate the cascading nature of privileges. The colours are:
![]() Grey: Privilege not granted
Grey: Privilege not granted
![]() Green tick: Privilege is explicitly granted, associated privileges will also be automatically granted.
Green tick: Privilege is explicitly granted, associated privileges will also be automatically granted.
![]() Green dot: Privilege is granted because a higher level privilege has been granted on the object.
Green dot: Privilege is granted because a higher level privilege has been granted on the object.
![]() Blue: Privilege is granted because it is inherited by a resource privilege.
Blue: Privilege is granted because it is inherited by a resource privilege.
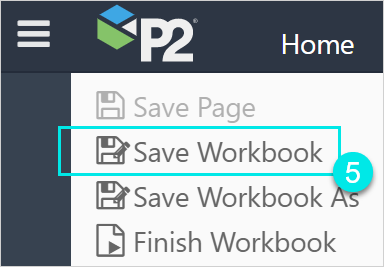
5. When you have finished, click Save Workbook.