This article describes how to add a Current Date/Time Toggle control to a page during the page design process. For details on how to use the Current Date/Time Toggle during run time, see: Using Time Pickers.
Overview
The Current Date/Time Toggle provides the user with a check box that allows them to keep the current date/time on a page, so that the components always display the latest data. The page refreshes at the rate specified in the configuration settings for this component.
The following diagram shows the initial configuration of the Current Date/Time Toggle:
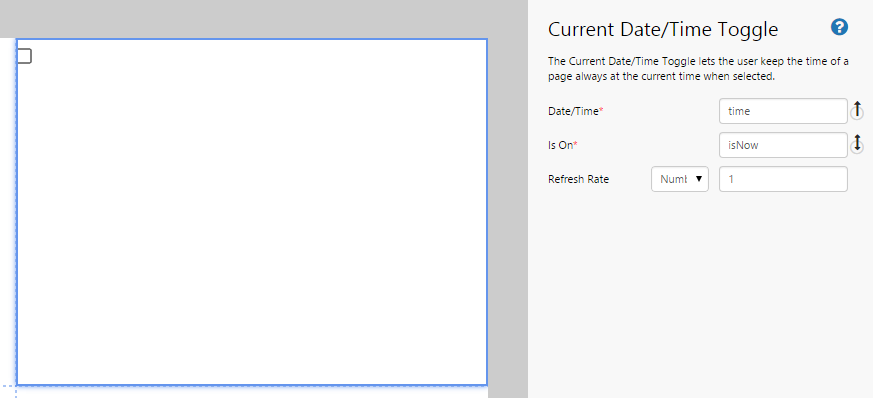
| Date/Time: | The date/time that this component publishes when the check box is selected and every time the page refreshes. This is an event with a date/time value. |
| Is On: | The event that is published to indicate that the check box has been selected, which means that the time should be set to the current time (now). This is an event with a boolean value. |
| Refresh Rate: | The time, in seconds, after which the page automatically refreshes. The default is 1, which means that the page refreshes every second. |
Tutorial
The Current Date/Time Toggle is a useful component that enables users to view data at the current time. It is more commonly used with timeseries data than with datasets.
In this tutorial, we’ll look at adding a Current Date/Time Toggle that will display the Tubing Head Temperature of a well at the current time. The temperature is shown next to the Current Date/Time Toggle, as follows:

Let’s go through this process, step-by-step.
Step by Step: Displaying a Current Date/Time Toggle on a Page
Before you start, open a new tab in Explorer and click the “Create a New Page in Studio Mode” thumbnail. Choose the Precision Layout.
You will need to adjust the configuration to suit your data at your site.
Step 1. Add the source data

Before we can display any data on the page, we need to add the source data.
- Below the canvas, click the button labelled "Add Data".
- Choose the data you are going to use. For this tutorial, we are creating a time series dataset, so select Model and then click “Add”.
- In the configuration options, specify the following:
- Name: THTemp
- Using: Entities
- Entities: (List) Earl
- Template: Oil Producing Well
- Attribute: THT!Actual (click Add after selecting the attribute)
- Group By: None
- SampleInterval: (Number) 86400
- SampleMethod: (Text) Average
- StartTime: (Event) time
- EndTime: (Event) time
In this example, we are going to use the same start time and end time, because we want to display the value at the current time.
Step 2. Add the Current Date/Time Toggle to the page
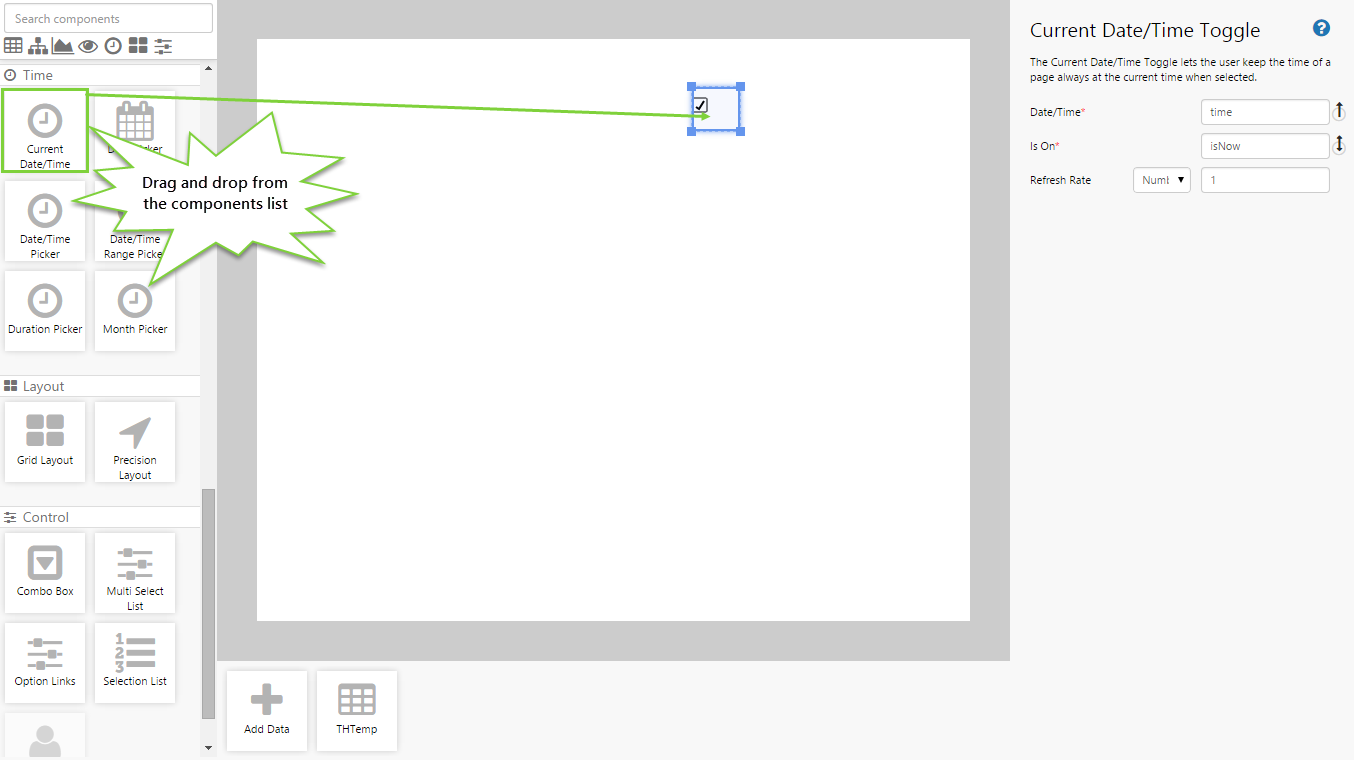
Drag and drop the Current Date/Time Toggle component onto the page, and resize it appropriately using the drag handles.
Step 3. Configure the Current Date/Time Toggle component

Use the defaults, as follows:
- Date/Time: time
- Is On: isNow
- Refresh Rate: (Number) 1
This event will feed the time into the dataset that we previously added. If you now switch to the dataset added in Step 1 and click the Preview button, you will see the value refresh every second.
Step 4. Add and configure a Data Label

Add a Data Label component to the page and configure it as follows:
- Source Data: THTemp
- Value Column: (Text) Value
- Decimals: (Number) 2
Step 5. All done!
Great work! You now have a fully functioning Current Date/Time Toggle that displays the Tubing Head temperature of a well at the current time. The value refreshes every second.
- Click the preview
 button on the Studio toolbar to see what your page will look like in run-time.
 - Click the check box to select and unselect the time, and observe the difference to the temperature value.
![]() Don’t forget to save your page!
Don’t forget to save your page!