ON THIS PAGE:
Overview
This article applies to versions 4.4 of Explorer. For help on the latest version, see Point Detail.
The Point Detail page shows various details and links for a tag or an attribute value.
There are two types of Point Detail:
- Tag Details
- Attribute Value Details
Attribute Value Details
You can open the Attribute Value Details from a Data Label on an Explorer Page, or from the Attributes Panel.
Open from a Data Label
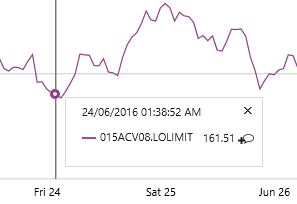
The Data Label can be used to show time-aware tag and attribute values on Explorer pages, with quick access to trending and point detail.
For example, this Explorer page has an image overlaid with data labels, showing values for various parts.
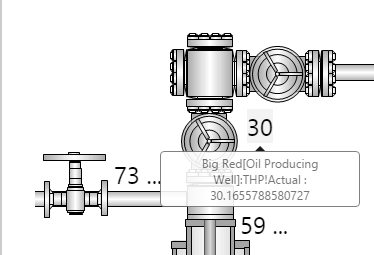
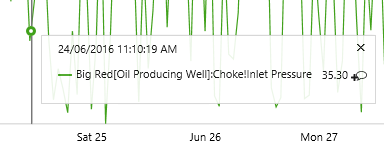
If you hover over a point of data shown on a data label on an Explorer page, a tooltip appears showing the full value. If the Data Label's Value is an Attribute, it is preceded by the full attribute name. For example, Big Red[Oil Producing Well]:Choke!Inlet Pressure: 64.9539500311.
1. Click on the Data Label value, to open the radial menu.
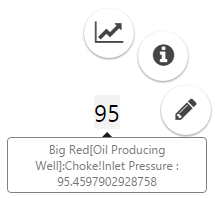
2. Click on the information menu item on the radial menu (Open Attribute Value Detail).
![]()
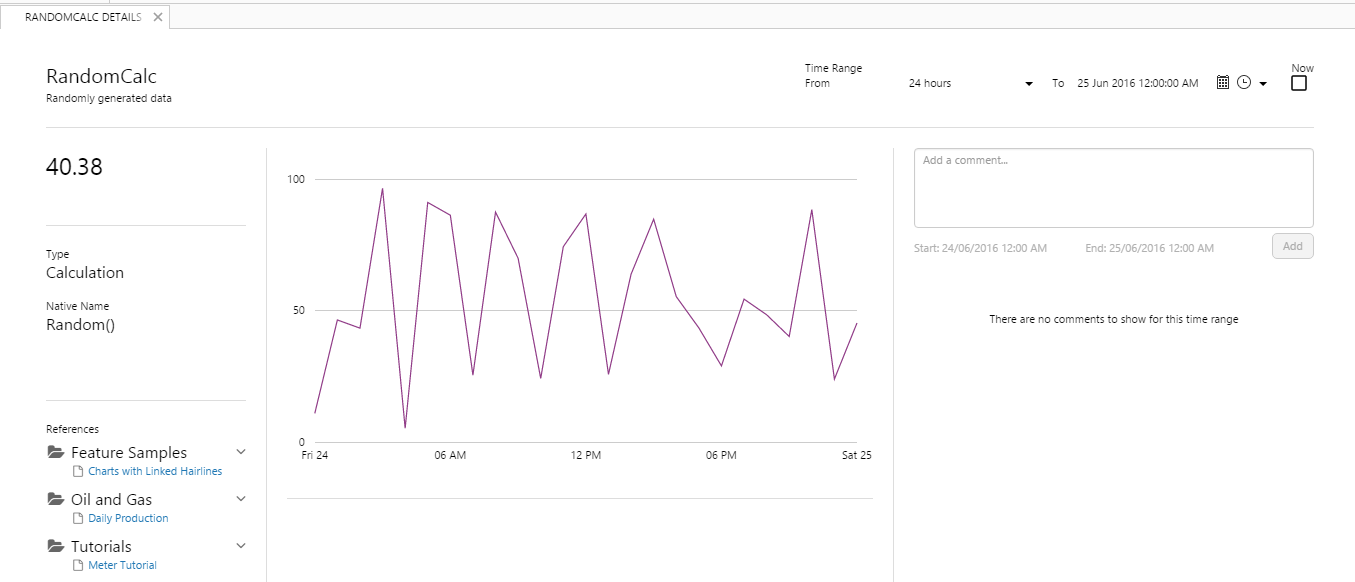
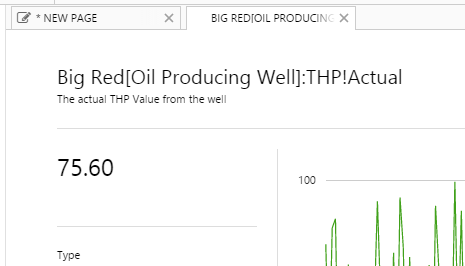
The Attribute Details opens in a new Explorer tab.
Open from the Attributes Panel
Entities that have been organised into a hierarchy in P2 Server can be located using Hierarchy Search or Navigation. Many of these entities have attributes.
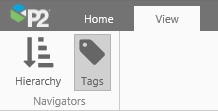
To locate an entity, open the Hierarchy Panel from the Navigators group on the Explorer ribbon, which is available on the View, Studio and Trend tabs.
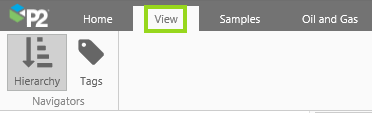
Navigators on the View Tab
1. Locate an entity in the Hierarchy Panel, then click on the entity to open the Attributes Panel, which displays attributes (if any) for the selected entity.
2. On the Attributes Panel, locate an attribute or an attribute value, then press the Ctrl key and click.
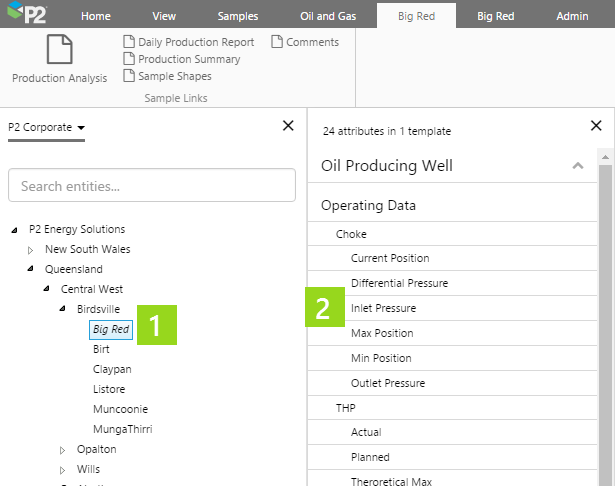
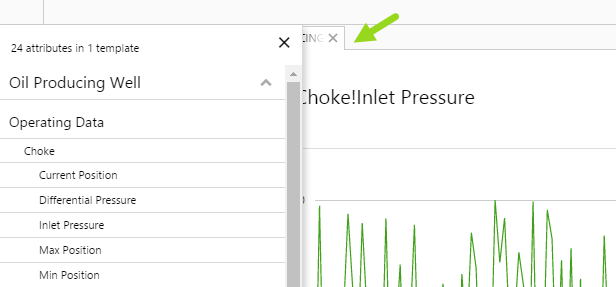
The Attribute Value Details opens in a new Explorer tab for the attribute value (or for the default attribute value if you just selected the attribute).
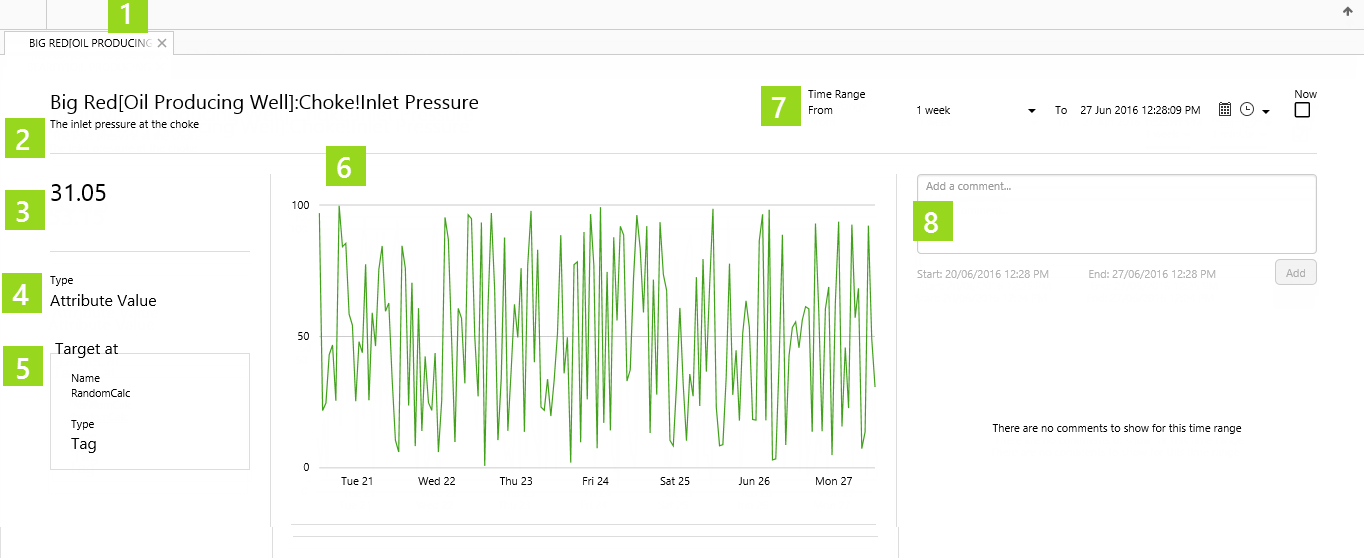
Features of Attribute Value Details
Attribute Value Details page displays the following:
|
|
Tag Detail
Open Tag Detail from a Data Label or from the Tag Panel.
Open from a Data Label
The Data Label can be used to show time-aware tag and attribute values on Explorer pages, with quick access to trending and point detail.
For example, this Explorer page has an image overlaid with data labels, showing values for various parts.
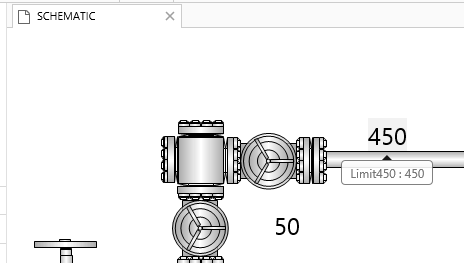
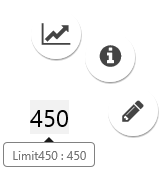
If you hover over a point of data shown on a data label on an Explorer page, a tooltip appears showing the full value. If the Data Label's Value is a Tag, it is preceded by the tag name. For example, Limit450: 450.
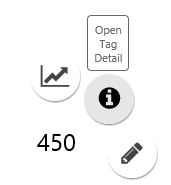
1. Click on the Data Label value, to open the radial menu.
2. Click on the information menu item on the radial menu (Open Tag Detail).
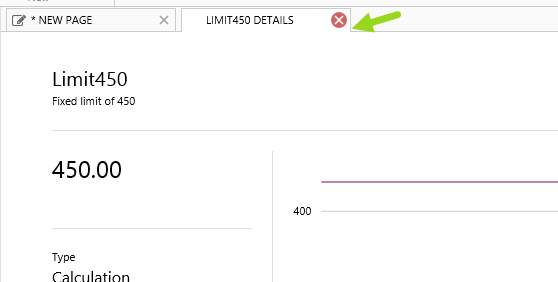
The Tag Details opens in a new Explorer tab.
Open from the Tags Panel
A flat list of tags can be located using Tag Search.
To locate a tag, open the Tags Panel from the Navigators group on the Explorer ribbon, which is available on the View, Studio and Trend tabs.
1. Locate a tag in the Tags Panel.
2. Press the Ctrl key and click.
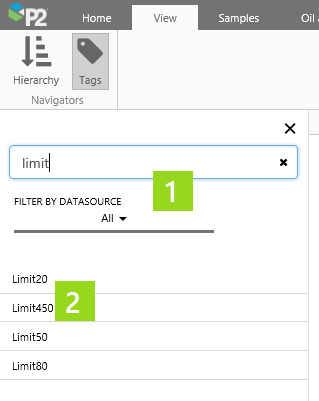
The Tag Details opens in a new Explorer tab for the tag value.
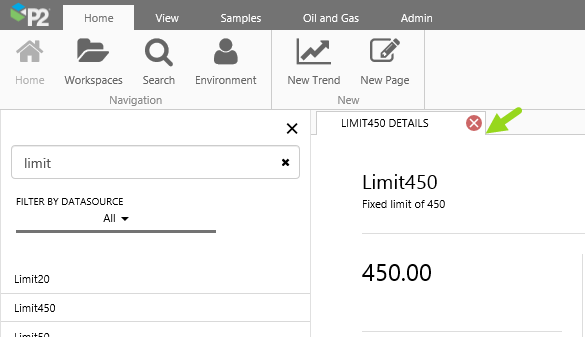
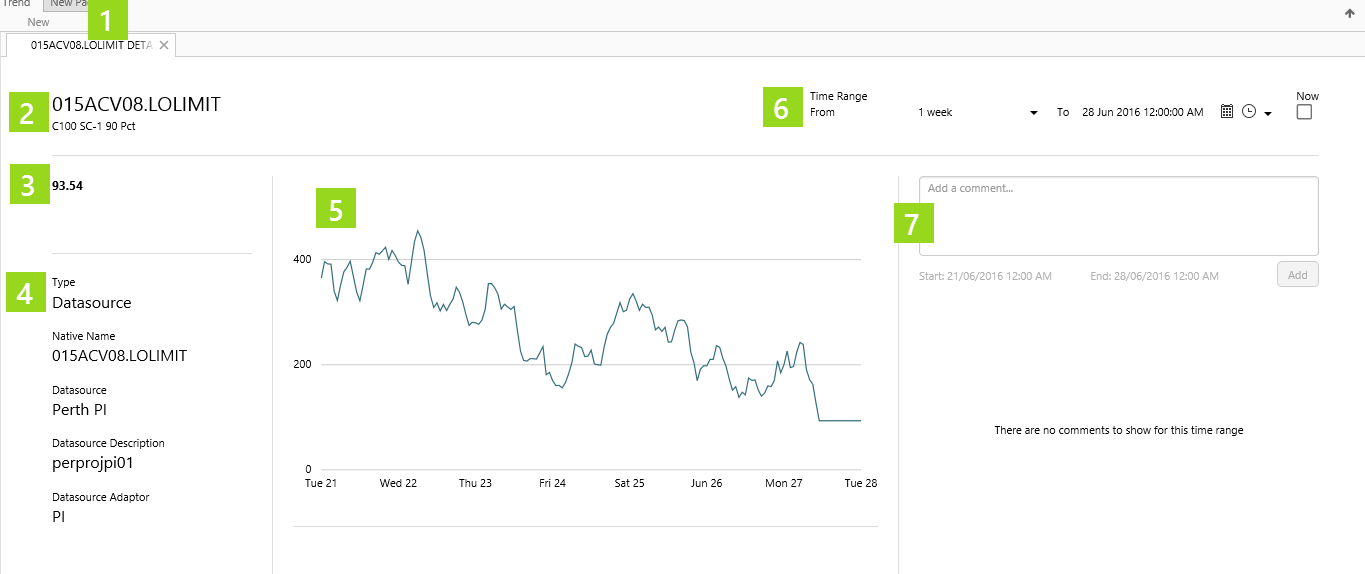
Features of Tag Detail
Tag Details page displays the following:
|
|