ON THIS PAGE:
The Entry Form is the dialog used to create and edit entries.
Entries are a record of cases, events or activities that have occurred and may need to be tracked for monitoring or reporting purposes.
The fields on an entry form will vary between forms and form types, and each type of form will contain a different set of mandatory fields.
Draft entries can be created to save information that may be incomplete, or not ready for submission. These entries can then be reopened, edited and submitted at a later time.
After an entry is submitted it becomes part of the relevant work flow. For example, a rule may be triggered, or an approval process actioned. Submitted entries cannot be later saved as draft entries, however they can be edited and resubmitted.
The main parts of an entry form are:
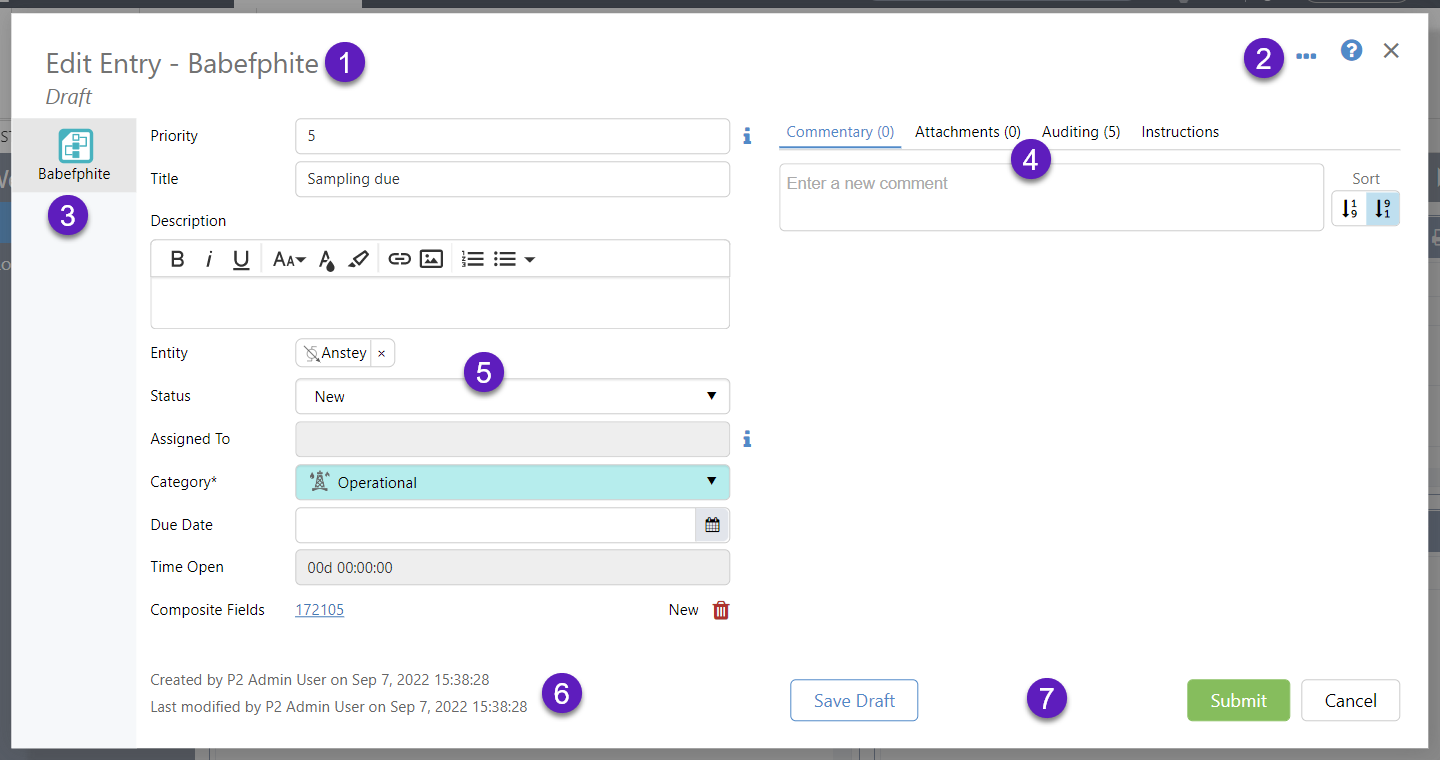
| 1. Title |
The title of the form:
|
||||||||||||
| 2. Entry Actions |
|
||||||||||||
| 3. Form Icons | The icons indicate the type of entry, and the label is either the entry type or the form name. Multiple icons indicate shared entries and are a feature of Case Management and Shift Log. |
||||||||||||
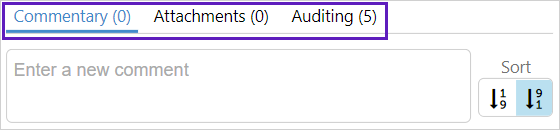
| 4. Tabs |
The available tabs vary between applications:
These features, except Instructions, are only available after the page has been saved as a draft, or has been submitted. |
||||||||||||
| 5. Fields |
Form fields that can be filled in for an entry. A field with a:
|
||||||||||||
| 6. Authors |
System fields that show who created, and modified the entry, and when. |
||||||||||||
| 7. Actions |
Action buttons to:
|

Note: Different forms contain different fields and are used for different purposes.
Add an Entry
To add a new entry:
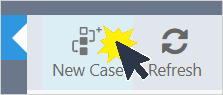
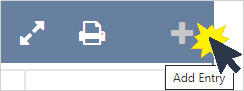
1. Open the required entry form.
| Case Management: | Shift Log: |
 |
 |
2. Fill in the necessary fields.
3. Save the draft or submit the entry.
4. Close the dialog.
After the entry is saved:
- Comments can be added
- Attachments can be added
- The History of the entry can be viewed
- Related Cases can be viewed in Case Management
A submitted Shift Log entry form:

Save a Draft Entry
To be able to save an entry as a draft, the system required fields must contain data. It is optional to enter data into any of the other fields, including the mandatory fields.
Note: System required fields have an asterisk beside their name.
Entry dialog showing system required field and tooltip:

Click:
- Save Draft to save the draft entry
- Close to close the entry dialog
Submit an Entry
To be able to submit an entry, all mandatory fields must contain data.
Click:
- Submit to save and submit the entry, and close the dialog
- Cancel to clear the unsaved data
- Resubmit to save and submit an edited entry
- Close to close the entry dialog
Edit an Entry
To change an entry:
- Click on an entry row in the table to open the entry dialog and make the required changes

To save a draft entry click:
- Save Draft, or
- Submit
To save a submitted entry click:
- Resubmit
When a form is open for editing, the tabs on the right hand side of the dialog are available.
Delete an Entry
Entries can only be deleted in Shift Log.
Deleting an entry will remove it from the system, along with any comments and attachments for that entry.
Note: You will only be able to delete entries you created, or if you are a Shift Log administrator.
How you delete an entry depends on how the entry was created.
Entries created in Shift Log in Field Operator are deleted from the delete button at the bottom of the entry form dialog.

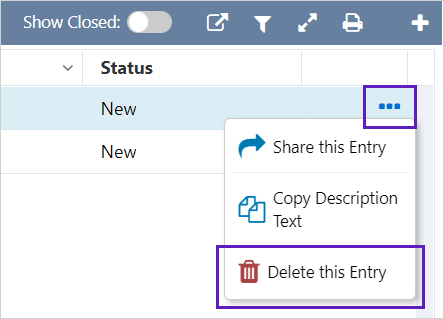
Entries created in an entry form dialog and saved as draft or submitted, can be deleted by:
- Clicking the 3 dots on the right side of the entry in the entry table, or the entry dialog
- Selecting Delete this Entry
- Clicking Delete to confirm
| Entry table: | Entry dialog: |
 |
 |
Subforms can only be deleted:
- From within the entry form dialog
- When they have a status of New
Create a subform entry:
Click on the ![]() icon to delete the subform entry:
icon to delete the subform entry:

Click Delete to confirm:

Note: Subform entries exist as separate entries in the relevant table after the originating entry form has been submitted.
Add a Comment
To add a comment to an entry:
- Click on the entry to open the entry dialog
- Click the Commentary tab on the right side (if it is not already selected)
- Click in the "Enter a new comment" box, and type the comment
- Click Save to finish the comment and save it
Add Attachments
Photos and documents can be attached to an entry.
An entry must first be saved before attachments can be added, and not all file types are allowed.
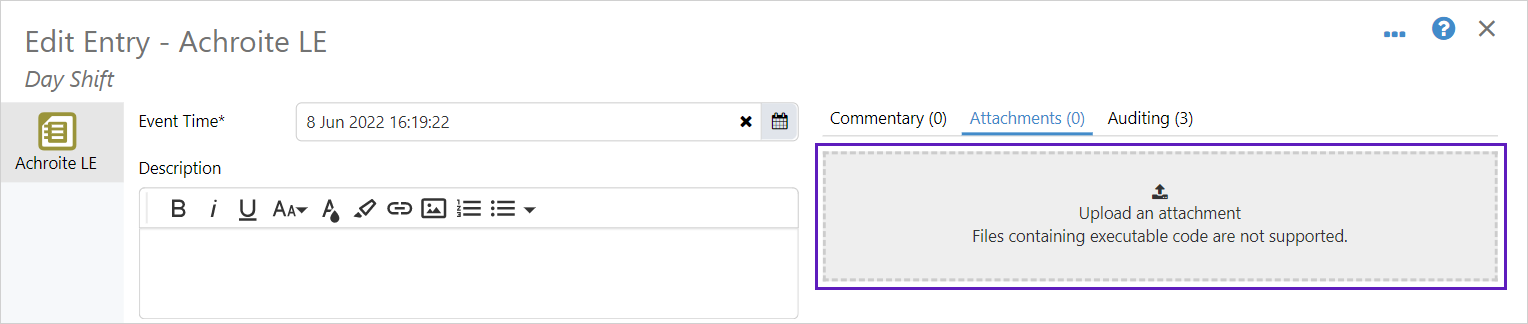
1. Click on an entry to open the entry form
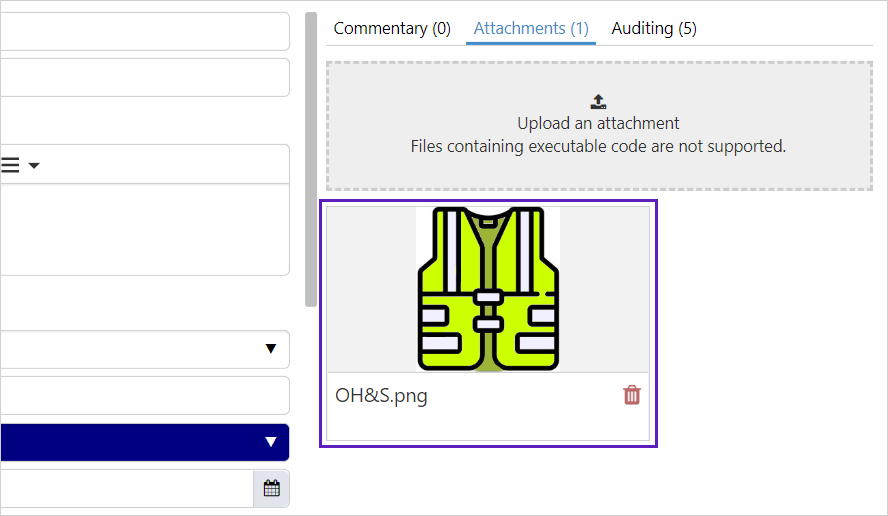
2. Click on the Attachments tab on the right side (if it is not already selected)
3. Click in the grey "Upload an attachment" box, and use the Windows file selector to find the file you want to add
Alternatively, drag and drop the attachment from your desktop or another location on your computer.
When using mobile devices, such as a tablet, you can tap the attachment box to take a photo or choose one of your existing photos.
4. Change the title and description of the attachment if required, and click the Upload button.
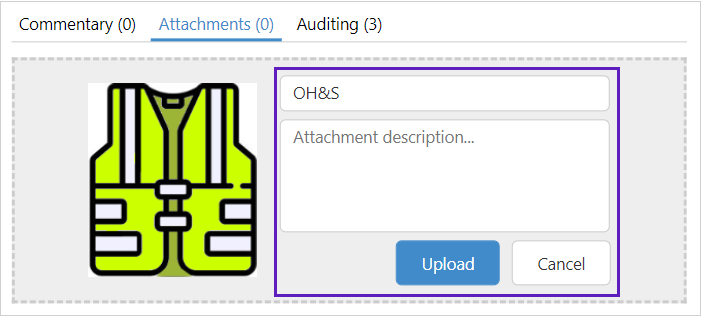
5. The file is attached and saved with the entry.
To open the attachment, click the preview image and save it to your computer.
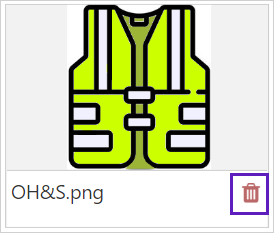
Delete an Attachment
To delete an attachment from an entry, click the red Delete icon next to the attachment.
Banned Attachment Types
The following file types are not permitted as attachments.
| ade | hpj | mcf | plg | sct |
| adp | hta | mda | prf | settingcontent-ms |
| app | inf | mdb | prg | shb |
| appcontent-ms | ins | mde | printerexport | shs |
| asp | isp | mdt | ps1 | theme |
| bas | its | mdw | ps1xml | tmp |
| bat | jar | mdz | ps2 | url |
| cer | jnlp | msc | ps2xml | vb |
| chm | js | msh | psc1 | vbe |
| cmd | jse | msh1 | psc2 | vbp |
| cnt | ksh | msh1xml | psd1 | vbs |
| com | lnk | msh2 | psdm1 | vsmacros |
| cpl | mad | msh2xml | pst | vsw |
| crt | maf | mshxml | py | webpnp |
| csh | mag | msi | pyc | website |
| csx | mam | msp | pyo | ws |
| der | maq | mst | pyw | wsc |
| diagcab | mar | msu | pyz | wsf |
| exe | mas | ops | pyzw | wsh |
| fxp | mat | osd | reg | xbap |
| gadget | mau | pcd | scf | xll |
| grp | mav | pif | scr | xnk |
| hlp | maw | pl |
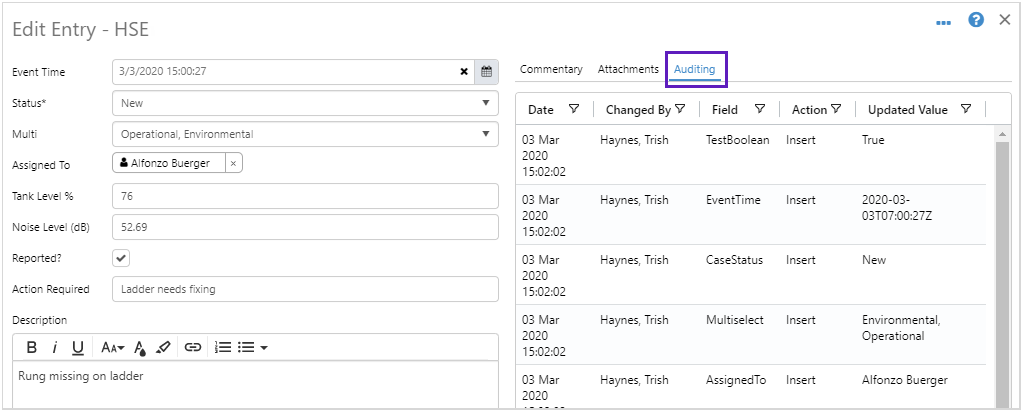
View the History
Every time a change is made to an entry, the system keeps a record of what has changed. These changes can be seen in the Auditing section on the right side of the entry.
To view an entry's history:
- Click on the entry to open the entry dialog
- Click the Auditing tab on the right side (if it is not already selected)
Related Cases
In Case Management, all of the cases for a particular entity can be viewed in the Related Cases section of the entry form.
To view the Related Cases:
- Click on the entry to open the entry dialog
- Click the Related Cases tab on the right side
- Use the column filters to reduce the number of cases displayed.

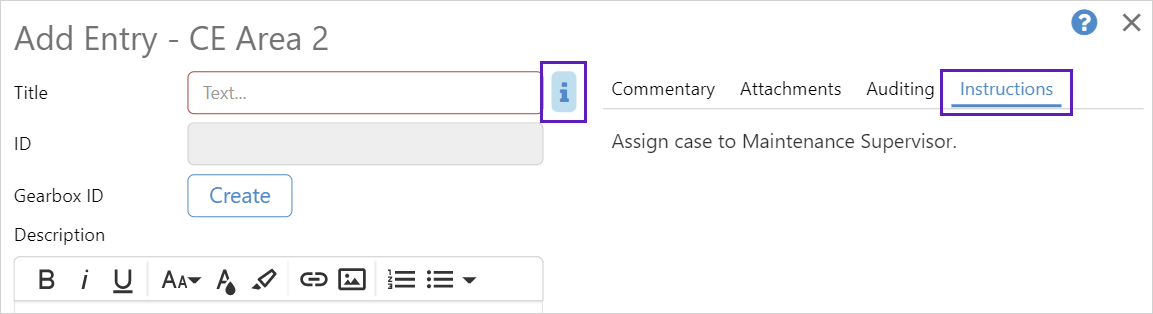
Instructions
In Shift Log, instructions can be added to the form configuration in P2 Server Management.
To view the instructions for the entry:
-
- Click on the entry to open the entry dialog
- Click the
 icon or the Instructions tab
Draft Entries
Creating a draft entry is a way of saving an entry for submission at a later date.
The draft entries can be searched for, viewed, and edited by the entry creator and administrators.
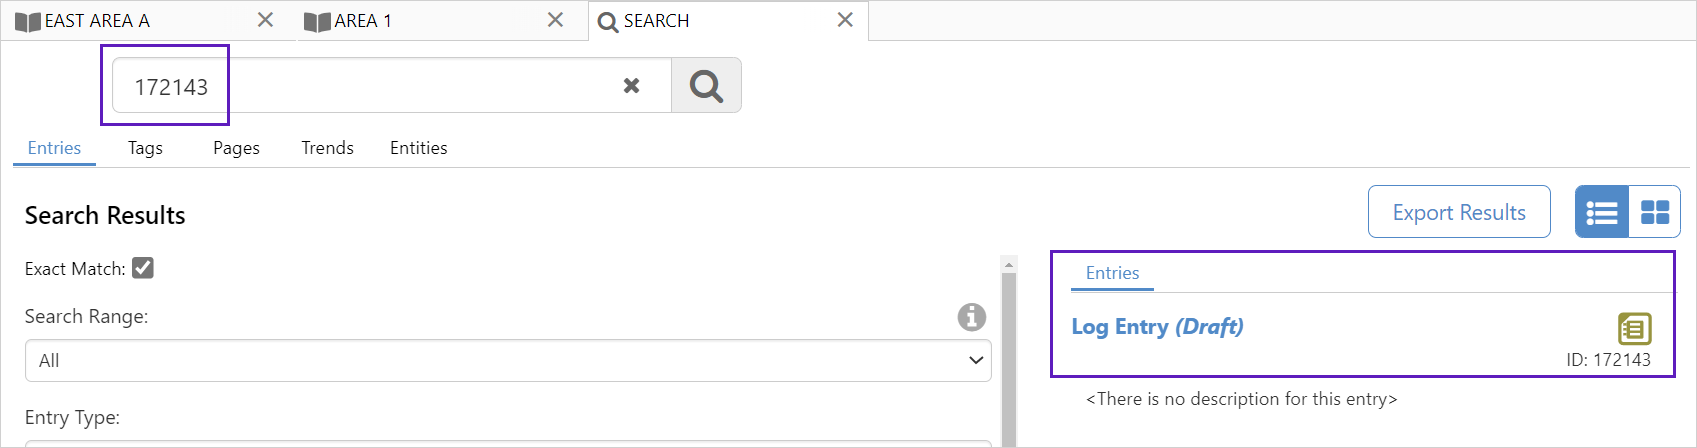
They have an edit icon on the left side of the entry in the relevant table,
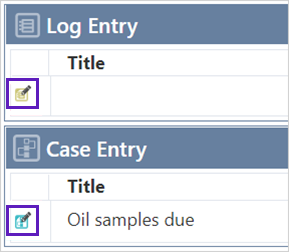
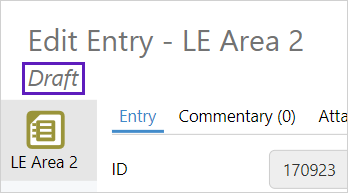
and have the subtitle Draft in the edit entry dialog.
Entries that have been created from a subform within a draft entry dialog, are not able to be saved as draft. They need to be completed and saved when entered, and will appear in the relevant table after the draft entry has been submitted.
Note: Entries cannot be moved back to a draft state after being submitted.
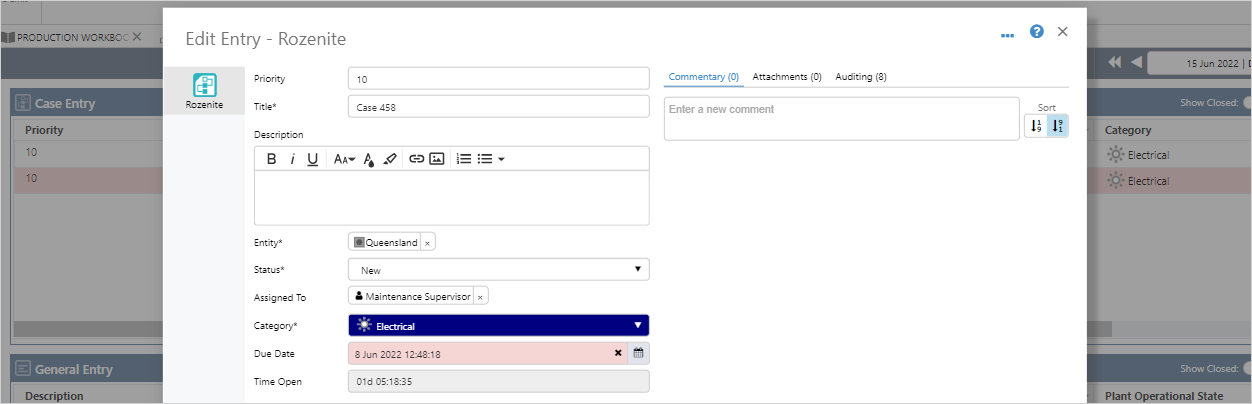
Overdue Entries
Entries become overdue if the current date/time is past the date/time in the Due Date field.
Overdue entries have a pale red background colour in the Shift Log and Case Management entry tables, and in the Due Date field in the entry dialogs.
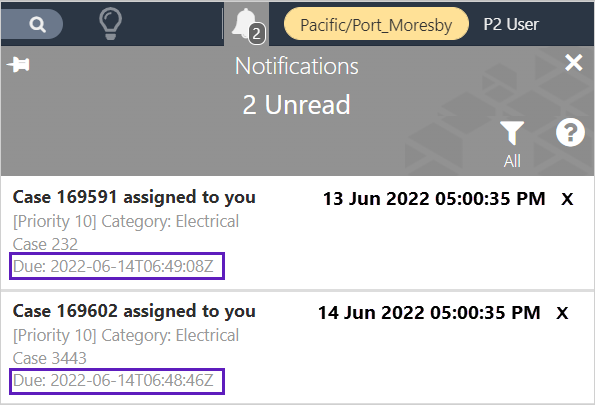
When someone is assigned an entry that has a date in the Due Date field, the due date is also shown in the Notifications in the Info Zone.
Fields
Some of the types of fields that may be in a form are:
|
Text
|
Datetime This is a date, time, or a combination of date and time. Click in the field or on the calendar button to open the Date/Time Picker and select a date and time. |
| User A user is any person who is entitled to use the system. Start typing their name, and then select the correct one from the list that appears. |
Entity An entity is usually some piece of equipment, although in some situations it could refer to another type of object or something like an area. |
| Number A numerical value. Depending on the configuration, it would either be a whole number or a decimal number. |
Yes/No A yes/no or true/false value is shown by a check box - tick the check box for yes (or true), or clear the check box for no (or false). |
| Selection An arrow pointing down indicates that you can choose an item from a list. Click the arrow to see the options available, and then click one of the options to choose it. |
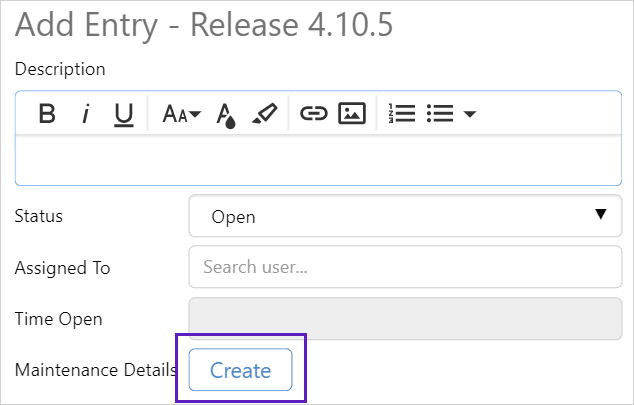
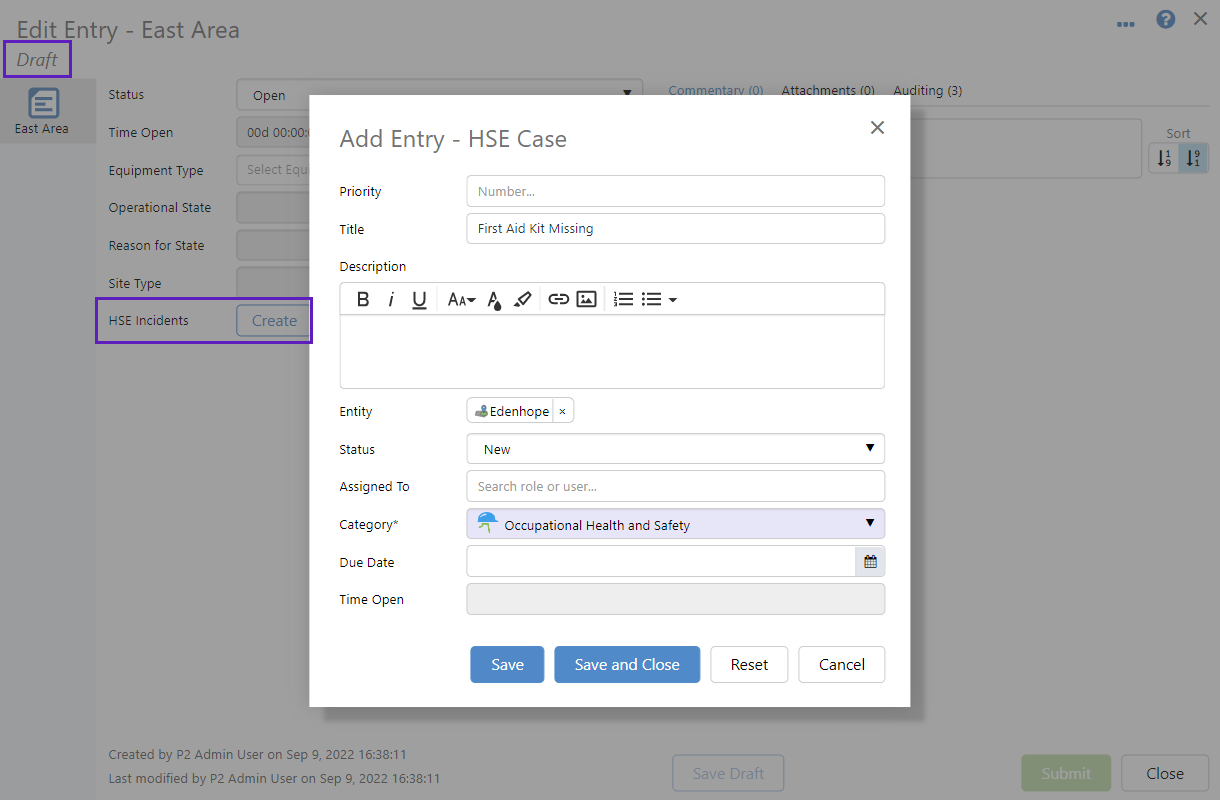
A form that opens from inside another form. Click the Create button to open the subform.
|
Subform Entry Fields
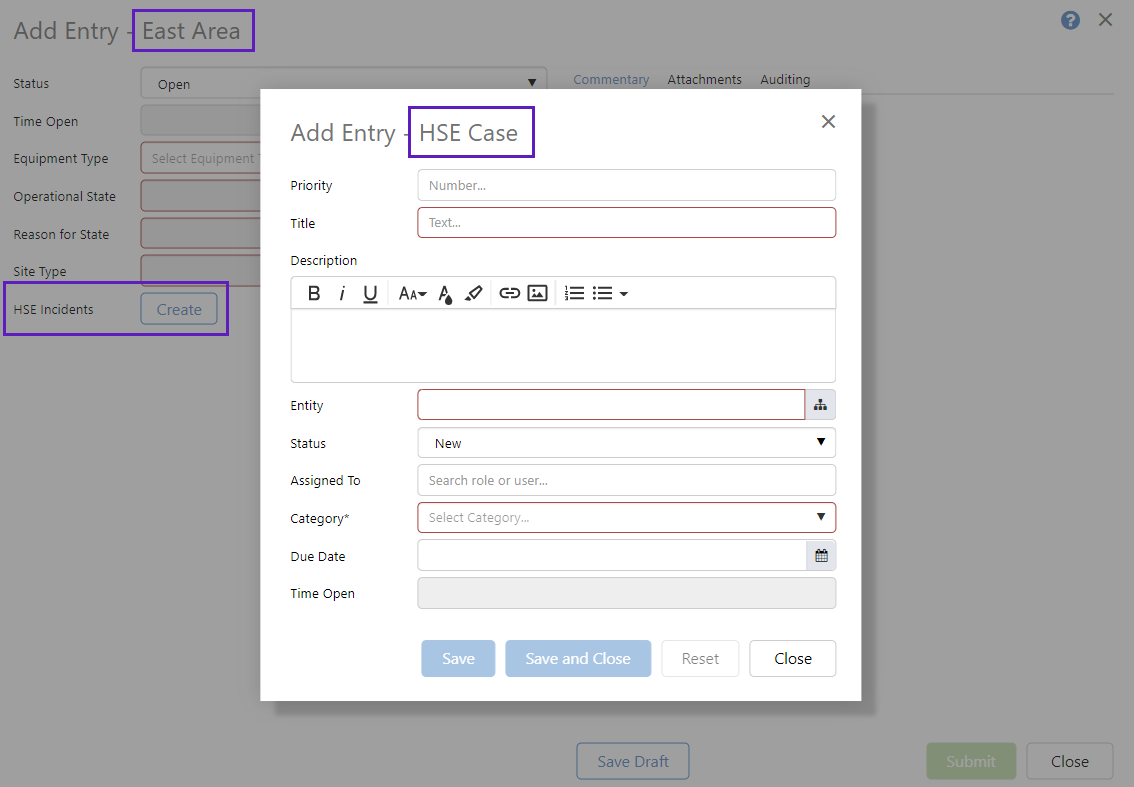
A Subform is an entry form dialog that is opened from within another entry form dialog.
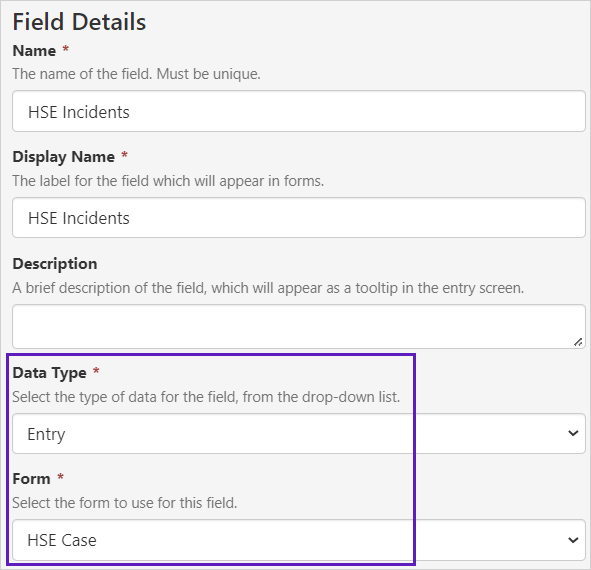
The field used to open the subform has the data type Entry, and can be configured to use any Case Entry form.
When added to a form, the entry field gives the option of creating an entry in the form defined in the field configuration.
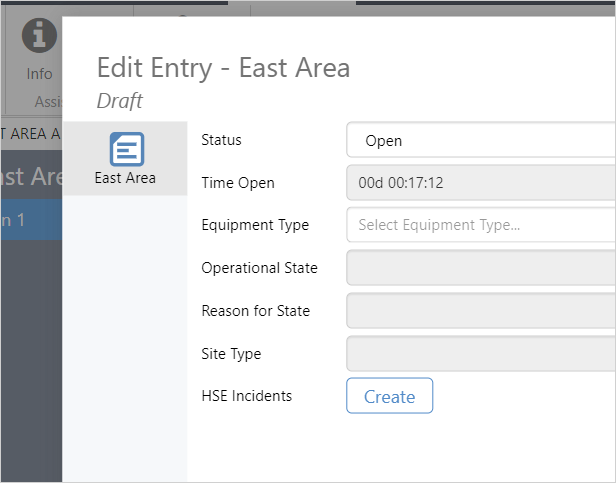
Field HSE Incidents is of type Entry and uses the form HSE Case:
Entry Form HSE Case opened from HSE Incidents field in form East Area:
Release History
- Entry Form (this release, 4.10.5):
- Save in draft mode
- Submit entry
- Subform entry
- Previous Related Releases